
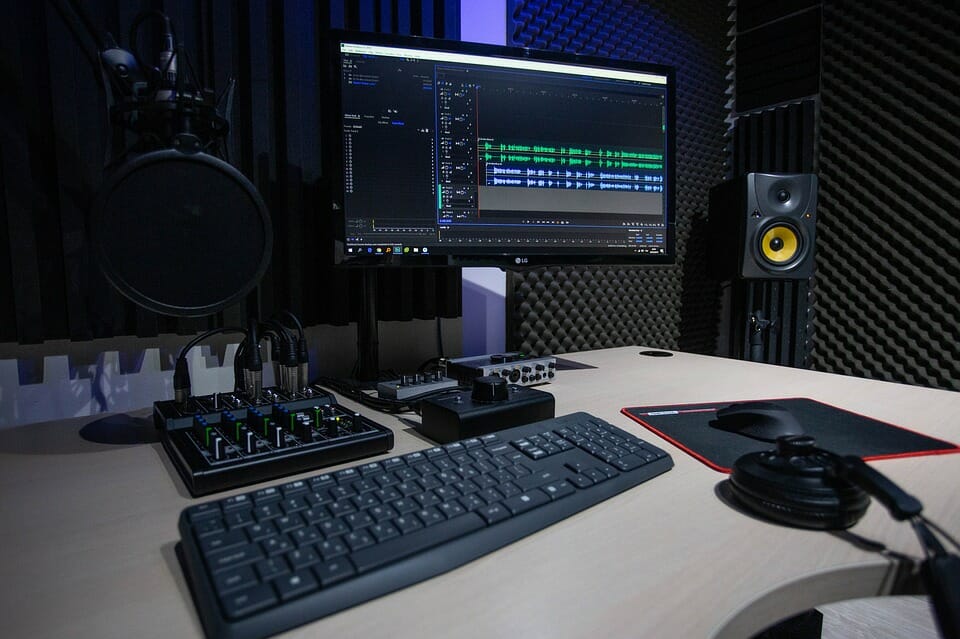
Sound Isolation vs. Sound Absorption: What Your Home Studio Needs
Even the best home studio gear means nothing if you’ve got a noisy or boomy room. Sound isolation vs absorption is one of the most important concepts for musicians, podcasters, and producers to understand when planning acoustic treatment for their space. Sound isolation and sound absorption work together, but they are used for different purposes. Mixing up the two can leave you with recordings that are full of noise, or mixes that sound muddy and lifeless no matter how much EQ you use.
This guide will break down the key differences between sound isolation and sound absorption, because when setting up a studio, understanding sound isolation vs absorption is essential to getting clean recordings and professional mixes. We’ll also cover some common pitfalls for DIY home studios and give you some tips on how to combine the two approaches to get the best acoustic environment for your home studio.
Sound Isolation vs Sound Absorption: What’s the Difference?
Before we get into specifics, let’s go over the basics.
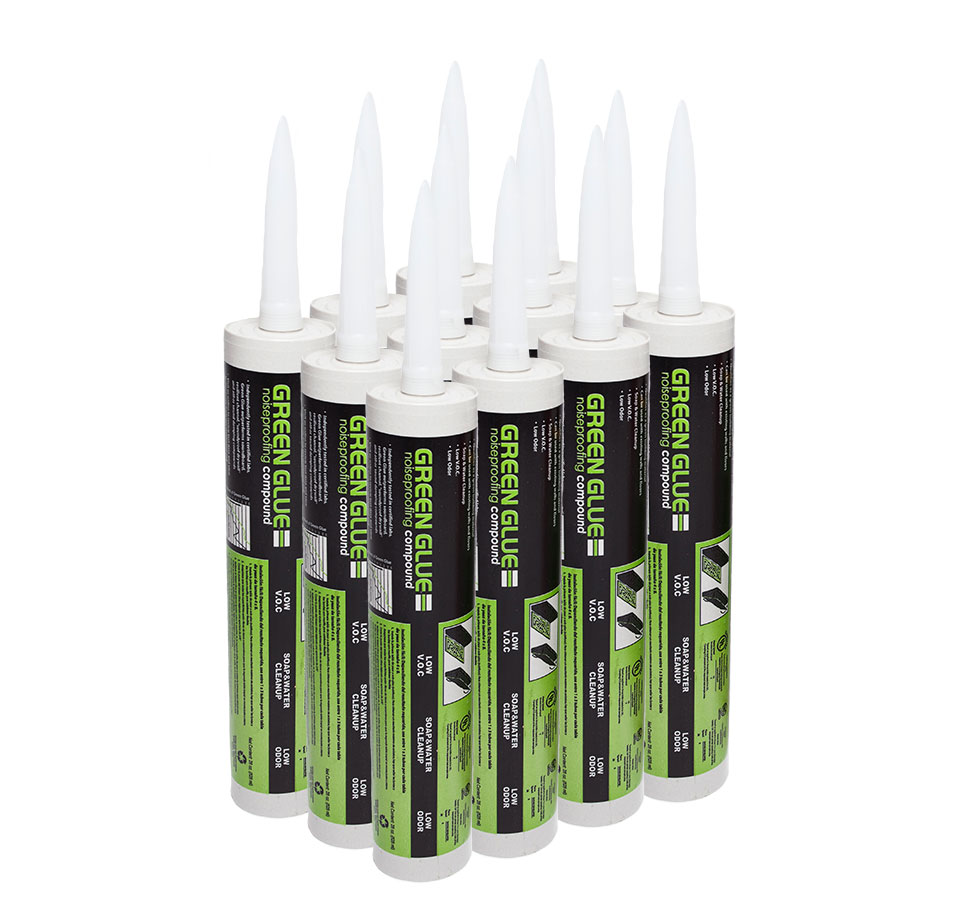
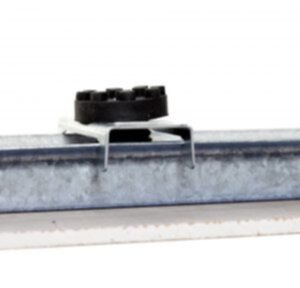
Sound isolation is about keeping external noise out of your room. You might also use isolation to keep sound from your room out of the neighbors’. Either way, it works by creating a strong barrier against sound transmission, and choosing the right studio soundproofing materials, like Mass Loaded Vinyl, acoustic door seals, and Green Glue, can significantly reduce external noise. In addition, one of the most effective methods of decoupling walls for sound isolation is using RSIC clips or resilient channels to break the structural connection, but we’ll get to that later.
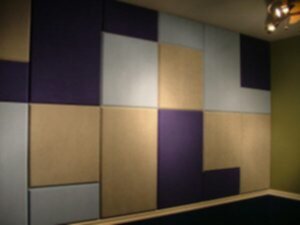
Sound absorption, by contrast, is about managing the sound inside a room. Absorption materials and techniques reduce reverberation, flutter echo, and sound reflections that muddy up your audio. It’s like hanging thick curtains over your windows to stop the sound from bouncing around a room. There are a few materials you can use for sound reduction, and many studio owners compare the use of acoustic foam vs. fiberglass panels, for example, when deciding. Fiberglass offers broader frequency control and performs better at controlling room reverb, while foam is more budget-friendly and lightweight. In fact, fabric-wrapped fiberglass panels are widely considered some of the best panels for echo reduction, especially in untreated home studios.
In summary:
- Isolation = noise stays in or out
- Absorption = noise sounds better inside
This difference between sound isolation vs sound absorption is the key to acoustic treatment for home studios.
Sound Isolation: What It Is and Why It Matters in a Studio?
Sound isolation involves physically blocking the transmission of sound between spaces. It creates a controlled sound environment by decoupling the source of sound, like microphones, speakers, and instruments, from surrounding structures and the outside world. In this instance, RSIC clips or resilient channels can be used to decouple walls and ceilings. Using isolation clips for drywall creates an air gap that dramatically lowers structural sound transfer.
In the studio, the key is to
- Record clean takes without distractions from car horns, passing trains, or barking dogs
- Avoid disturbing neighbors or roommates with loud sessions
- Capture low-noise vocals or acoustic instruments without interference from air-conditioning hum or the whir of computer fans
Common sound isolation techniques include:
- Room-within-a-room construction to decouple your studio from the rest of your space
- Sealing door frames and windows with acoustic gaskets
- Installing Mass Loaded Vinyl (MLV) between drywall layers
- Creating a double drywall layer with Green Glue compound
If you’re wondering how to block sound in a room, these sound isolation techniques can help.
Sound Absorption: What It Is and How It Improves Audio Quality?
Once the sound is inside your room, the next step is controlling how it behaves in that space. Absorption materials reduce sound reflections to control echo, flutter, and excess reverb that can distort your recordings and mixes. Untreated spaces are full of hard surfaces for sound to bounce between, and this creates unpredictable resonances and issues in small rooms especially. Treating flutter echo, for instance, typically involves installing acoustic panels on opposing parallel surfaces to stop repeated sound bouncing.
There are a number of benefits of sound absorption, including:
- Cleaner recordings and more accurate mixes
- Better control over frequency balance
- Less ear fatigue when mixing
Some popular sound absorption materials include:
- Acoustic foam panels (best for high/mid frequencies)
- Fabric wrapped fiberglass or mineral wool panels
- Bass traps like Bass Buster and CornerSorber for controlling low-end in room corners
Why Sound Absorption and Sound Isolation Both Matter in a Home Studio
Treating your home studio is not an either-or choice between isolation and absorption, you need both.
Isolation helps to ensure your recordings are clean and free of external noise. Absorption helps to ensure that those recordings actually sound good. Isolating the room keeps your audio clean, but without proper absorption it can still sound boomy, boxy, or thin. Skipping isolation, on the other hand, leaves you vulnerable to capturing unwanted noises, like traffic and your HVAC hum. Knowing when to absorb vs reflect sound is critical, since over-absorbing can deaden a room, while proper reflection adds natural tone.
Tip: Think of this as a metaphor for treating rooms. You want to use sound absorption inside your room and apply sound isolation at the boundaries of your space, like your walls, doors, floors, and ceiling.
Common Mistakes in DIY Sound Treatment
Too often, well-intentioned home studio owners fall into the trap of confusing sound treatment with soundproofing. Here are some common pitfalls:
- Thinking foam panels = soundproofing. Foam reduces echo/reverb, not external noise.
- Leaving door frames unsealed. Doors are notorious weak points.
- Neglecting the low end. Small rooms have big problems with boomy low-end. Use bass traps.
- Confusing household insulation with soundproofing. Fiberglass batting is not dense enough for soundproofing.
- Skipping corner treatment. Sound energy builds up in corners, so don’t neglect bass traps there.
Not all insulation is created equal. Remember, acoustic insulation for studios should be dense and designed to absorb a wide range of frequencies. Installing high-density bass traps for small rooms helps tame low-end build-up and balances your mixes in tighter studio spaces.
To overcome these DIY sound treatment problems, layer your solutions. Use MLV and Green Glue to block noise, and use acoustic panels to control how it sounds in your room.
Achieving a Balanced Sound Environment: A Step-by-Step Approach
Ready to get started on treating your room? Follow this simple step-by-step instruction.
- Identify your sound problem:
- External noise: traffic, neighbors, kids
- Internal noise: HVAC, computer fans, traffic from other rooms
- Soundproof the room:
- Seal all windows and doors. If exterior street noise is an issue, Climate Seal Window Inserts are a great solution. These clear acrylic panels are magnetically mounted over your existing windows and help block outside noise without the need to replace your frames. Studio Soundproof Windows for home studios are best for interior use where extra separation is needed between rooms. Acousti-Gasket reduces vibration transfer through hard surfaces. Learn how to soundproof doors with seals or use heavy-core doors. Use double drywall with Green Glue or MLV between layers. Add RSIC clips to isolate walls and ceilings.
- Add absorption in key areas:
- Include reflection points like sides and ceiling. A good solution is Wallmate Systems. Strategic wall panel placement at reflection points is key to managing reverb and achieving a well-balanced room. Take it one step further by reducing room echo with well-placed acoustic panels or ceiling clouds. Poly Max ceiling clouds are an excellent option for overhead absorption when you need to tighten vertical reflections in mixing or recording spaces.
- Test and adjust:
- Run room analysis tools, or just use your ears. Move panels around as needed, since no room is the same.
Remember, uncontrolled home studio sound leakage not only disrupts others but also compromises the integrity of your recordings.

Products for Soundproofing vs Sound Treatment
You don’t need to break the bank, but smart investments will go a long way. Below is a breakdown of the best solutions based on your needs.
Sound Isolation Materials
| Product | Use Case |
| Mass Loaded Vinyl (MLV) | Wall/ceiling barrier to block sound |
| RSIC Clips | Decouple drywall to prevent sound transfer |
| Studio Soundproof Doors | Prevent leakage through entry points |
| Soundproof Windows | Best for interior walls to block noise |
| Acoustic Flooring Underlay | Blocks footstep or subfloor vibration |
For example, a high-density soundproof carpet underlay adds floor-level insulation and helps minimize noise from foot traffic and below. For structural isolation, AcoustiBlox ISO Squares can help mechanically separate your studio from shared surfaces, reducing vibration transmission and improving isolation performance.
Sound Absorption Materials
| Product | Use Case |
| Acoustic Foam Panels | Quick, lightweight echo control |
| Fabric-Wrapped Panels | High-performance wall absorption |
| Bass Traps | Reduces low-end buildup in corners |
| Ceiling Clouds | Treat vertical reflections for tighter sound |
| Wallmate Systems | Easy install, tailored coverage |
| Sound Silencer Panels | Great for ceilings and large flat areas |
Echo Eliminator panels are a quick, effective, lightweight, and affordable acoustic panel perfect for treating flutter echo and mid-high frequency reflections.
Mastering Your Home Studio’s Acoustics
When it comes to sound isolation vs sound absorption, it’s not one or the other, it’s a team effort.
Isolation protects your recordings from external interference and prevents sound leakage. Absorption helps you shape the sound inside your home studio to make your mixes and recordings sound more accurate and professional.
When planning acoustic treatment for your home studio, always start by defining your goals. What do you plan to record? Are you podcasting near a noisy street? Mixing bass-heavy tracks? Each situation is different and may require a different balance, but in all cases, isolation and absorption are most effective when combined. Even a modest acoustic treatment with some affordable acoustic panels and proper door and window sealing will help you take your space from an echoey bedroom into a functioning home studio, and it’s this mastering the balance of sound isolation vs absorption which can make the difference between a frustrating recording experience and a studio that truly works for you.
Need help treating your home studio space? Contact our team for custom home studio acoustic solutions tailored to your sound goals, room type, and budget.


Add comment
You must be logged in to post a comment.