
Recording Studio Acoustics: 13 Mistakes to Avoid for Better Sound
Whether you’re building a purpose-built room or trying to repurpose a spare bedroom, the fastest way to improve your mixes is to avoid the most common studio acoustic mistakes. Everyone makes them – pros included – but the good news is that most are avoidable with a clear plan, a few measurements, and the right mix of absorption, diffusion, and isolation techniques.
This guide walks through the pitfalls we see most often and pairs each one with a simple, first-pass fix you can implement right away. Along the way, we’ll touch on essentials like first reflection points, fabric wrapped acoustic panels, PET felt acoustic panels, rear wall diffusion, and more.
1. Confusing Soundproofing with Acoustic Treatment
One of the biggest studio acoustic mistakes is treating isolation and acoustic treatment as the same thing. They’re different goals with different physics:
- Isolation is about reducing or stopping sound from entering or leaving the room. It depends on mass, airtightness, and decoupling.
- Acoustic treatment is about what sound does inside the room: reflections, decay, clarity, and imaging.
One thing that often confuses people at this stage is the practical difference between isolation vs acoustic treatment when planning upgrades. The simplest way to think about it is this: Isolation is about keeping sound in or out of the room, while treatment is about shaping what you hear inside the room. An untreated room can be isolated, and a treated room can still leak sound – because these are two separate systems working toward different outcomes. If you understand which goal you’re targeting (or which you need to target first), you’ll spend less money and get better results.
Absorbers don’t block noise, and heavy or decoupled wall assemblies won’t fix flutter echo. Even when you add proper mass or decoupling, isolation usually fails at the weak links, with flanking path noise slipping through gaps and cracks like doors, outlets, HVAC runs, and the floor and ceiling assemblies you didn’t treat. Addressing those potential problem areas is often the difference between a room that sounds good inside and one that’s actually quiet from the outside.
Fix:
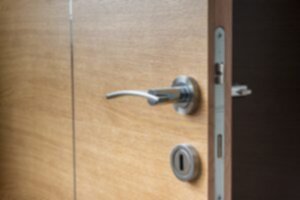
If you’re in the design or even the construction phase, plan for isolation first: decoupled walls using decoupling clips and hat channel, double drywall layers, sealed backer boxes, and airtight everything. If the room is already built, start with the most obvious leak: doors. Add proper door seals for sound isolation, thresholds, and gaskets. Don’t rely on foam to “soundproof” anything – it can’t.
Acoustic Geometry tools to help:
STC Rated door assemblies, adjustable door seal perimeter kits, and guidance on clip-and-channel layouts.
2. Ignoring Room Size, Shape, and Modes
Small, rectangular rooms come with unavoidable acoustical challenges. Below about 200 Hz, they ring due to room modes and standing waves. Even a foot of seating position change can swing your bass response by 10 dB.
Perfect cubes are a worst-case scenario, and long, narrow rooms aren’t much better. You can’t change the dimensions of a spare bedroom, but you can choose the least problematic space available.
Fix:
Pick the room with the most asymmetry and the greatest length. Start your mix position at roughly 38% of the room’s depth – this places you away from the deepest modal nulls. Plan for low-frequency treatment from day one, especially bass traps for small rooms, because modal issues won’t fix themselves.
3. Going “Foam-Only” or Using Panels that are Too Thin
Foam has a place: it’s fine for taming flutter and mid-high reflections. But 1” or 2” foam can’t meaningfully control low frequencies, and it often tricks people into thinking they have treated a room when they’ve only changed the top end.
Another common issue: relying on the Noise Reduction Coefficient alone. NRC vs low frequency control is a crucial distinction – NRC is weighted toward mid and high frequencies, not bass. That’s why thin foam can show a reasonably high NRC but still leave your low end a mess.
Fix:
Use 2-4” thick broadband absorber panels with an air gap at reflection points. Save foam for flutter, not full-range control. For bass, you need volume: dedicated corner modules, thick porous traps, or low-frequency hybrids that work deeper than foam ever could. When choosing between porous vs membrane traps, remember: porous traps are broad and predictable; membrane traps can target deep ranges but require precise construction.
Acoustic Geometry options:
2-4” thick fabric wrapped acoustic panels for broadband control, plus CornerSorber or Bass Buster modules for reliable low-end absorption.
4. Neglecting the Ceiling (The Biggest Reflector)
Ceiling reflections get overlooked because they’re not visually obvious – but acoustically, they are major contributors to smearing and a loss of stereo focus. The ceiling is often closer to your speakers than your side walls, so early reflections arrive sooner and louder.
Fix:
Install a studio ceiling cloud, a direct mounted absorptive panel, or a curve diffuser directly above the mix position. It should cover both the left and right reflection paths and ideally live 2-4” off the ceiling for improved low-mid absorption. Align it with overhead lighting for a clean, integrated look.
Acoustic Geometry clouds like Sound Silencer are built precisely for this job.
5. Underestimating Bass: Trapping Too Little, and in the Wrong Places
Bass / low frequencies behave differently than mids and highs, and low-frequency energy tends to gather in corners and boundaries. Spot fixes rarely work because bass control is a volume game: more thickness, more surface area, and strategic placement.
Many rooms need at least four full-height corner traps plus soffit runs along the wall-ceiling junction. The rear wall diffusion or absorption is equally important – deep bass modes tend to peak behind you.
Fix:
Start with all four trihedral corners. Then add wall-ceiling soffits. Then treat the rear wall with thick absorption or diffusion depending on the room’s size.
6. Skipping First-Reflection Control
The first reflections – side walls, ceiling, and sometimes even the desk – can blur imaging and harm clarity. Missing these treatment points is one of the most common studio acoustic mistakes.
Fix:
Use the mirror trick: have a friend move a mirror along the sidewalls. Wherever you see the speakers’ tweeters, that’s a reflection point. Treat symmetrically with absorber panels. If your room layout pushes one wall closer than the other, use a symmetrical studio setup wherever possible, then fine-tune with toe-in.
7. Over-Dead Rooms (No Diffusion)
An absorb-everything approach might feel “pro,” but too much absorption – especially at mid and high frequencies – can make a room feel lifeless and fatiguing. Diffusion maintains energy while avoiding echoes.
Fix:
Add diffusion or hybrid diffusion/absorption on the rear wall. Wood-faced or curved diffusors work nicely, as do large-format hybrid elements that control mids and highs without killing brightness. Diffusion is especially helpful in smaller rooms where rear-wall reflections arrive quickly but you don’t want the room to sound dead.
Acoustic Geometry’s curved diffusors and geometric/wood-faced hybrids add life and spaciousness without chaos.
A helpful way to evaluate your next moves in this part of the room is to think in terms of diffusion vs absorption. Absorption removes energy and shortens decay times, which is ideal for reflection control and midbass smoothing. Diffusion, on the other hand, keeps energy in the room but scatters it so you don’t hear discreet echoes. Most smaller studios benefit from a thoughtful blend of the two: absorption up front to tighten imaging, diffusion behind the listener to maintain spaciousness, and a balanced mix on the sidewalls depending on how lively you want the room to feel.
Getting this ratio right can dramatically improve long-session comfort.
8. Poor Monitor & Listener Geometry
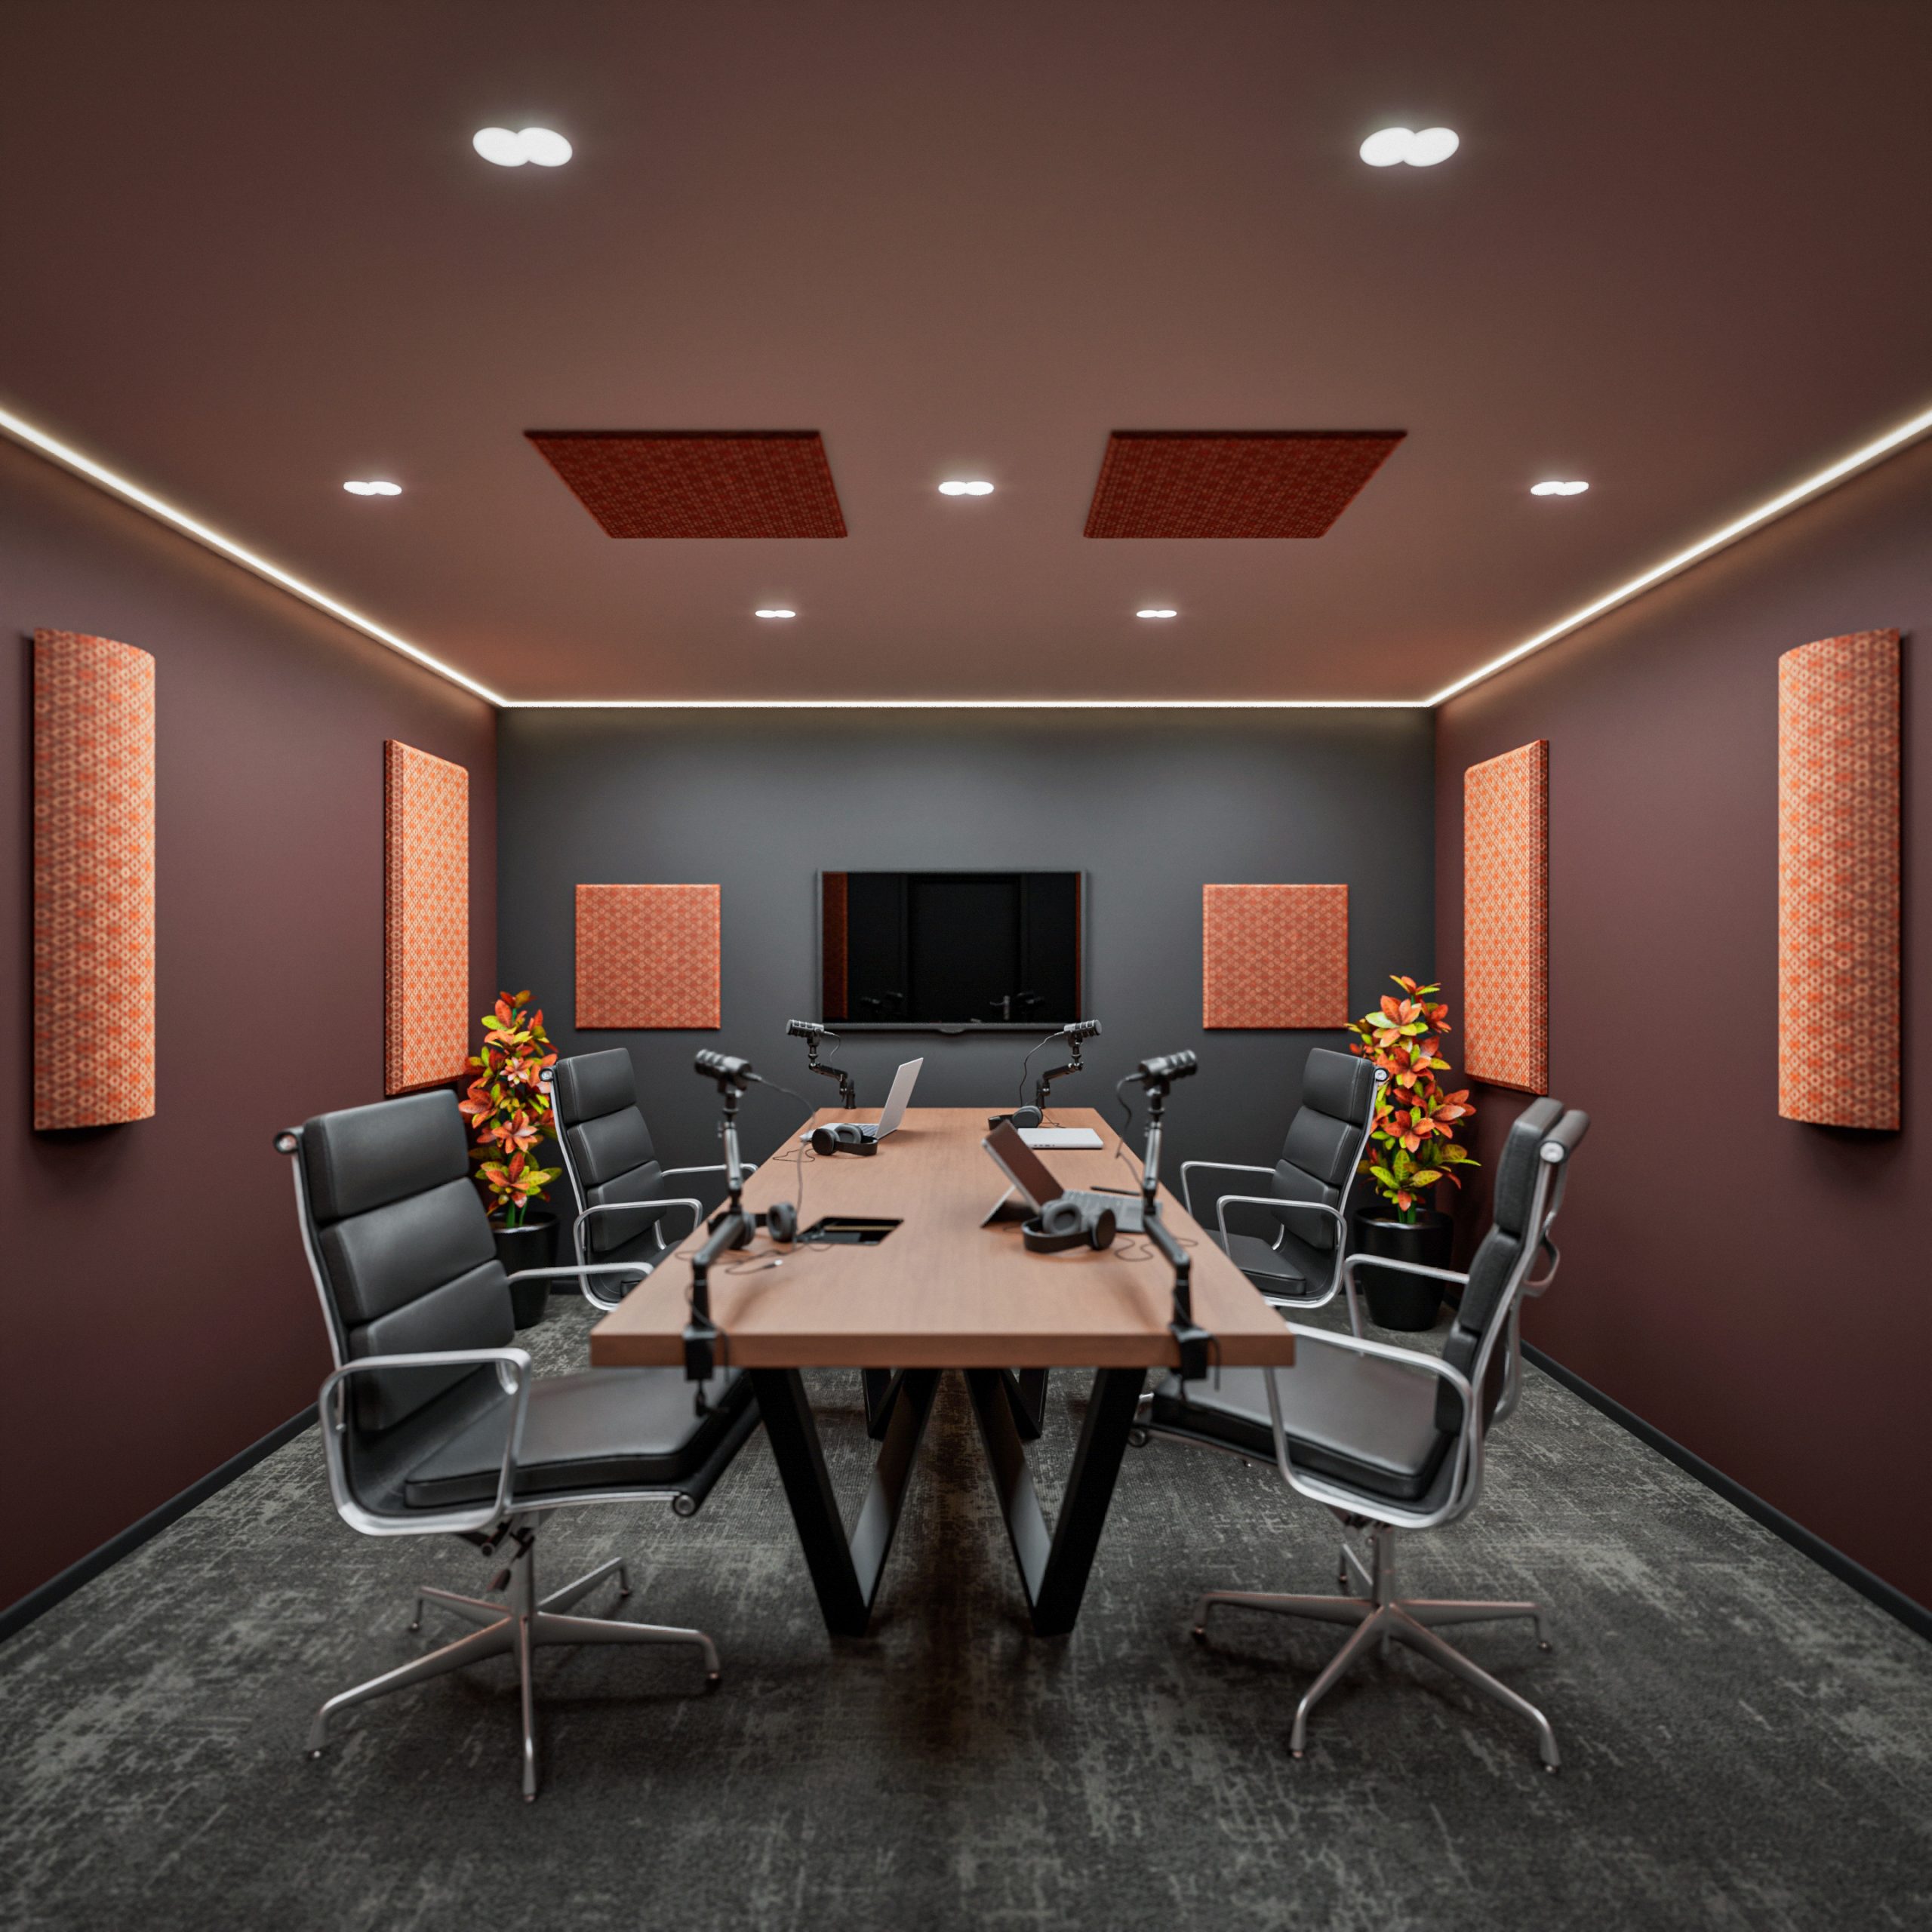
Even great speakers struggle in a poor layout. Not forming a proper speaker placement triangle, placing tweeters too high or low, or pushing speakers against a wall with no plan can skew your frequency response before any treatment plan can fix it.
Fix:
Start with an equilateral triangle between your listening position and your monitors. Get the tweeters at ear height. Avoid shaving speakers flush against a wall unless using boundary-imaging methods consciously – and re-measure any time you move them.
9. Desk Reflections and Gear Creep
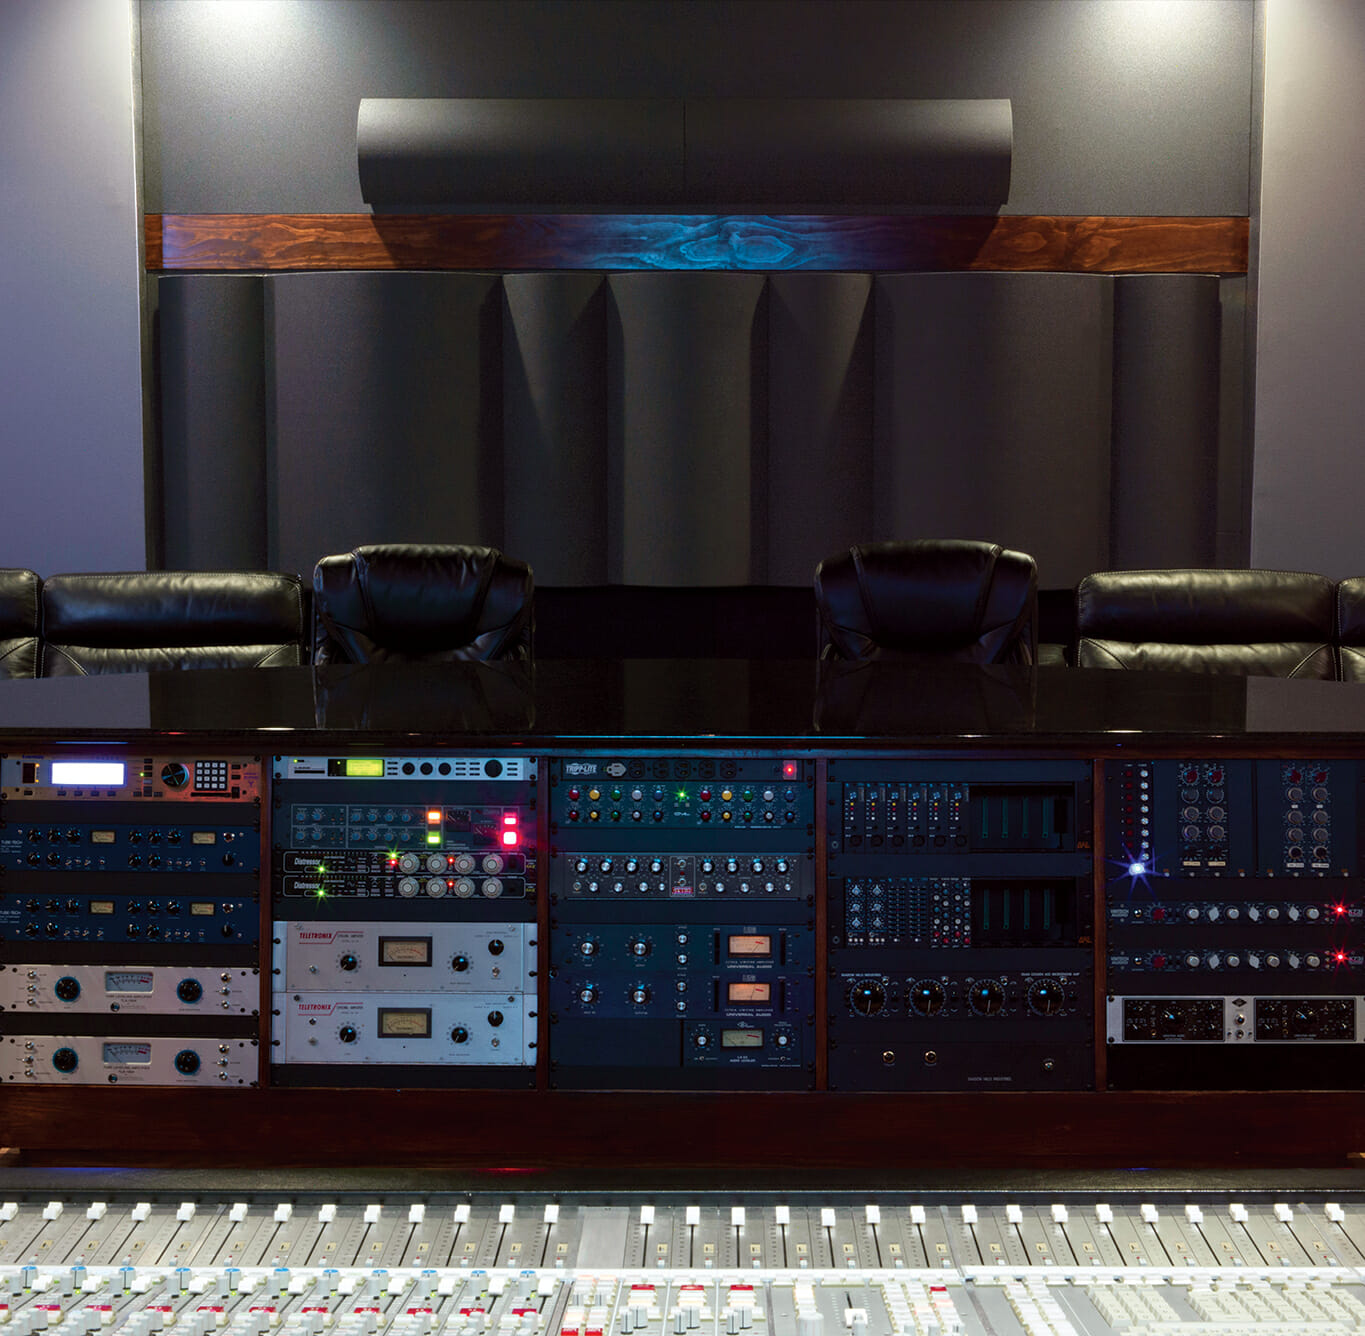
Large, shiny desks can cause desk reflection comb filtering, especially in the critical midrange. As studios grow, “gear creep” – extra screens, interfaces, and racks – often increases the surface area reflecting sound toward your ears.
Fix:
Use a low-profile desk. Angle screens slightly away from the direct reflection path. If you can’t shrink the desk, add a small absorber between the speakers and the desk surface. Keep racks low or positioned outside the triangle between speakers and the listener.
10. No Measurement, No Baseline
Guessing is slow. The ear is an excellent instrument, but in an untreated room it’s easy to misread problems caused by room modes. Without data, it can be almost impossible to target the right fix.
Fix:
Grab a USB measurement mic and run a baseline sweep. Look at both frequency response and decay, especially the waterfall plot room decay. After each treatment step, re-measure and refine your process. Don’t wait until you’ve installed everything to check your progress.
11. DIY Build Errors that Kill Performance
The biggest failures in DIY studios come from small construction mistakes:
- Leaky door jambs
- Unsealed electrical boxes
- Short-circuited clip/channel systems
- Absorber frames that restrict airflow
Even panels with the wrong fabric or backing can choke performance.
Fix:
Seal every penetration in the isolation shell. Maintain proper spacing for clip-and-channel walls.

12. Ventilation & Noise You Forgot to Tame
HVAC can undo months of careful treatment. Sound transmission to other rooms in the building, rattling ducts, whistling returns, and blower rumble are common culprits. Other noise sources like lights, mechanical equipment, computers, and hard drives also introduce noise you don’t notice until the room gets quieter.
Fix:
Line the supply and return ducts with cotton based absorptive liners. Add two 90 degree bends in every duct run to or from the room so that you can’t look into one end of the duct and out the other. Use longer, slower ducts when possible. Isolate fans and place computers outside the critical listening zone – or in another room if practical.
13. Aesthetics Matter Because You’ll Work There Daily
If a room looks like an afterthought, the panels often end up being temporary. Good visual design helps treatment stay on the walls and keeps you comfortable working long hours.
Fix:
Use fabric wrapped acoustic panels as coordinated sets or triptychs. Add PET felt acoustic panels for texture. Introduce wood-faced hybrids for warmth and visual structure. Keep the layout symmetrical and intentional.
Putting it All Together – A First-Pass Treatment Plan
If you’re overwhelmed, here’s a simple sequence that works for almost every home studio acoustic treatment project:
- Choose the best room you have – avoid cubes and extremely small boxes.
- Critically listen to the room and soundproof as needed before moving forward.
- Place the mix position at roughly 38% of the room depth.
- Set up monitors in a proper triangle at ear height.
- Treat first reflection points with 2-4” thick broadband panels and possibly an overhead direct-mount absorptive panel or hanging cloud.
- Add corner and soffit bass traps – as much as the room allows.
- Treat the rear wall with diffusion or absorption.
- Measure → adjust →measure again until the room tightens up.
Acoustic Geometry Playbook – Solutions that Map to These Fixes
Need help choosing the right mix? Contact us and we’ll point you to the best options for your room.
First-Reflection Control
- Add Curve Diffusors at first reflection points
- As an alternative, add 2-4” thick fabric wrapped broadband absorber panels
- Studio ceiling cloud kits (pair Fabric-Wrapped Panels with the Suspended Cloud Hardware Kit) or direct mounted ceiling panels
- Matched-panel pairs for symmetry (see Fabric-Wrapped Panels)
Bass Management
- CornerSorber
- Bass Buster
- Soffit/edge modules for room-wide modal smoothing
Balance & Spaciousness
- Curved diffusors
- Geometric/wood-faced hybrid panels
- Rear wall diffusion setups (start with Curved Diffusors)
Isolation Helpers
- STC Rated Door assemblies or adjustable door seal kits
- Mass Loaded Vinyl or AcoustiBlox Pipe Wrap
- RSIC decoupling clips and hat channel guidance
Contact Acoustic Geometry
Ready to skip the guesswork? Schedule a consultation with one of our team members. Share your room’s dimensions, goals, and budget. We’ll design a custom layout with panel types, quantities, and a placement map you can install with confidence – plus ongoing support while you dial in the final details.
Avoiding the most common studio acoustic mistakes doesn’t require an engineering degree – just a clear plan and proven tools. With the right combination of first-reflection control, bass management, diffusion, isolation, and a smart layout, your studio can sound exceptional and stay that way for years to come.

About author







Add comment
You must be logged in to post a comment.