Crafting the Ultimate Sound: A Guide to Studio Acoustics
Room acoustics is one of the most important aspects of creating a great recording studio. Even more important than high-end computers and recording gear, studio sound design that emphasizes room acoustics will greatly improve sound quality in your recordings, in ways that microphones, preamps, and interfaces simply cannot.
The quality and technology of recording equipment is increasing extremely quickly, but it is still very important to recognize that poor room acoustics can create muddy or unclear sounding recordings – even when using high end equipment. If your room produces manageable reflections, tolerable resonant frequencies and a limited amount of standing waves, it will only help the audio clarity of your creations. A clean and balanced acoustical response in a room can eliminate the need to spend hours of time in post-production and greatly speed up studio productivity. Critically incorporating your studio sound design into early build plans is always a good idea and well worth the effort.
Understanding the Fundamentals of Studio Acoustics
The first step in treating a studio for acoustics is understanding how sound waves interact with the various surfaces in your studio. When sound waves travel across a room and impact a surface, three things will happen. Depending on the surface that it hits, the energy will be reflected, absorbed or diffused. Here’s what each of these sound wave behaviors mean.
Reflected Waves – Similar to light bouncing off of a mirror, when sound waves bounce off a surface and travel in a different direction, it is known as a reflection. When uncontrolled, reflected waves can cause echo and reverberation, creating unwanted noise and muddy sounding recordings. However, not all reflected waves are bad! See diffused waves below.
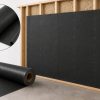
Absorbed Waves – The most common type of acoustical studio treatment are products that absorb sound. Most absorbers are made from light, soft and porous products like foam, cotton or fiberglass. When sound waves travel across a room and hit the surface of an absorber, some of the sound energy is transformed into heat as it travels through the maze of air and fibers. As this happens, the sound energy loses power and is effectively removed from the space. But, keep in mind, echo reduction can be tricky because there are many different types of energy/waves you are dealing with, so different thicknesses and types of absorbers are generally needed for a balanced room.
Diffused Waves – Diffusing sound is arguably the best and most effective way to make your room sound the most “natural.” The ear was not designed to experience noises in areas that have six parallel surfaces (like a box), so how do you deal with standard room walls, floor and a ceiling? Think of diffusion like light coming off of a disco ball. When sound waves are scattered in various different directions after impacting a surface, the sound waves are spread more evenly throughout the room. This helps to reduce hot spots, dead spots, standing waves, resonant frequencies, and it contributes to a more balanced, even and natural sounding space.
It is important to keep in mind that the size and shape of the room will ultimately have an impact on its acoustical performance. Building a room with non-parallel surfaces as well as using a combination of acoustical treatments that will absorb and diffuse sound will deliver a balanced and accurate sound. This will ensure you are capturing clear recordings and accurately monitoring signals during mixing and mastering.
Essential Acoustic Treatment Elements
As mentioned previously, the elements we use in studio sound design are based on the principles of reducing and diffusing unwanted, uncontrolled or otherwise troublesome reflections. The main products we use to accomplish this are sound absorbers, diffusers, and bass traps. Although bass traps are a specific version of sound absorber, it is good to discuss these types of products specifically because they serve a specific and important purpose.
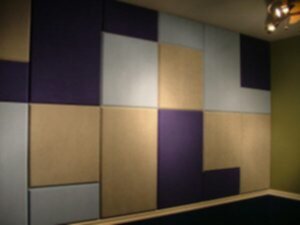
Sound Absorbers
Sound absorption materials are commonly thought of as acoustical panels and are intended to reduce reflections off of flat, hard surfaces. The most traditional and common absorptive surfaces are made from soft, light and porous surfaces that are made from a combination of pliable/soft fibers and air chambers. Some of the most common materials used for these types of absorbers are fiberglass, mineral wool, cotton, foam or Wood Wool. When the sound energy enters these types of panels, not only does the energy use a random maze of air chambers to travel away from the source, but it also bumps into the tiny material fibers that will move or vibrate a small amount. As this happens, some of the sound wave energy is converted into a tiny amount of heat, reducing the strength of the sound wave.
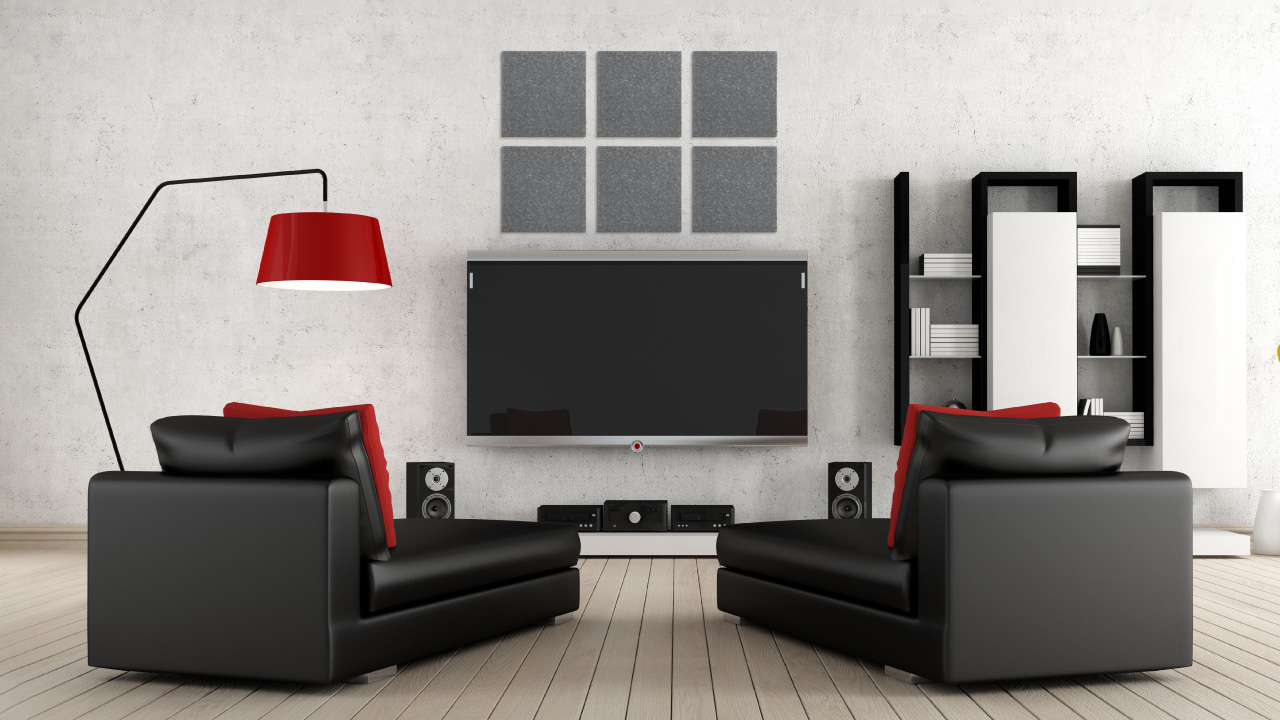
Sound absorbers are typically placed in first reflection points, which is the initial location that a sound wave will strike a hard, usually flat surface. First reflection points can be identified by sitting in the normal position you would be recording in, and having a friend slide a mirror along the wall at eye level until you see the corresponding speaker in the mirror. When you see the right speaker on the right wall, that is one point, and when you see the left speaker on the left wall, that is the other.
Keep in mind that you will also have first reflection points on the ceiling as well as on the floor. Placing absorptive panels in key areas on the ceiling and things like carpet or area rugs on the floor will provide additional reflection control. These are not the only places for acoustic treatment panels, however. Based on the geometry, size and specifics of your room, additional absorbers will very likely be needed throughout the room. It is common to see additional panels installed on large, flat surfaces. The proper type, quantity and location of absorptive panels will significantly reduce unwanted noise and reflections that will create issues in the final mix.
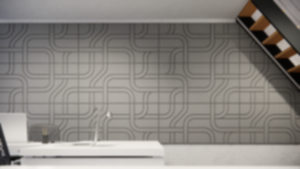
Diffusers
Diffusers play a different but critical role in acoustical treatment for studios. We don’t want to absorb all sound waves, or we will end up with a dead and very unnatural sounding space. This is why treating a room with absorptive surfaces only is not advised. Straight-line reflections can cause recording issues, so with that in mind, this is where diffusion can help. Sound diffusion is basically scattering or spreading sound pressure out within a room.
Diffusers are available in a number of different styles, types and designs. Some of the most recognizable and iconic designs are the wooden skyline diffuser and quadratic diffusers. Both offer a unique and very interesting aesthetic. However, there are a wide range of other (arguably more effective) options. Diffusers that are barrel or pyramid shaped are considered phase-coherent which can both broaden and focus your sound stage. If you need help identifying the best diffuser for your space, reach out and we can help.
Diffusers can be extremely effective in first reflection points or in other areas where sound reflections need to be controlled without completely absorbing sound waves or creating dead spots. Common diffuser locations include both left and right first reflection points, on the rear wall behind the listener, on the first reflection point on the ceiling, and depending on your space, along the front wall. The geometry, size, surfaces and listening positions in your room all come into play when laying out both the absorptive panels and diffusers.
Bass Traps
Most standard sound absorbers are not able to dampen very low frequencies effectively and do little in the way of bass management simply because low frequency energy is very unique and must be approached as such. To control low frequencies in a room, we use bass traps, which are specially tuned acoustic treatment devices designed to absorb specific frequencies well.
Some bass traps manage the bass in the room due to their thickness – it is common to see foam, cotton or fiberglass bass traps that are 4”, 6” or 8” thick. Some are wedge shaped, fibrous or foam surfaces that are installed in the corners. Other traps use a diaphragmatic membrane in which the absorptive membrane will physically vibrate in response to low frequency sound waves – greatly reducing the energy they carry. These diaphragmatic absorbers often produce amazing results by absorbing lower frequencies more effectively than fibrous absorbers.
Since bass waves have a tendency to build up in corners, they are the ideal location for bass traps. Ideally, you will want to leave a gap between the wall and the bass trap, but if space is a concern, they may be placed directly into the corners.
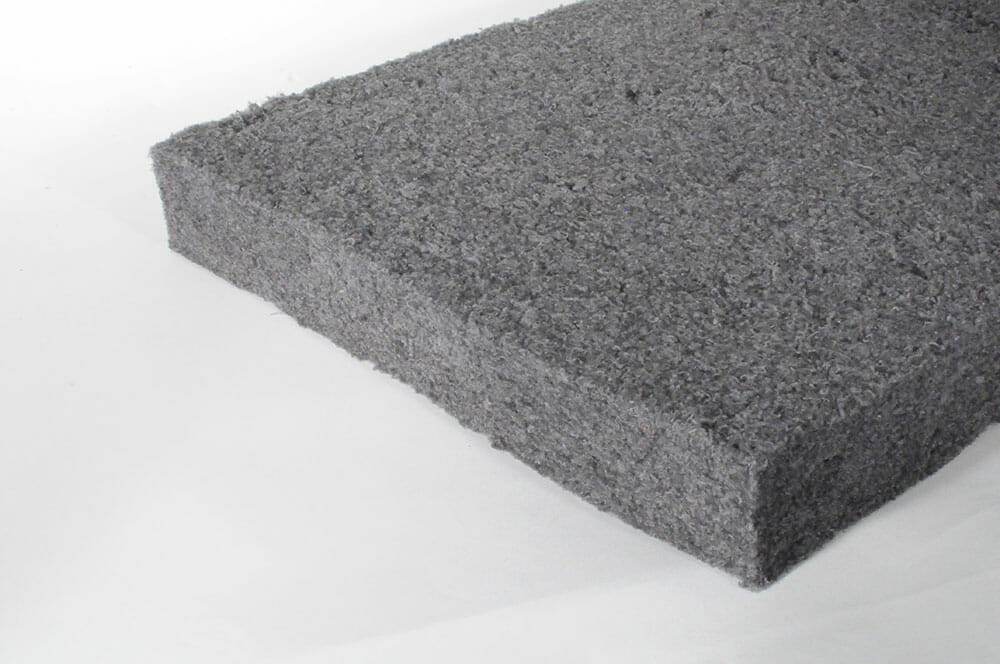
Bass Buster for low frequency sound absorption
Smart Layout for Optimal Studio Sound Design
Your home recording studio setup will dictate the sound quality within your space. We’ve touched on ideal sound absorber and diffuser locations, but there are some more considerations you should keep in mind for optimal audio clarity. The first consideration is your studio monitor placement.
Nearfield monitors are designed for close quarters, and should be placed 3 to 5 feet from the listening position and angled toward the listener, forming an equilateral triangle. This will ensure the speakers are equidistant from your ears, puts the listener in the sweet spot, and creates balanced stereo imaging.
Midfield monitors are designed for larger spaces, and are usually placed between 5 and 10 feet from the listener. The triangle setup still works very well, but the angle may change a little due to the listener being farther away.
These setups will place the listener in the sweet spot, no matter what kind of speakers you have, and represent ideal listening locations for mixing rooms. Make sure to keep the room as symmetrical as possible to avoid uneven reflections that could cause issues.
Read More: What’s The Difference When Comparing Fiberglass Panels vs Acoustic Foam?
DIY Acoustic Treatment vs. Professional Solutions
There are all kinds of DIY acoustic treatment ideas floating around online, and some of them work better than others. The choice in choosing DIY vs professional acoustical solutions all depends on what you want out of them, performance wise.
Budget-Friendly DIY Options
There are many online tutorials on cutting up your old mattress toppers and building panels out of them, and they may work fine for controlling some frequencies. But with the amount of time and effort that goes into making panels of your own, there are plenty of easy-to-install options that are very budget friendly.
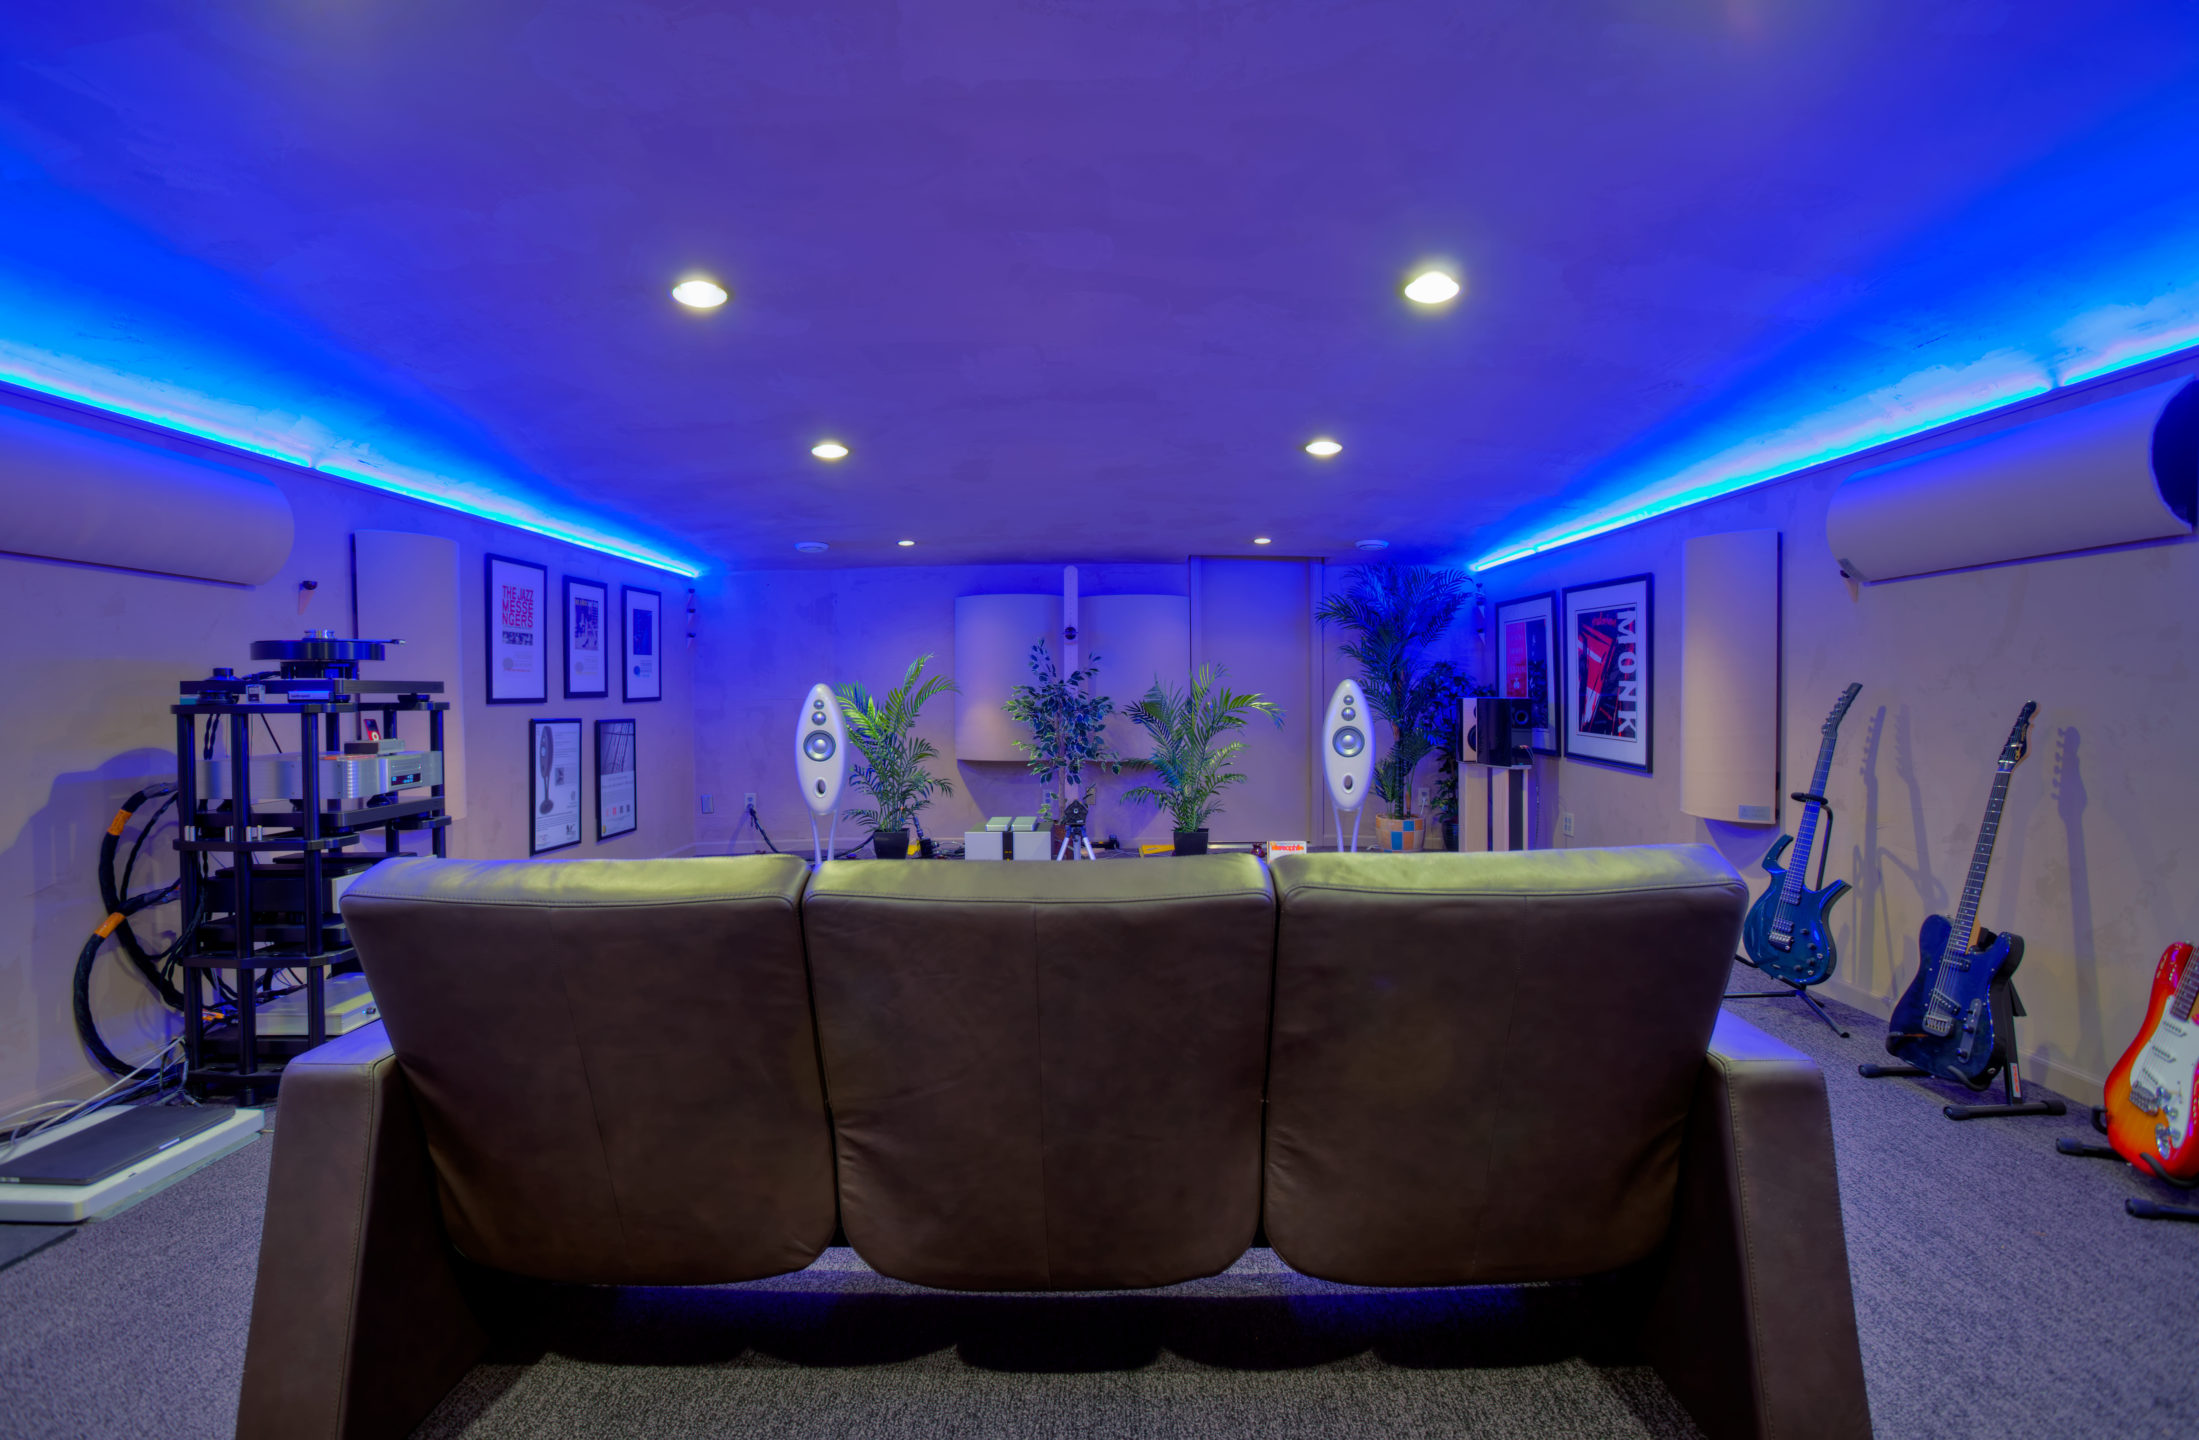
You can find acoustic panels, acoustic foam, and acoustic ceiling panels that won’t break the bank and are easy to install yourself. Combine them with a couple rugs, plants, bookshelves, and a few absorbent furniture options, and you may be able to reduce acoustical issues fairly efficiently.
Read More: Building a Music Listening Room
When to Invest in Professional Acoustical Treatment
For professional sound engineering, it often makes sense to choose professional-grade acoustical products in your studio soundproofing and acoustical treatment plan. They allow you to dial in your sound more precisely and keep unwanted noise out of your final mixes.
For some, hiring an acoustic engineer and using custom-built studio treatments can be greatly beneficial and worth the expense, especially when it comes to tricky spaces. You will get a tailored acoustic treatment plan that delivers frequency response optimization, meeting both your aesthetic and functional needs. The end result is a more pleasant and productive environment that is designed to deliver better sound clarity and accuracy for years to come.
Advanced Techniques for Studio Sound Optimization
Beyond the acoustical treatments we have discussed, there are some advanced techniques that will help optimize your studio sound.
Diffraction and studio resonance control are two more points professional audio engineers pay close attention to. Both involve the ways that sound waves travel around objects within the studio and interact with the space to create phase issues, poor stereo separation, standing waves, and room modes. Each of these can negatively impact the final recording, so be sure to consult with a professional if your studio isn’t producing the results you’re after.
You may be able to tackle these issues yourself with the help of a Room EQ software (Sonarworks, REW) for calibration. Both these tools can help optimize the frequency response of your room by measuring and correcting unwanted anomalies.
Soundproofing (blocking or reducing sound from entering and/or leaving your space) is another variable you will want to consider when designing your home studio. Both airborne and structure-borne noise can create issues, and each is treated with different noise isolation techniques. We have some great articles on soundproofing your studio, but if you need additional help, we have a number of acoustical professionals on staff who can help solve your issues.
Conclusion
If this is your first attempt at studio sound design, you may have questions.
Where is the best place to implement diffusion vs. absorption?
What is the proper number of panels to include in your studio?
What’s the difference when comparing acoustic foam vs. fiberglass panels?
The professionals at Acoustic Geometry have the knowledge to answer your questions and carry the products to make your project successful.


Add comment
You must be logged in to post a comment.