

How Soundproof Windows and Doors Help Dampen Noise in Studios
A recording studio should capture the sounds you intend to record, not traffic outside, footsteps overhead, conversations in the next room, or the hum of a nearby mechanical system. Yet many studios struggle with unwanted noise even after investing in quality microphones, monitors, and interior finishes. The problem often isn’t the equipment – it’s the room itself.
Effective studio soundproofing is about controlling how sound moves into and out of a space. Whether you’re designing a professional control room, building a vocal booth, or soundproofing a home studio, every wall, ceiling, floor, door, and window becomes part of the room’s sound isolation strategy. If one part of that envelope allows sound to leak through, the entire studio can suffer.
That doesn’t mean every studio requires major construction. Often, improving the weakest parts delivers the biggest gains. Doors that don’t seal tightly, poorly performing studio windows, gaps around framing, and unsealed penetrations can all allow sound to travel much more easily than properly constructed walls. Identifying those weak points is the first step toward successful recording studio soundproofing and avoiding many of the mistakes when setting up a recording studio.
Studio Soundproofing Starts with the Weak Points
When people think about blocking noise, they tend to focus on walls. While walls certainly matter, they are rarely the first place sound escapes. Like water, sound follows the path of least resistance. A well-built wall can lose much of its effectiveness if it connects to a lightweight door, a poorly sealed window, or an opening around ductwork or electrical penetrations.
For studios, these weak points usually occur where different building components meet. Even small gaps can increase sound transmission, making sound isolation harder to maintain.
Some of the most common weak points include:
- Doors
- Windows
- Gaps around wall framing
- Ceiling and floor connections
- HVAC openings and ductwork
- Electrical outlets, conduit penetrations, and other service openings
A studio is only as quiet as its weakest link. Upgrading walls while leaving a hollow-core door or a poorly sealed window untouched can lead to disappointing results because sound simply finds the easier path. Addressing those vulnerable areas first can produce a much greater improvement than adding more mass where the room is already performing well.
Soundproofing vs. Acoustic Treatment
One of the biggest misconceptions in studio design is that soundproofing and acoustic treatment accomplish the same thing. They are closely related, but they solve very different problems. Understanding the difference helps ensure improvements are made in the right order and with the right expectations.
| Term | What It Does | Studio Example |
|---|---|---|
| Soundproofing | Blocks sound transfer between spaces | Keeping traffic noise out of a vocal booth |
| Sound absorption | Reduces reflections inside the room | Controlling flutter echo from hard walls |
| Diffusion | Scatters reflections more evenly | Making a control room sound more natural and balanced |
| Damping | Reduces vibration within building materials | Limiting structure-borne sound transfer |
In other words, soundproofing vs acoustic treatment isn’t a choice between competing approaches – they work together. Soundproofing focuses on keeping sound from entering or leaving the room, while room acoustic treatment improves how sound behaves once it’s already inside. A well-designed studio typically requires both. Windows, doors, wall assemblies, and seals help isolate the space, while absorption, diffusion, and bass control create an environment that supports accurate monitoring and better recordings.
Why Studio Doors Matter So Much
Even in a well-built studio, the door is often the easiest path for sound to travel. Walls may contain multiple layers of drywall, insulation, and other sound-isolating materials, but a lightweight interior door with gaps around the frame can undermine much of that effort. That’s why experienced studio designers pay as much attention to the door assembly as they do to the surrounding walls.
A door doesn’t have to be visibly open to leak sound. Small gaps around the perimeter, a space beneath the threshold, or a lightweight core can all allow airborne noise to pass much more easily than a properly sealed wall. In many studios, improving the door is one of the most effective upgrades.
Common Door Problems in Recording Studios
Some of the most common issues include:
- Hollow-core door construction that provides very little mass
- Gaps between the door, jamb, and surrounding wall framing
- Open space beneath the door that allows sound to pass freely
- Lightweight hinges, latches, or hardware that prevent the door from sealing consistently
- Worn or missing perimeter seals
- Thin glass inserts that offer less isolation than the surrounding door
- Shared recording studio doors between live rooms and control rooms that were never designed for acoustic performance.
Individually, these issues may seem minor. Together, they can undermine the entire room.
What Makes a Studio Door Soundproof?
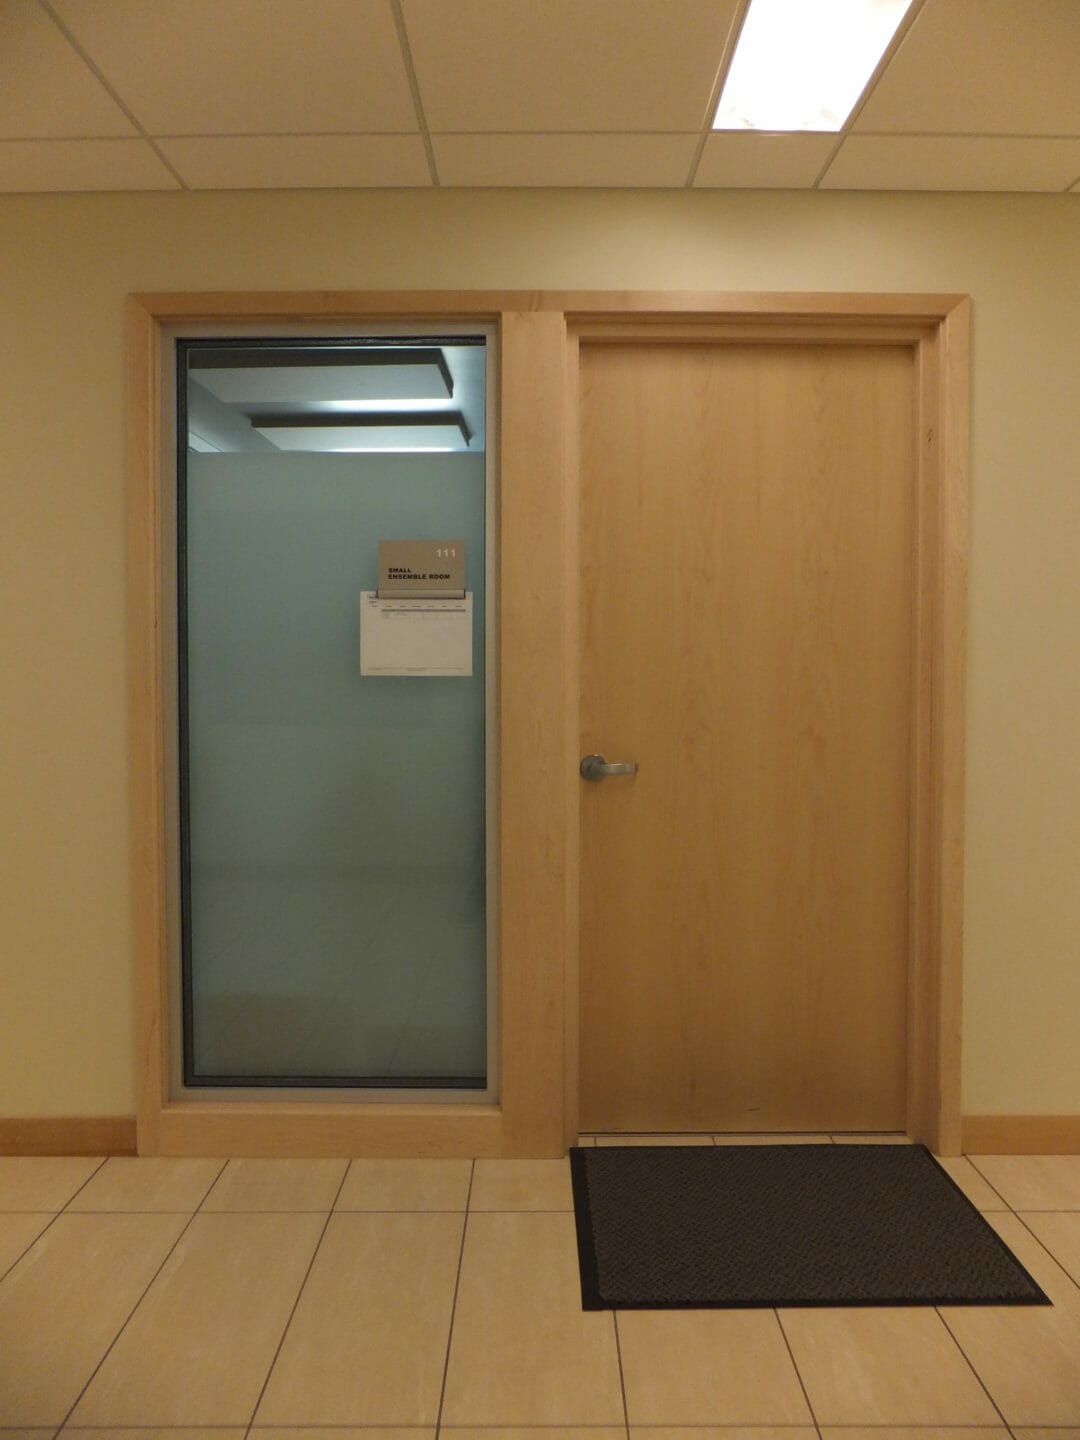
No single feature turns an ordinary door into a studio soundproof door. Instead, good performance comes from several components working together to reduce unwanted sound transfer.
Mass is one of the biggest factors. Heavier doors resist vibration more effectively than lightweight hollow-core models, making them better at limiting airborne sound.
Seals are equally important. Even a small gap around the perimeter can allow surprising amounts of noise to pass through. A quality door sound seal kit helps create a continuous seal around the door so sound has fewer places to escape.
Thresholds deserve just as much attention. The space beneath the door is commonly overlooked, yet it can become one of the largest leaks in the entire assembly. Automatic door bottoms or properly sealed thresholds help close that gap whenever the door is shut.
Some soundproof studio doors also incorporate internal damping materials that reduce vibration within the door itself, further limiting sound transfer. Even a high-performing door can fall short if it isn’t installed correctly. Poor alignment, unsealed frames, or incomplete weather sealing can all reduce performance long before the door reaches its published ratings.
How Soundproof Windows Help Recording Studios
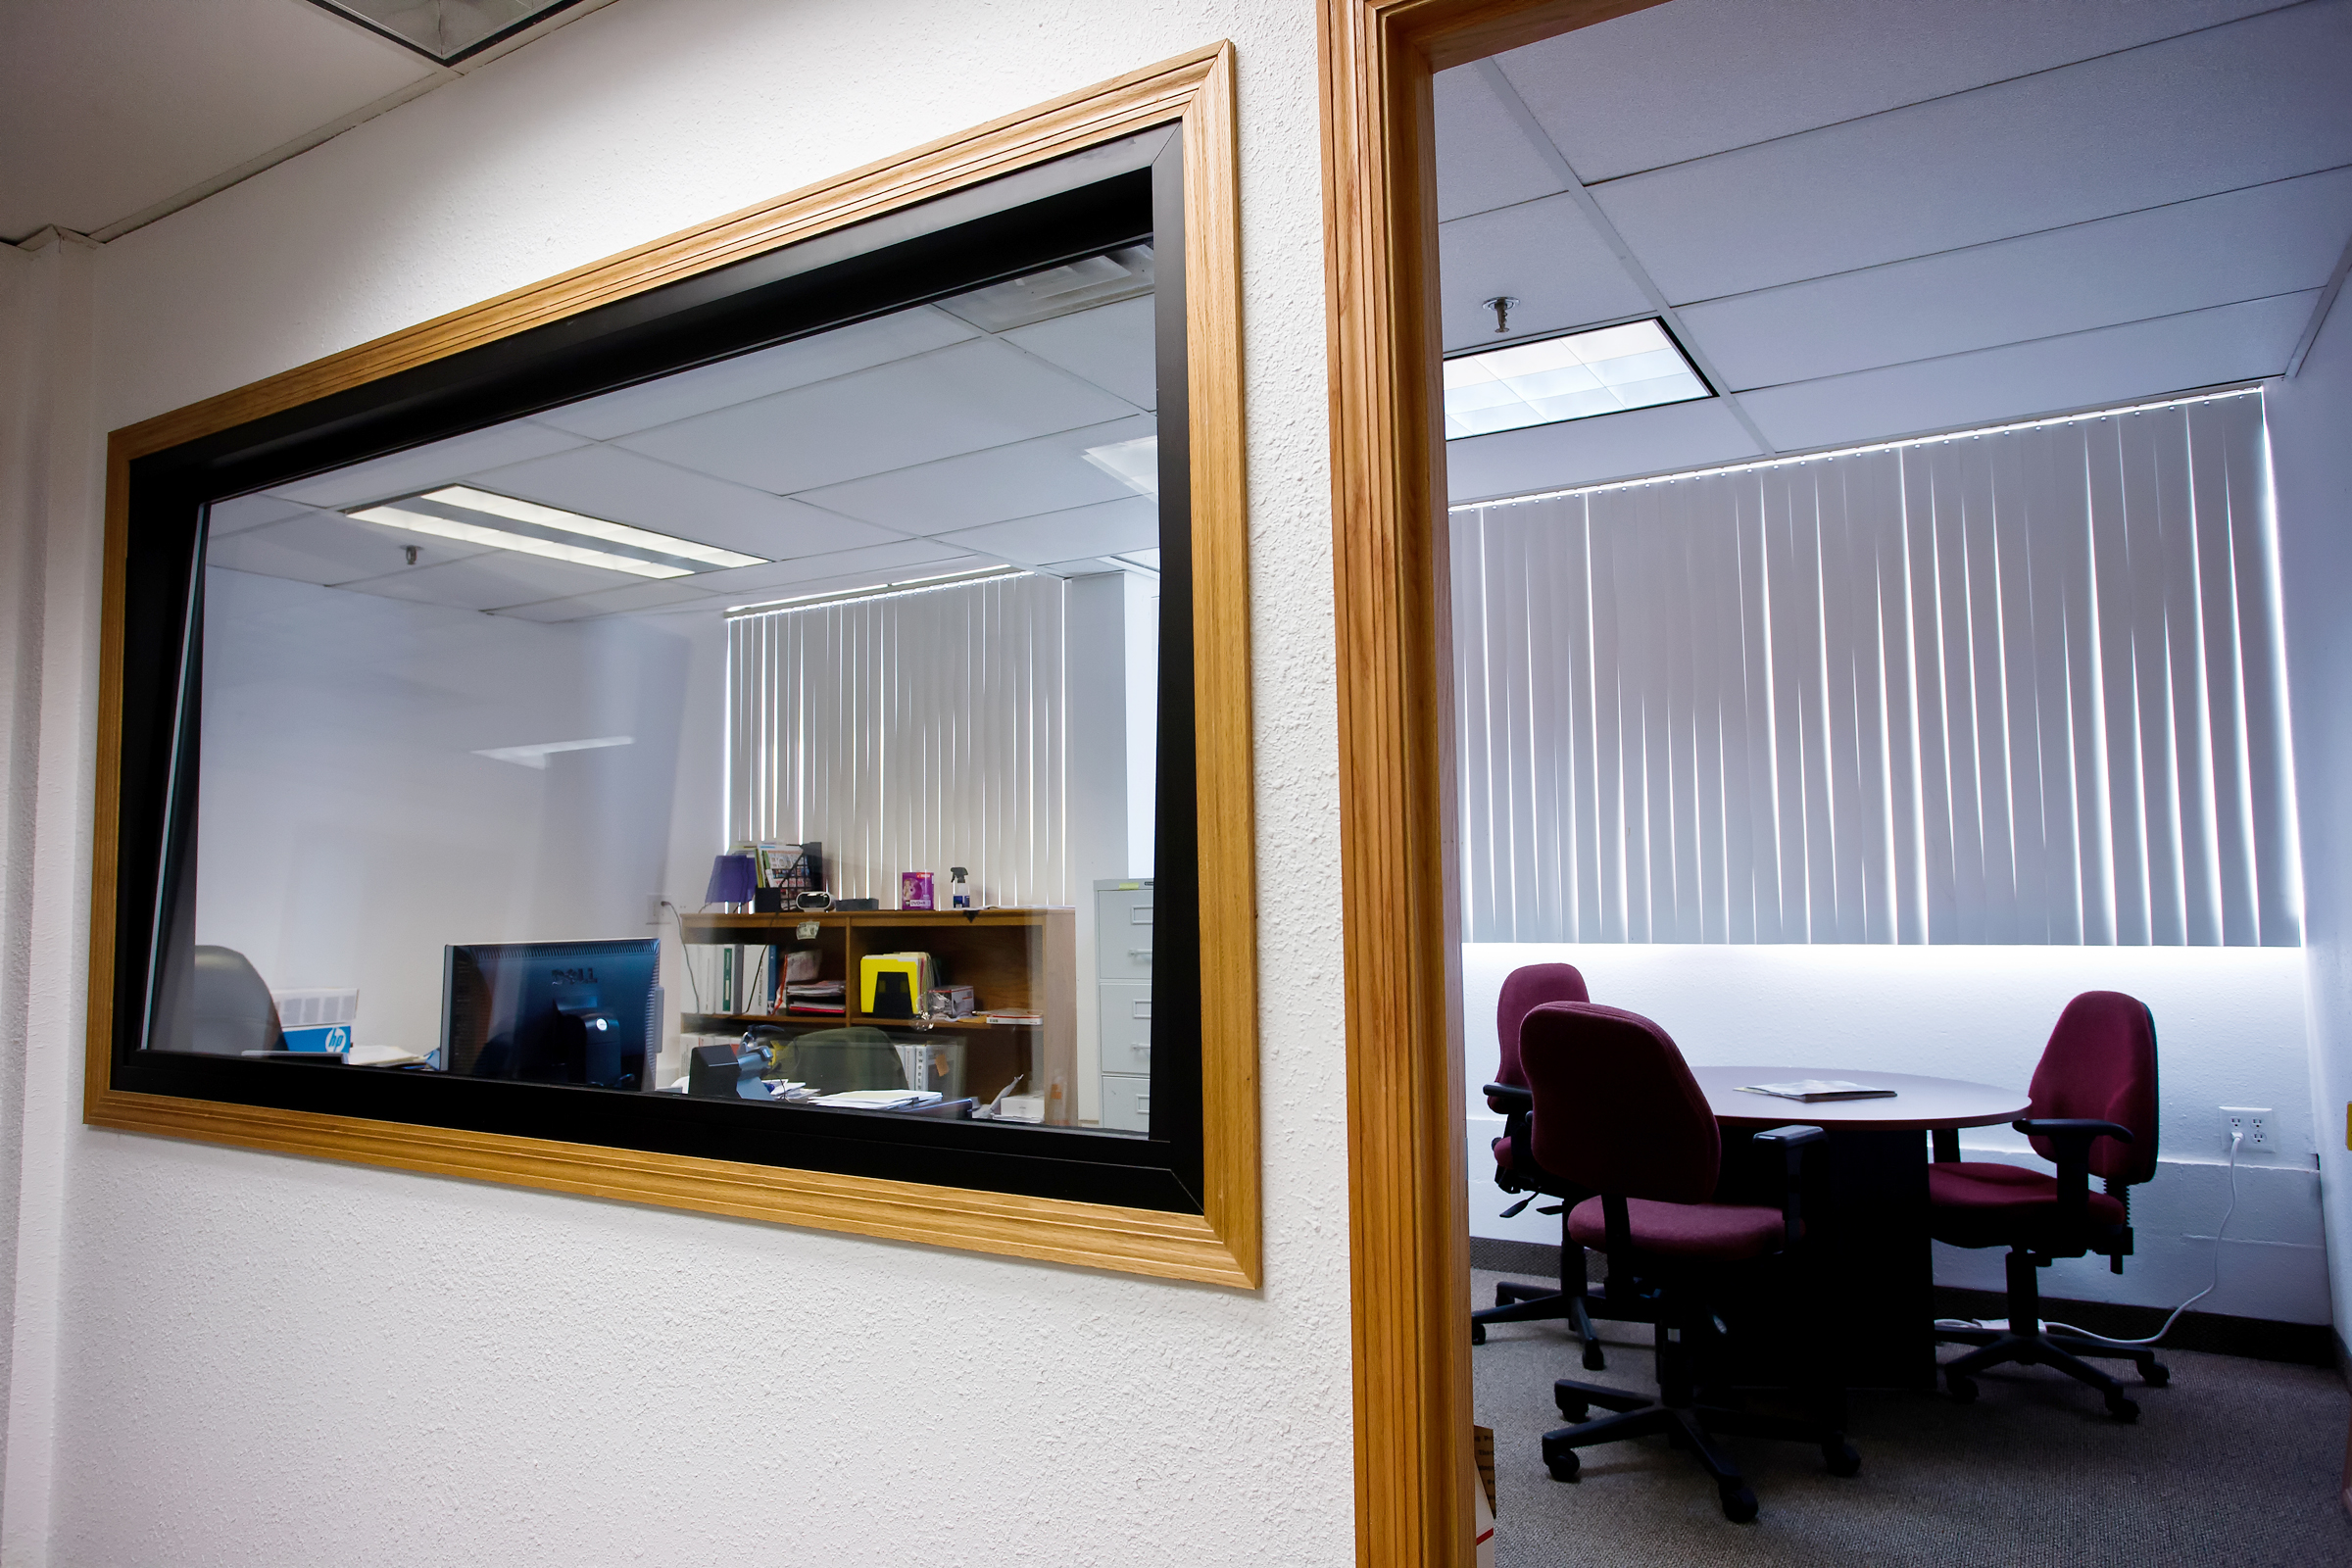
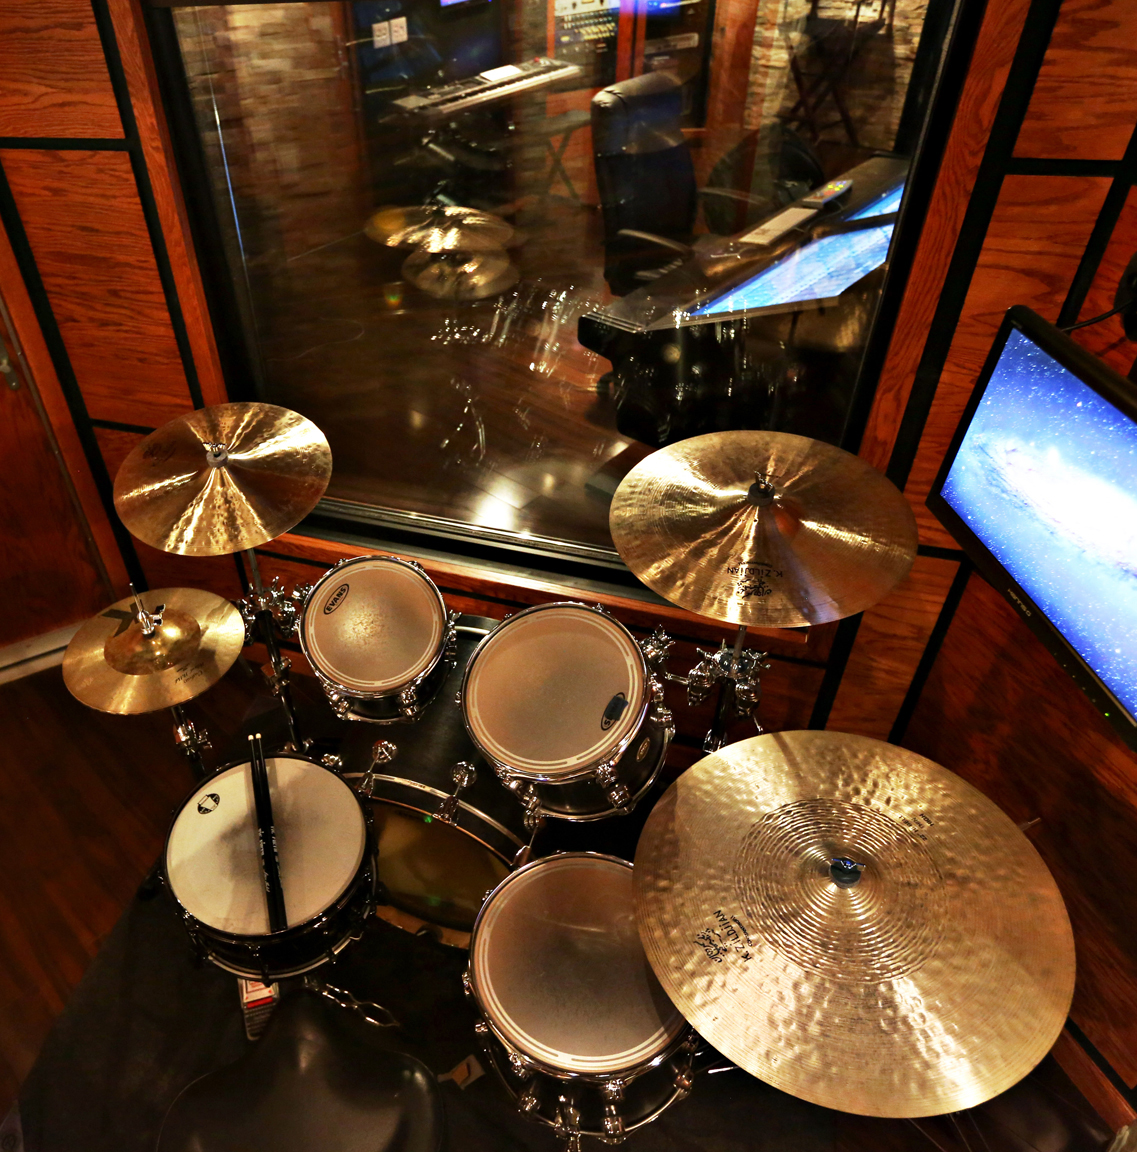
Windows are one of the most challenging parts of a studio because they serve multiple important purposes at once. They create visual communication between spaces, allow natural light in some studio layouts, and help musicians, engineers, or producers maintain eye contact during recording sessions. At the same time, glass is one of the more acoustically vulnerable materials in a room, making studio window soundproofing an important part of the overall isolation strategy.
Unlike a solid wall, a window combines glass, air space, framing, and seals into one assembly. If any of those components are poorly designed or installed, sound can pass through more easily than the surrounding construction.
Why Regular Windows Are a Problem
Standard residential windows – or inexpensive interior windows installed between studio spaces – are rarely designed with acoustic performance as a priority. Common issues include:
- Single-pane glass that provides limited sound isolation
- Air leaks around the frame or sash
- Large reflective glass surfaces inside the room
- Limited performance against outside or adjacent-room noise
- Glass that reflects sound directly back toward microphones instead of away from the recording position
For windows between a control room and a live room, the goal isn’t simply adding thicker glass. The entire assembly – including the glazing, air space, seals, and installation – works together to improve performance.
What to Look for in Studio Windows
When evaluating soundproof windows for recording studios, it’s helpful to look beyond appearance and focus on the features that affect acoustic performance.
A quality assembly should include:
- Multiple layers of glass where appropriate
- Adequate air space between glazing layers
- Different glass thicknesses to reduce resonance
- Airtight frame seals
- Careful installation that minimizes air gaps
- Published STC ratings and OITC rating information when available
- A design that maintains the sightlines needed between recording and control spaces
Both STC and OITC ratings measure sound transmission, but they emphasize different types of noise. STC is generally used to evaluate speech privacy and many mid- to high-frequency sounds, while OITC places greater emphasis on lower-frequency outdoor noise such as traffic, aircraft, and mechanical equipment. Together, these ratings provide a better indication of how a window assembly is likely to perform.
Some studio soundproof windows and acoustic windows for home theaters and studios also offer an angled glass option for recording environments. Rather than reflecting sound directly back toward performers or microphones, the angled pane redirects reflections toward the ceiling or floor, helping reduce unwanted early reflections in the recording space. When the primary goal is creating a great mixing room rather than recording performers, flat glass often provides even better isolation because it allows for a larger air space between the panes. Choose between flat and angled windows based on how the room will actually be used.
Soundproof Windows and Doors Are Only Part of the Studio
Upgrading recording studio doors and windows can dramatically improve isolation, but they don’t automatically create a room that’s ready for critical listening or recording. Soundproofing controls what travels between spaces. Once sound is inside the room, its reflections, reverberation, and low-frequency buildup still need to be managed with acoustic treatment for studios.
That’s why successful studios combine isolation with interior treatment. Windows and doors help keep sound where it belongs, while products such as acoustic panels for studios, fabric wrapped acoustic panels, and corner bass traps help shape the listening environment.
What Soundproofing Fixes
| Studio Problem | Typical Solution |
|---|---|
| Sound bleeding between rooms | Better sound isolation through upgraded doors, windows, seals, and wall assemblies |
| Noise through shared walls or ceilings | Improved construction, resilient clips, mass loaded vinyl barrier, or mass loaded vinyl |
| Gaps around doors | Studio soundproof door upgrades or a quality seal system |
What Acoustic Treatment Fixes
| Studio Problem | Typical Solution |
|---|---|
| Echo and flutter echo | Absorptive wall or ceiling treatments |
| Excessive reverberation | Room acoustic treatment |
| Bass buildup | Bass traps placed in room corners |
| Poor vocal clarity or an unbalanced mix | A combination of absorption, diffusion, and proper speaker placement |
Understanding soundproofing vs sound absorption helps prevent one of the most common studio mistakes: expecting acoustic panels to stop outside noise or expecting heavier doors to eliminate echo. The best studios use both approaches together because each addresses a different part of the acoustic environment.
Studio Soundproofing by Room Type
Every studio presents different challenges depending on where it’s located. Identifying the weakest points in the room helps prioritize improvements before investing in additional equipment or finishes.
Bedroom Studios
A bedroom music studio often has lightweight construction, shared interior walls, and windows facing streets or neighboring homes. Renters may also need improvements that can be removed without permanent construction.
Consider:
- Window inserts or soundproof window inserts
- A door seal kit for the existing door
- Portable acoustic panels and bass traps
- Barrier curtains where appropriate

Basement Studios
Basements often benefit from concrete foundation walls, but noise can still enter through small windows, mechanical equipment, or the ceiling above. HVAC ductwork can also carry sound between rooms much like a pipe carries water.
Consider:
- Window improvements
- Door sealing or upgrades
- Ceiling isolation where needed
- Bass control after isolation work is complete
Garage Studios
Garage conversions typically require the most isolation work because garage doors, exterior walls, and minimal insulation create several opportunities for sound leakage. Focus first on sealing openings and improving isolation before adding interior treatments.
Final Studio Soundproofing Checklist
Before starting your next home recording studio soundproofing project, ask yourself:
- Where is the unwanted noise coming from?
- Is the goal to reduce outside noise in the studio, keep sound inside, or both?
- Are the doors and windows properly sealed?
- Will the room also need acoustic treatment after the isolation work is complete?
- How will the studio actually be used – recording, mixing, podcasts, or full-band sessions?
Every studio is different, but the process is the same: identify the weakest paths for sound, strengthen the room envelope, and then fine-tune the interior with acoustic treatment. Whether you’re building a professional control room or soundproofing a home studio, combining the right doors, windows, seals, and treatments produces better results than relying on any single product. If you need help selecting the right combination for your space, Acoustic Geometry can help you evaluate your studio and recommend solutions that support long-term studio soundproofing success.
About author








Add comment
You must be logged in to post a comment.