Silence Your Space: How to Soundproof a Shed
Owning a shed can provide both utility and extra space for your property. Some people house workshops in their sheds, while others use them as a place to practice an instrument or simply hang out with their friends. With all the possibilities, it’s a great idea to learn how to soundproof a shed and make it even more usable, day and night. But can you soundproof a shed effectively?
Why learn how to soundproof a shed?
If you see your shed as a simple storage unit in the yard, you may wonder why in the world someone would want to learn how to soundproof a shed. Well, those who use it for activities that could possibly strain relationships with the neighbors already know the answer.
While the additional space can be a godsend for those working with limited indoor space, the simple construction doesn’t do a whole lot in the way of keeping noise contained. In order to give yourself a larger window for working on your favorite projects, soundproofing is the answer. Let’s look at some common shed uses that demand an extra layer of protection against sound.
Workshops
One of the primary ways people use sheds outside of simple storage is as a workshop. They provide an indoor space for working on our projects without worrying about creating a mess. Just run some power out there, set up some lighting, and you’ve got a great workshop space that you can use whenever you feel the itch. However, soundproofing a shed workshop is necessary if you want to keep in your neighbors’ good graces.
Music Rooms
Music rooms are another popular shed transformation. Learning to play instruments can wear on the nerves of those closest to us, and taking practice out of the house is a welcome move. However, your neighbors may not feel the same way. If you are learning the drums or an amplified electronic instrument, you’ll need to soundproof your shed to keep everyone happy.
Home studios
For those with limited space in the home to house their recording studios, sheds are becoming an increasingly popular option. The needs here are generally greater than they would be for other uses, but it can still be done. It simply requires close attention to detail and the right soundproofing products.
To best determine which products are best for your particular build, you’ll need to understand some basic sound concepts as they relate to soundproofing. Whether you’re researching how to soundproof a wooden shed or how to soundproof a tin shed, the concepts are the same.
How to soundproof a shed
If you’re interested in creating a space where you can do you without disturbing those around you, it’s a great idea to learn how to soundproof a shed. Luckily, it’s not that tough. Chances are you aren’t working with a finished interior space, meaning you can do all the work inside the walls without getting involved in a demo project. The shed does present some challenges not present in your home, but you can certainly overcome them. Let’s look at the basics.
Build a room within a room
The best way to soundproof a shed is to create a fully isolated room within a room. Vibrational paths are cut, and the doubly thick wall is filled with mass-loaded, dense materials. These measures prevent the vibrational energy produced by your drums or Dremel from passing from indoors to outdoors.
If you aren’t worried about losing a few square feet of space, this is the place to begin. That said, make sure you thoroughly plan this solution before beginning. Most sheds aren’t terribly large, and losing that square footage could cost you usefulness.
This method is by far the most expensive and requires specialized skills. If you don’t have the tools and know how to complete the project yourself, hiring skilled laborers will drive up the cost. Here is a basic rundown on how to soundproof a shed using this method.
Decouple the walls
The first thing you’ll want to do is frame out your interior room. You will want to leave at least a few inches of clearance between the two wall structures, but the more, the better. Use timber or steel studs to build the secondary wall, and remember to offset the studs by lining them up between the studs of the outside wall if possible. This eliminates the direct pathways sound waves could otherwise utilize to traverse the wall structure.
Add a floating ceiling
In order to finish your interior room, you’ll need to add a floating ceiling. If you’ve got a metal shed roof or are considering installing metal roofing on a shed that you’re soundproofing, this step will be especially important. That’s because most metal sheds aren’t built with thick enough metal to effectively block much sound.
Your new ceiling joists should sit a couple of inches below the original ceiling and should again be positioned between the original joists. It’s your last layer of decoupling and focuses on one of the toughest spots to tackle when it comes to soundproofing.
Insulate the walls and ceiling
If left open, the cavities between your two walls will allow sound waves to reverberate, opening up the possibility of sound escape. You’ll want to insulate these spaces to combat this effect.
When insulating for sound, we don’t use the same standard pink insulation we use to insulate homes against heat loss. While this type of insulation works wonderfully for preventing heat transfer, it doesn’t perform nearly as well when sound waves are involved. Instead, you’ll want to use acoustic insulation. This type turns vibrational sound energy into heat energy and essentially removes the sound from the space, a process called sound damping. More on that later.
Add drywall and paint
Once the room has been framed and insulated, the last step is to add drywall, seal any gaps, and finish to your liking. The more mass, the better, so don’t be afraid to add a couple of layers of drywall, or a plywood backer before finishing with drywall. This added mass will act as a solid barrier and prevent sound from escaping.
Before you go adding multiple layers of drywall to the structure, make sure the structure can handle the added weight. Those layers of drywall are heavy, and could cause structural issues if not installed correctly. If you have any questions, be sure to consult with a contractor.
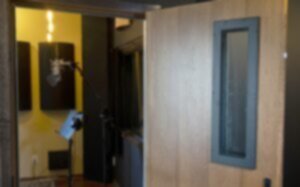
Install a heavy door and multi-paned windows
Once the room has been built and sealed, the only remaining weak spots should be the door and any potential windows. You’ll want to make sure they are up to the task.
Adding heavyweight wood or metal shed doors will provide the mass and density you need to keep sound contained. They’ll also provide an extra layer of security for the valuable equipment inside.
Adequate windows are another necessity. Choosing windows with two or more panes offers much more soundproofing protection than single panes. The extra panes should be well sealed with an air or gas gap between them, providing superior soundproofing ability.
Add soundproofing materials
Whether you build a room within a room or not, you’ll want to take these steps to improve resistance to sound passage. These steps are designed to add mass and volume, damp vibrational energy, remove gaps and cracks that would allow sound to escape, and to reduce the overall volume of the sound you’re competing with. Here’s how to soundproof a shed using DIY materials.
Add mass and volume
The addition of mass and volume to walls, floors, and ceilings is one of the most important aspects of properly soundproofing any space. The more mass and density the sound waves have to contend with, the less likely they are to make it to the other side.
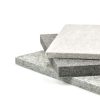
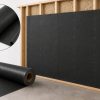
Mass loaded vinyl
One of the most popular products on the market for filling this need is mass loaded vinyl, or MLV. It is sold in rolls and can easily be applied to any flat surface. Adding MLV before your drywall or between layers, is a fantastic way to add both mass and density to the barrier. In fact, where soundproofing is concerned, it may even be the best material for interior shed walls. Just tack it up, cover, and you’re set.
Mass loaded vinyl is also a great way to add some mass and density to your floors. Since most shed floors are made of relatively thin plywood, they’ll need it. Roll and cut your MLV, add a second layer of plywood on top, and you’ll add considerable sound stopping ability to your floor.
Damp vibrational energy
Another method we use when soundproofing rooms involves removing sound waves from the equation. This is called sound damping, which we touched on briefly. Since energy can neither be created nor destroyed, we must convert it in order to remove it. Damping materials accomplish this by converting sound energy into heat energy.
Sound waves vibrate the material, are converted into small amounts of heat energy, and dissipate into the material. It’s a simple but very effective step towards creating a personal space that doesn’t create annoying noise for the neighbors.
Green Glue
Green glue is a popular sound damping product that is used in a large number of soundproofing projects. This is due to its impressive performance and ease of use. Simply spread out a bead between drywall layers. The green glue will prevent vibrations from passing from one surface to the next. If you’ve got a shed with metal roofing, a bead of green glue may be all you need to prevent annoying reverberation. It’s a fantastic product with many uses.
Seal gaps and cracks
As a general rule of thumb, if air can pass through a space, so can sound waves. For this reason, it’s incredibly important to seal all gaps and cracks to prevent sound transfer. You can use any old tube of caulk you have lying around the house, but for optimal performance, go with an acoustical caulk.
Acoustical caulk
The reason acoustical caulk works better than other types is because it’s made of latex. Traditional caulking is made of silicone, which is decent for blocking drafts but performs less admirably when dealing with sound waves.
A latex-based acoustical caulk is designed to handle sound waves more effectively, but that’s not the only benefit. Latex remains permanently flexible after application, meaning it is able to move with wood as it expands and contracts in inclement weather. Its ability to maintain a seal without cracking is especially important when soundproofing sheds, as they can be exposed to very harsh elements.
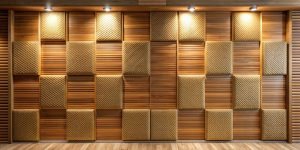
Reduce noise levels
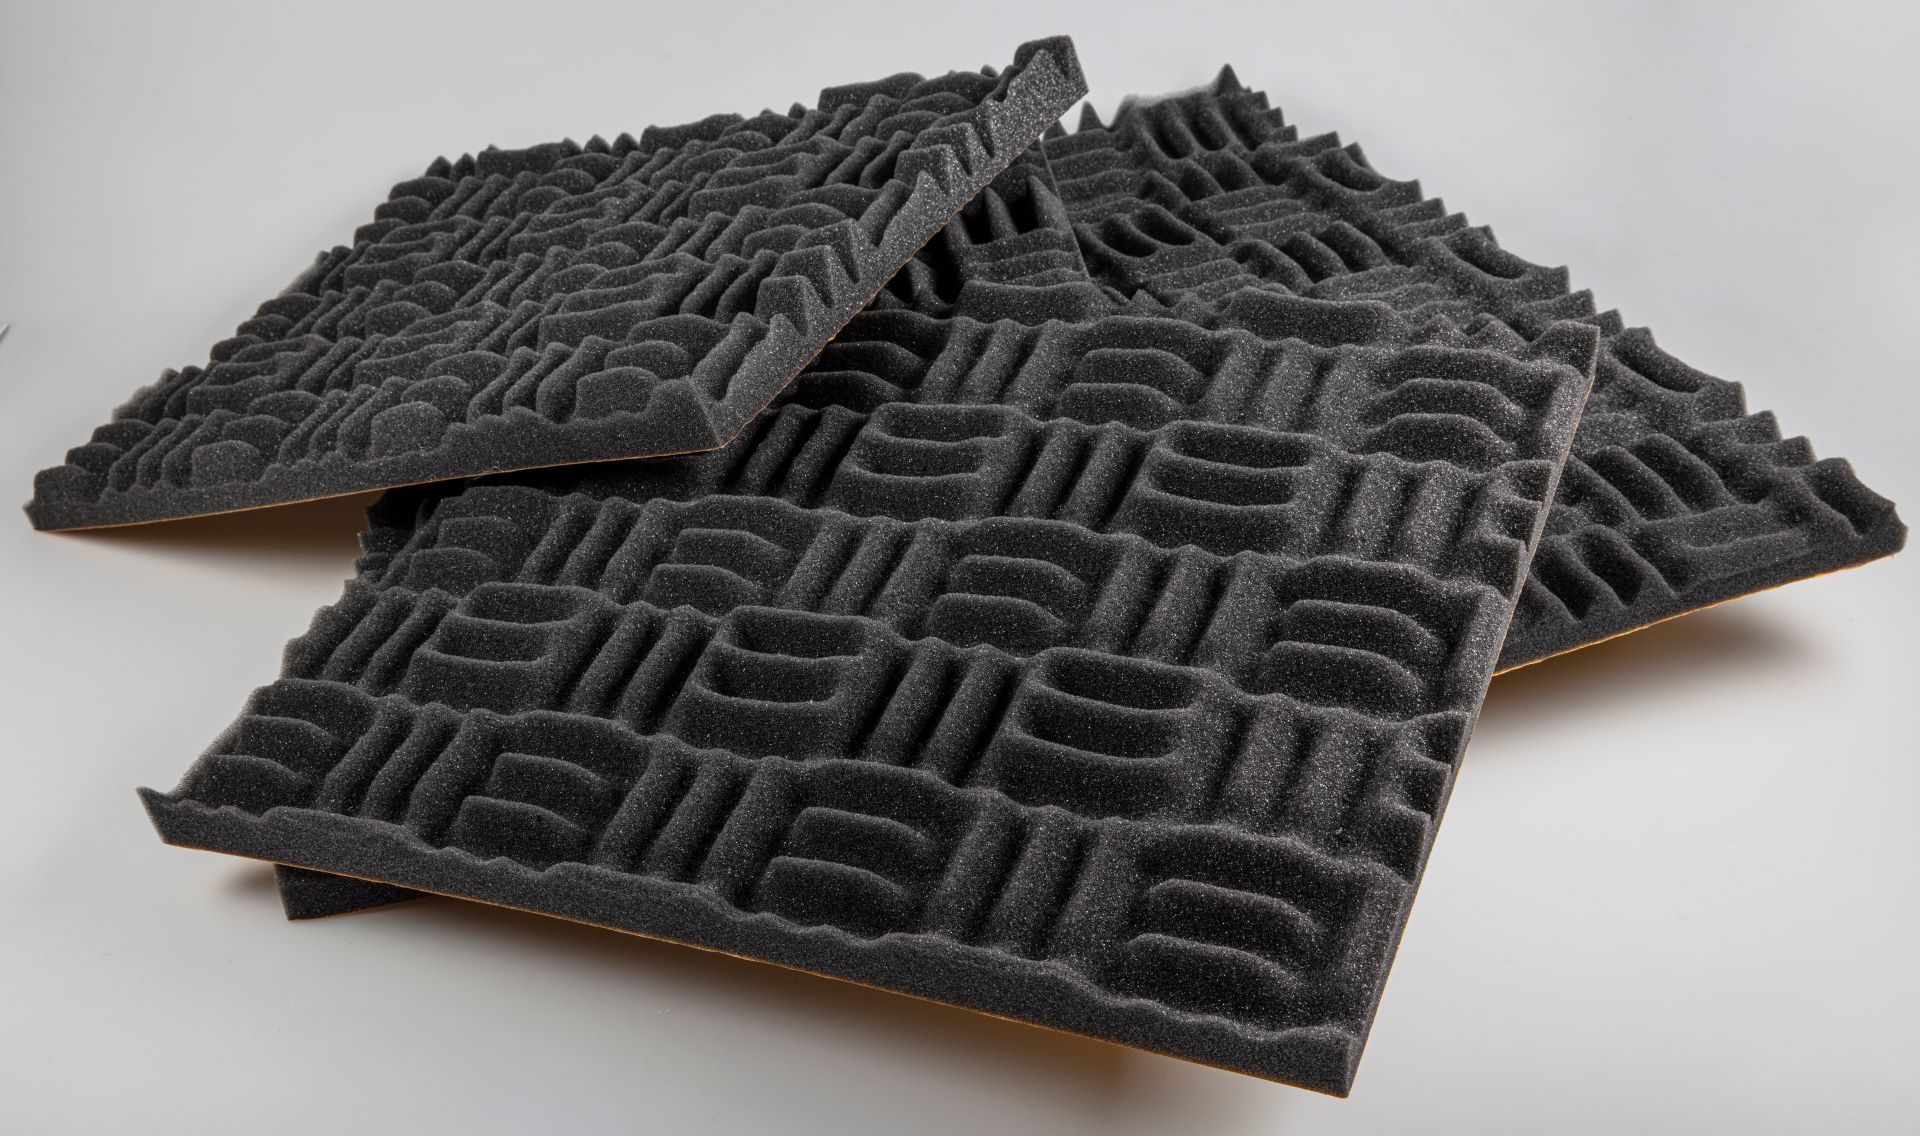
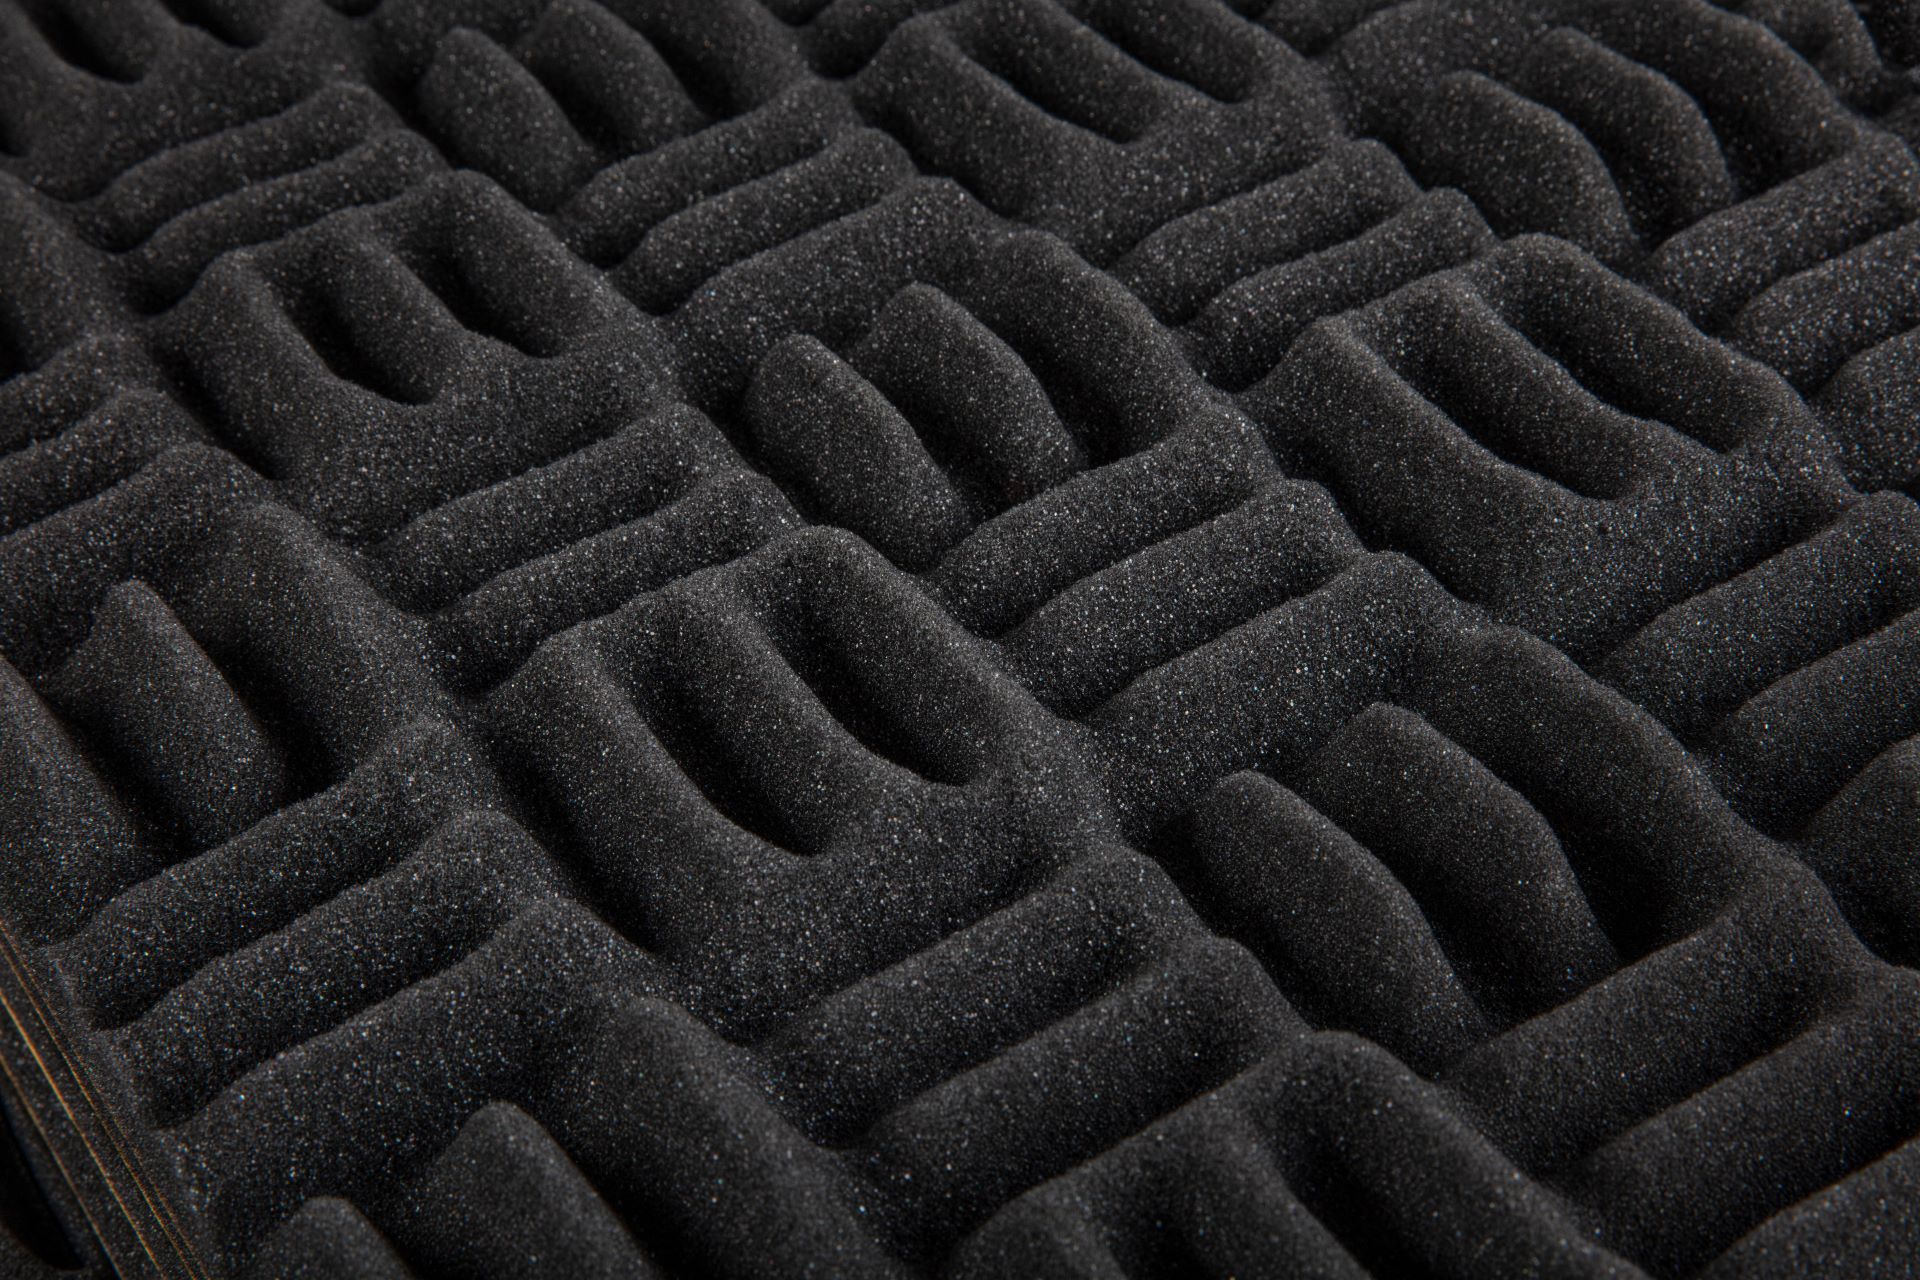
If you’re looking for shed interior wall ideas, why not use acoustic panels? While not technically a soundproofing measure, sound absorption is an important part of the equation when learning how to soundproof a shed. The less sound we are dealing with, the better equipped surfaces will be to keep it contained. As an added benefit, proper placement of sound absorption materials like acoustic panels or acoustical foam will vastly improve the quality of the sound that’s there.
For instance, metal sheds with windows simply aren’t going to sound great. As someone who owned a short bus fitted with subwoofers in his youth, I can verify the validity of this claim. Those hard surfaces reflect sound waves and build reverberation that becomes continually louder. Introducing absorbent materials to contain them is the only way to break the cycle.
Getting started
No matter what type of soundproofing project you’re embarking on, these concepts will serve you well. It doesn’t matter if you’re learning how to soundproof a shed or are now thinking of a soundproof garage instead. Using quality materials to decouple surfaces, add mass and density, add insulation and seal it all up will deliver. As you may have guessed, better materials translate into better soundproofing.
If you’ve got a tricky soundproofing job and are looking for help, reach out. We have the products and experience to help you get the soundproofing performance you want on a budget.


Add comment
You must be logged in to post a comment.