
What Is Meant By “Good Acoustics”? What Are Bad Acoustics?
When people talk about good acoustics, they’re usually reacting to how a space feels to be in rather than thinking about measurements or formulas. Conversations feel effortless. Music sounds clear. You don’t need to raise your voice to be heard by people around you or leave the room mentally tired from trying to understand what was said.
Bad acoustics, by contrast, is very noticeable, very quickly. Speech feels smeared. The room sounds loud even when no one is raising their voice. Echoes, ringing, or a constant background hum make the space uncomfortable or distracting.
The challenge is that acoustics are both subjective and measurable. A room can look beautiful and still sound terrible. Another room might technically meet design targets but feel wrong for how it’s actually used. Understanding what separates good acoustics from bad acoustics helps bridge that gap – and makes it much easier to diagnose problems and fix them effectively.
What Does “Good Acoustics” Really Mean?
At its core, good acoustics means the room supports its intended use without calling attention to itself. That could mean:
- Clear conversation in a conference room
- Comfortable collaboration in an open office
- Enjoyable listening in a media room
- Reduced fatigue in classrooms, restaurants, or healthcare spaces
This idea is often described as acoustic comfort. It blends objective metrics (like reverberation time and noise levels) with human perception. A room with good acoustic comfort doesn’t feel “dead,” but it also doesn’t amplify every sound in the space.
Importantly, there is no single acoustic target that works everywhere. A recording studio, a boardroom, and a living room all need different balances of absorption, diffusion, and noise control. Good acoustics are always relative to room size, geometry, surfaces / finishes, and how the space is used.
Five Pillars of Good Room Acoustics
Across both residential and commercial spaces, good acoustics tend to rest on the same core principles. These pillars describe how sound behaves in a room and how people experience it, regardless of whether the space is a home office, conference room, classroom, or media room.
Problems arise when one or more of these elements is out of balance, or when a room is treated based on generic rules rather than its size, geometry, and purpose.
- Appropriate reverberation time — Sound should decay quickly enough for clarity, but not so quickly that the room feels unnatural.
- Sound distribution uniformity — Loudness and tone should feel consistent throughout the room, not boomy in one spot and weak in another.
- Appropriate sound level — The room shouldn’t force people to raise their voices or compete with reflected sound.
- Low background noise — Mechanical systems, traffic, and equipment noise should stay well below the desired sound.
- No discrete echo or flutter — Reflections shouldn’t bounce back as audible repeats or “chirps.”
RT60 (Reverberation Time)
One of the most common ways to describe room acoustics is room reverberation time, often expressed as RT60. RT60 measures how long it takes for sound to decay by 60 dB after the source stops.
In simple terms:
- Short RT60 = clearer, more controlled sound
- Long RT60 = louder, more reflective, less intelligible sound
Ideal RT60 values depend on room size and purpose. A small office or bedroom typically performs best below about one second, while larger halls can tolerate longer decay times. What matters just as much as the number itself is consistency across frequencies – uneven decay can make rooms sound boomy or harsh even if the average RT60 looks acceptable.
Absorption Coefficient (α) & Coverage
Acoustic products are often described using an absorption coefficient alpha (α) or an NRC rating. An NRC closer to 1.0 simply means the average absorption is higher, usually because the product performs better in the lower midrange frequencies (500 Hz and below).
In practice, this is where acoustic sound absorbers or purpose-built treatments come into play — not as a one-size-fits-all solution, but as tools that must be matched to room size and layout.
- That you can use fewer panels and get the same result
- That higher NRC magically solves all acoustic problems
Background Noise
Even a well-treated room can perform poorly if the background noise is too high. Constant sound from HVAC, exterior traffic, lighting, or equipment reduces clarity by masking speech and subtle audio details.
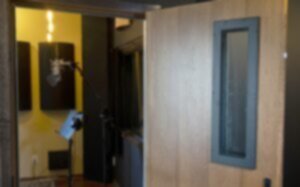
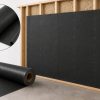
In both residential and commercial spaces, background noise reduction often involves improving sealing and isolation using solutions like door sound seal kits or soundproof window inserts.

Quick Diagnostics You Can Do Today
Before investing in acoustic products or design changes, it’s useful to listen critically to how a room behaves. A few simple tests can quickly reveal whether issues are caused by excessive reverberation, uneven sound distribution, or elevated background noise.
The Clap & Walk Test
- A long “ring” or tail suggests excessive reverberation
- A fast, metallic chirp between surfaces points to parallel wall flutter
- Walking through the room reveals uneven decay and loudness changes
Speech Intelligibility Check
- If words blur together, RT60 is likely too long
- If you instinctively raise your voice, the background noise may be too high
- If clarity changes dramatically as you move, the distribution is uneven
Why Rooms Go Wrong (Common Culprits)
- Bare drywall, metal, glass, and wood or other hard-surface floors increase reflections and RT60
- Large reflective surfaces create discrete echoes at longer distances
- Tall rooms exaggerate high ceiling echo if ceilings are untreated
- Multiple occupants and equipment increase background noise
Strategically adding treatments like acoustic wall art or PET felt sound panels can often address these issues without altering the room’s design intent.
The 80/20 Fix: A Simple Treatment Plan
Step 1: Add Soft Areas (Walls or Ceilings First)
Start with acoustic wall panels or ceiling solutions where reflections are strongest. Many rooms benefit from distributed treatments such as fabric wrapped acoustic panels or acoustic ceiling solutions.
Step 2: Tame the Floor
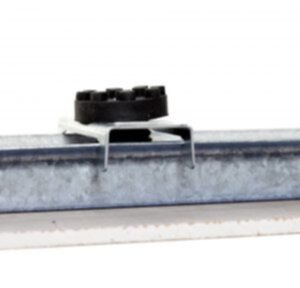
A dense rug helps, but in more performance-focused spaces, adding acoustic flooring or soundproof floor underlay can significantly reduce reflections and vibration transfer.
Step 3: Kill Echo and Flutter Fast
- Add absorption to one of the parallel surfaces
- Break up the reflection path with shelving or furnishings
Targeted solutions like Echo Eliminator panels are designed specifically for this type of issue.
Step 4: Add Diffusion, Not Just Absorption
Diffusion panels or surfaces such as curve sound diffusors or architectural elements like geometric wood acoustic panels help maintain energy while improving uniformity.
Step 5: Lower the Background Noise
- Seal doors and windows
- Address rattling grilles or loud air handlers
- Choose quieter devices
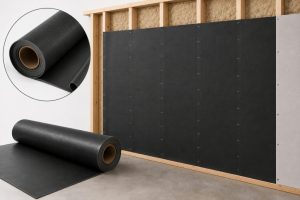
Isolation materials like mass loaded vinyl or acoustic insulation materials can be effective when noise intrusion is a major factor.

How Much Treatment Do I Need?
Rather than chasing a single percentage, it’s more productive to think in terms of balance – controlling reverberation while maintaining a natural, comfortable sound. Many projects begin with a curated selection of acoustic room packs to establish baseline coverage.
Home Offices and Bedrooms
- 10-20% wall-area absorption
- One ceiling panel if ceilings are tall
- A rug to control early reflections
This approach works well for home office acoustics and small private bedrooms.
Living and Dining Spaces
Conversation-focused rooms benefit from distributed wall and ceiling treatment. Direct-mounted ceiling panels can help control reverberation without visually dominating the space. Keeping decay under roughly one second improves comfort without making rooms feel overdamped.
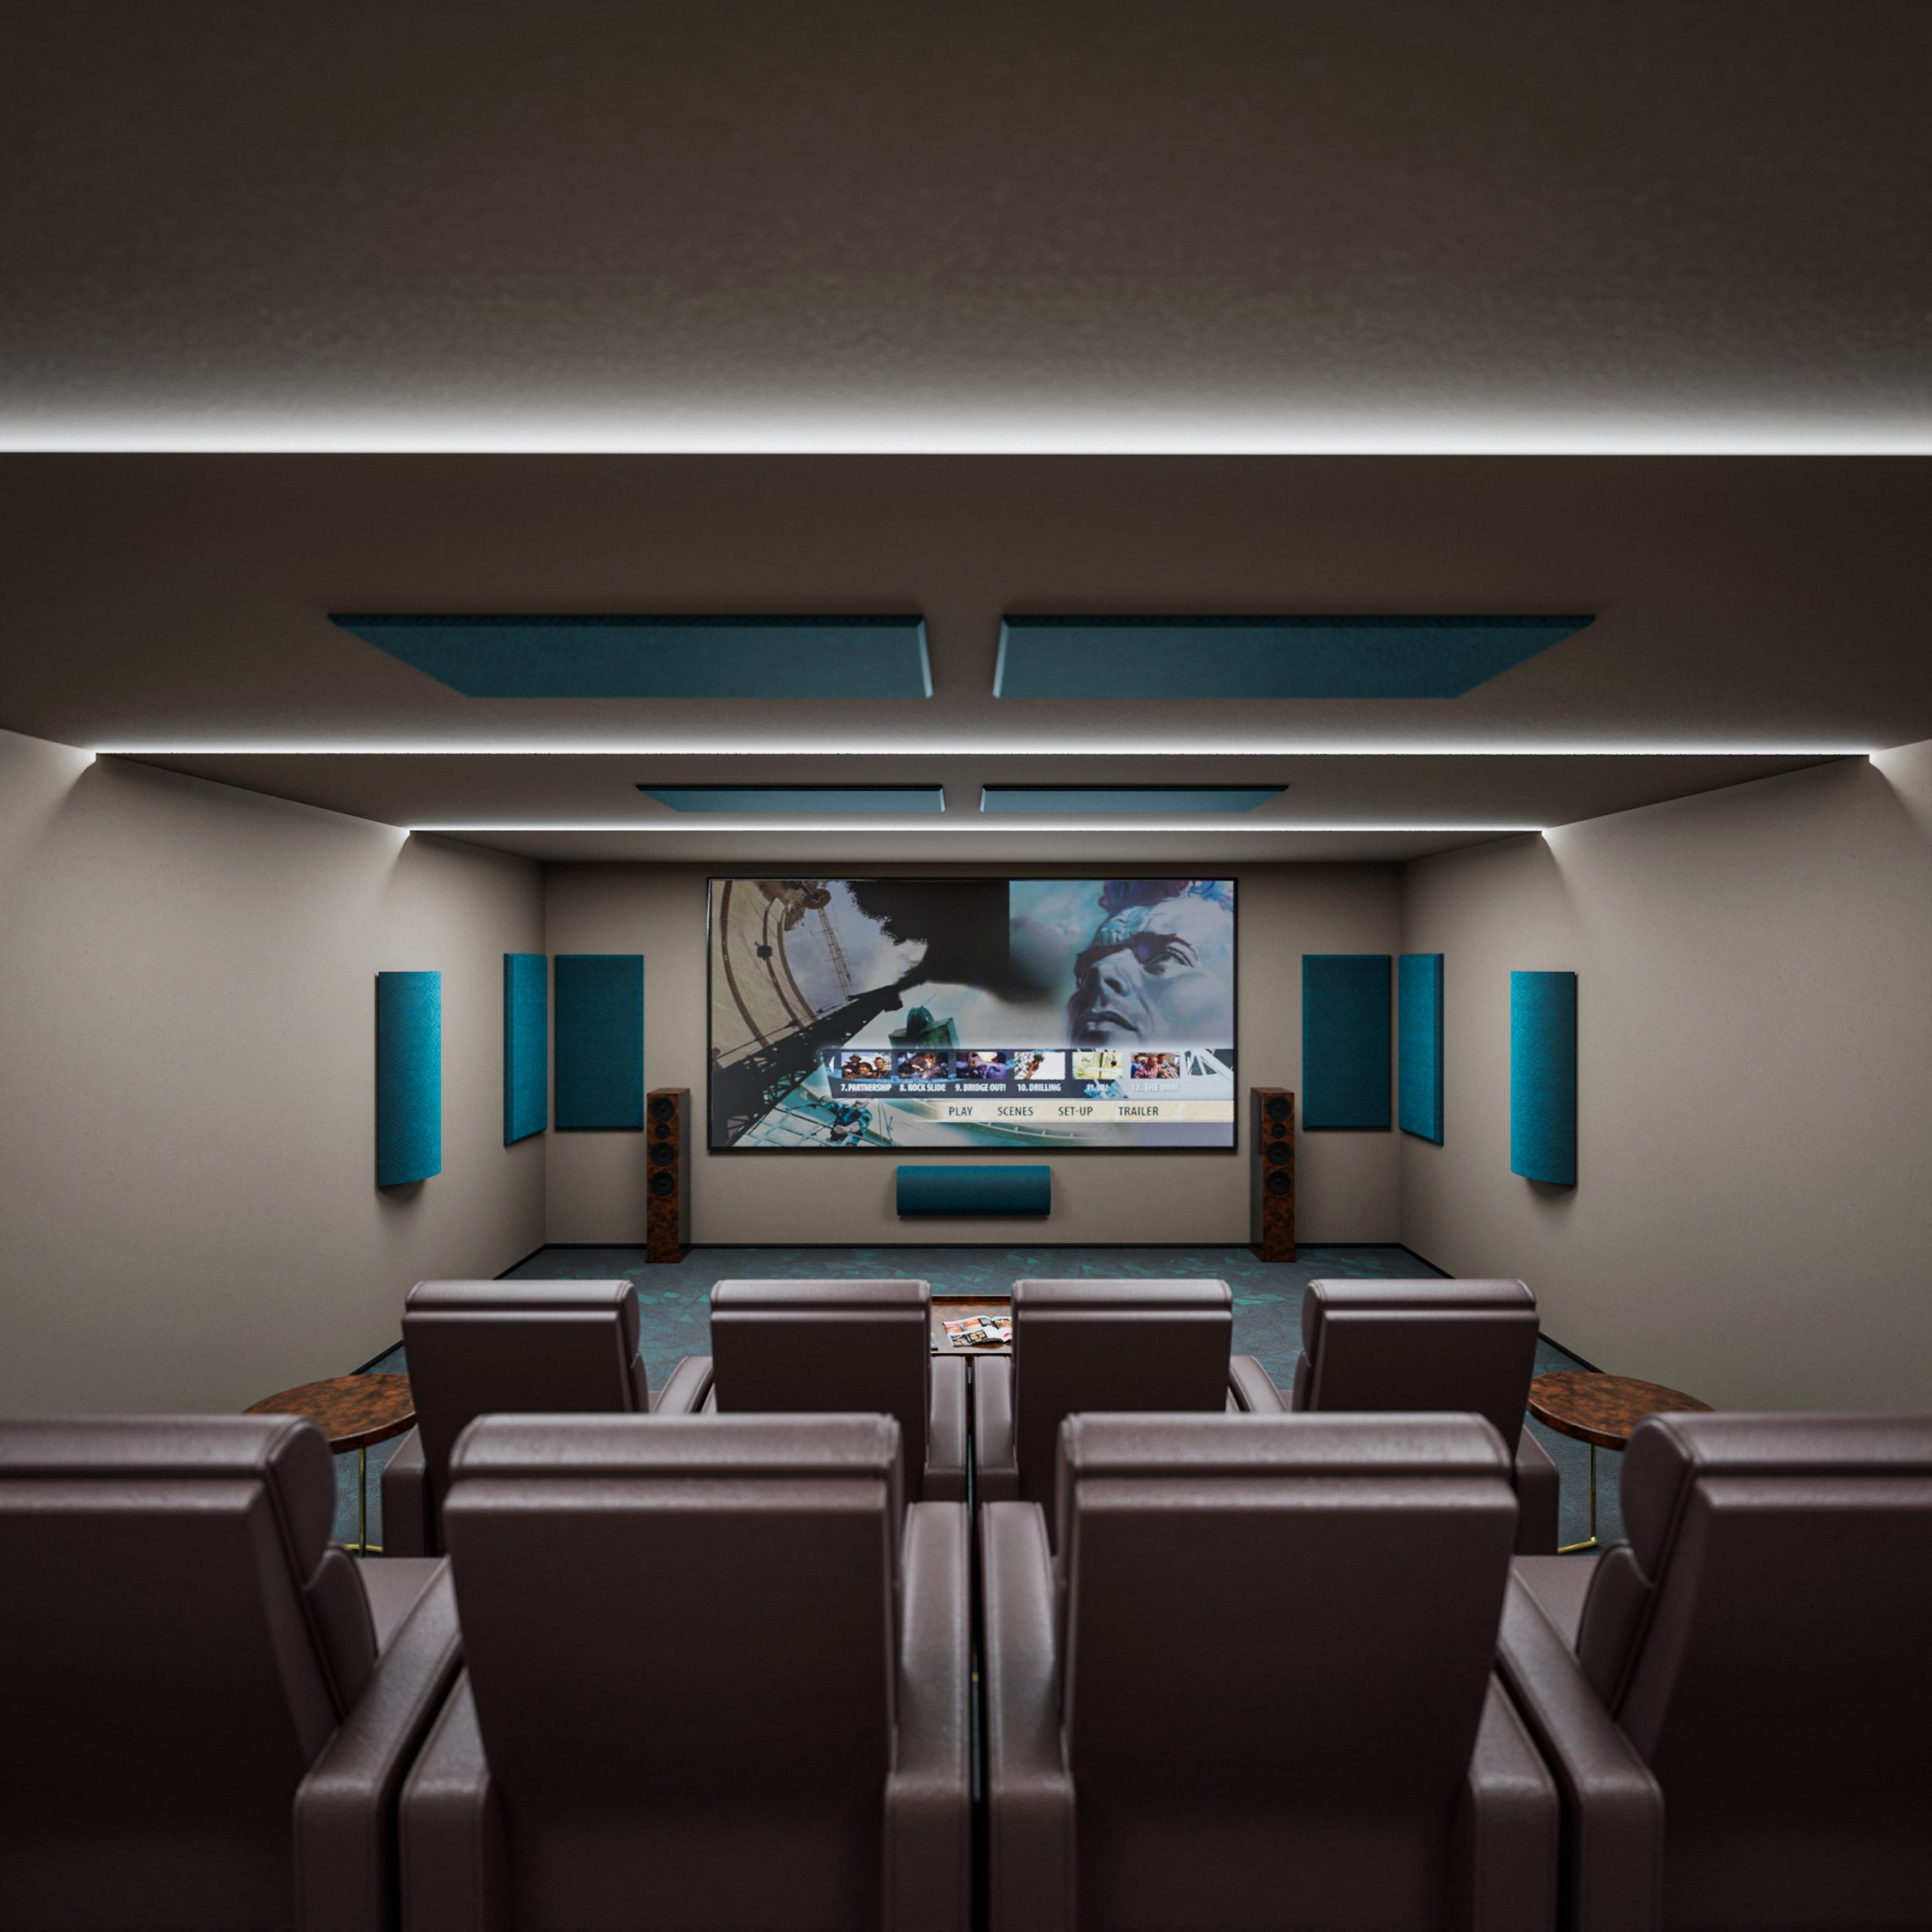
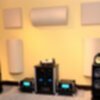
Media Rooms
Good media room acoustics rely on balance:
- Front-wall absorption for clarity
- Side-wall diffusion for spaciousness
- Ceiling treatment to manage vertical reflections
- Strong attention to background noise
For example, dedicated listening spaces often incorporate front-wall absorption, diffusion, and low-frequency control using tools like corner bass traps or low frequency absorbers.
Where Treatments Go
Placement matters as much as product selection. Ceiling systems such as StarField ceiling panels or architectural options like decorative acoustic beams can dramatically improve clarity without crowding walls.
Budget to Premium: Building a Plan You’ll Actually Finish
Budget
Budget-level improvements often rely on strategic absorption and simple isolation. Even modest additions of acoustic featured products can noticeably improve comfort.
Mid
At this stage, adding ceiling panels, diffusers, and more comprehensive treatments begins to shift sound from “improved” to intentionally designed.
Premium
Premium solutions integrate acoustics into the architecture, sometimes combining full ceiling systems, custom diffusion, and advanced isolation strategies using professional acoustic treatments.
Product Examples
Today’s acoustic products are designed to blend performance with aesthetics. Whether using acoustic slat panels, wood wool acoustic panels, or other solutions, the key is selecting treatments based on performance and placement.
Bringing It All Together
Good acoustics come from shaping sound to support how a space is actually used, not from eliminating sound altogether. When reverberation is controlled, background noise is managed, and sound behaves consistently throughout the room, spaces become easier to occupy and more enjoyable to use.
If you’d like help turning these concepts into a clear, room-specific plan, explore the full range of acoustic solutions or browse all our acoustic products to see how different treatments can be combined for residential or commercial spaces.


Add comment
You must be logged in to post a comment.