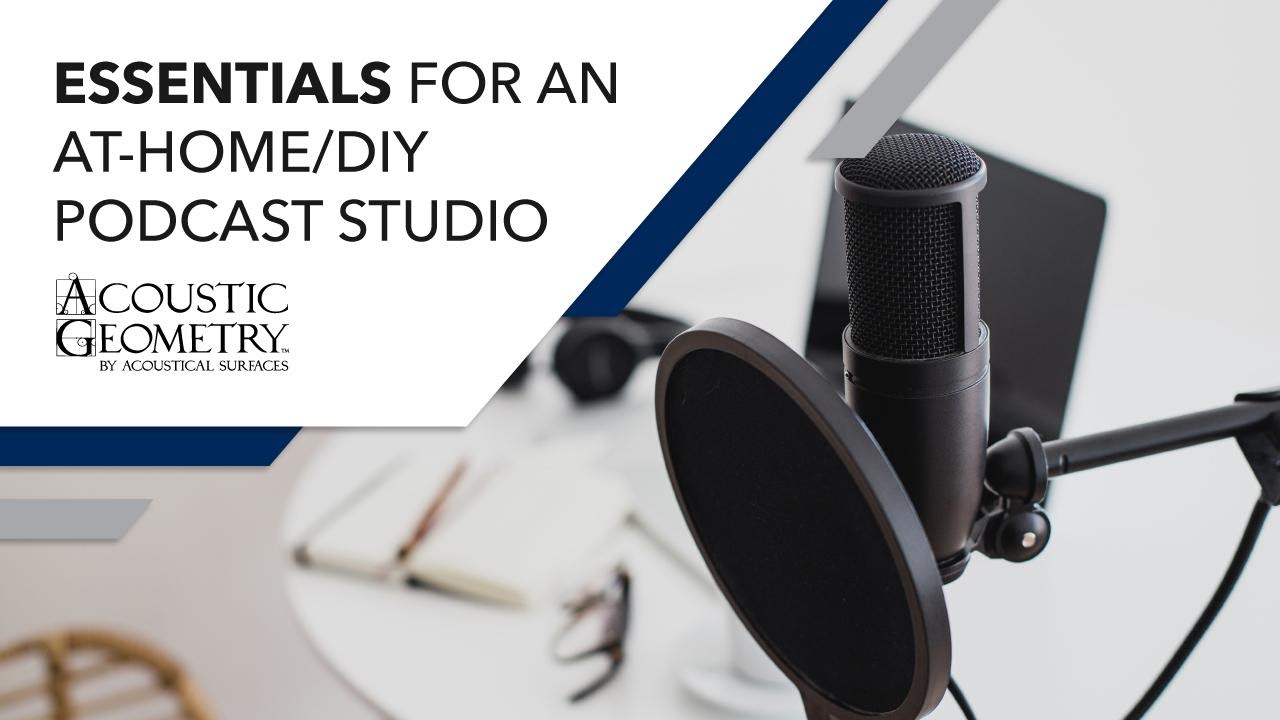
Essentials for an At-Home/DIY Podcast Studio
Essentials for an At-Home/DIY Podcast Studio
In the last five years, the podcast medium has taken off. People now turn to their favorite podcasts for news and current events, commentary on social issues and sports, as well as interesting conversations from tastemakers in their favorite industries. In fact, due to the proliferation of digital technology and the rapid scaling of at-home studio amenities, most podcasts are now produced from the home of the creator. Nowadays, state-of-the-art sound and production quality is available to everyone who takes the proper steps.
However, not all podcasts are created equal. If you have ever listened to a podcast created by someone you personally know, you may have noticed a difference in clarity and general sound quality from the top-tier producers. What accounts for that distinction?
If you are interested in creating your own podcast, or would like to enhance the quality of your current podcast, there are a few simple things you can do to level up. Acoustic Geometry delves into the essentials for creating a stellar DIY podcast studio.
Start with Sound Absorption for DIY Podcast Studio
If there are outside noises bleeding into your recording, it is nearly impossible to edit them out; this is why it is so important to Acoustically Optimize your podcast studio. Eliminating major areas of sound leakage will reduce the ambient level of room noise, making your podcast instantly sound cleaner and crisper. The key areas to address are:
1. The door. In most rooms, the door will be the place that lets in the most outside noise due to the perimeter spaces around the doorframe. A complete door solution, such as the Studio 3D Soundproof Door, is the most comprehensive remedy to this issue. You can also outfit your current door using a professional Door Seal Kit for a less involved solution.
2. The windows. Windows can be an acoustical nightmare, as they are made of hard, reflective material and provide an entry route for outside noise. First, try treating your window with Climate Seal Acoustic Series inserts. These inserts are easy to install and will help ensure that your equipment is safe from drafty temperatures while providing a much quieter recording environment as well. You can also use thick curtains to cover windows and absorb incoming sound.
3. The walls. The largest hard surfaces in your studio are likely your walls. These can reflect sound, muddying your audio quality. A simple fix to this issue is the installation of sound-absorbing panels. Fabric-wrapped panels are an inexpensive, customizable solution that can be outfitted expressly for the dimensions of your studio. You can also invest in stylish acoustical wall art: these panels can be printed with stock images of your choice to both set the mood in your recording space and dampen extraneous sound.
4. The floor. Don’t let your hardwood floor create sound reflections in your recording studio. A throw rug, especially of soft plush material, will go a long way in eliminating sound contamination from downstairs neighbors.
5. The ceiling. One area most designers neglect when it comes to acoustical treatments is the ceiling. Another simple wall art panel, like the one used for the walls, can be implemented here to put a cap on the recording space. You can choose a pattern such as the starry sky design to create the perfect aesthetic, and the panel is simple to install yourself.
Address In-Room Noise
After you have addressed the major culprits of incoming noise, take a look at any noise sources that may exist inside the room itself.
If you have an air conditioner in the space, you may be accustomed to its droning sound. However, your listeners will not be, and this simple disturbance may negate the rest of the sound optimizing effort you have exerted. Make sure any fans, heaters, or AC ducts are powered off or closed during recording sessions.
The furniture you choose can make a difference in the soundscape of the room as well. Similarly to how acoustical panels reduce the impact of hard surfaces, soft furniture can mitigate noise travel within the room. Opt for cloth seating as opposed to metal options.
Lastly, if your audio interface creates a slight humming noise, or you have a refrigerator in your space, it may be worth investing in desktop partitions to physically separate your microphone input from those contaminating noise sources.
High-Quality Gear
The physical equipment required for creating and editing your podcast is remarkably simple thanks to modern technology. Your arsenal will revolve around 4 key components:
1. Your microphone. There are a huge swath of microphones available at affordable prices today. Choose the condenser style and budget point that best fits your project. Remember, if you plan to have guests on your podcast, you will need to invest in more than one microphone.
2. Your audio interface. The audio interface is responsible for translating analog sound from your microphone into digital sound that can be edited and affected on your computer. The Focusrite Scarlett 2i2 is an industry leader for independent podcasters and professionals alike.
3. Your headphones. Your white earbuds will likely not suffice for the purposes of producing a high-quality podcast. Instead, opt for an over-the-ear, cushioned variety to help keep the listening audio away from your microphone. Remember – get more than one pair!
4. Your DAW. The digital audio workstation (DAW) you use to edit and send your podcast recordings may already be installed on your computer. If you are a Mac user, you can use GarageBand absolutely free. Just open up the program, route your microphone inputs, and start recording.
You now have the space, the setup, and the gear to create your top-notch podcast. Go for it!
The Sound Experts at Acoustic Geometry Can Help with DIY Podcast Studio
The staff at Acoustic Geometry specialize in optimizing acoustic environments and helping transform residential spaces into professional-level soundscapes – all while maintaining a reasonable price point. Our materials are lab-tested to perform at the highest quality and withstand the test of time: our goal is to outfit your space for the entire life of your home. With materials that are simple to install, and technicians that can offer assistance on any project, we will help improve the sound quality of your room or entire home with a commitment to service and excellence. Don’t settle for mediocrity when it comes to the quality of your space. Work with Acoustic Geometry today for results that look as good as they sound. Explore all of our products by visiting our website: https://acousticgeometry.com/.


Leave a reply
You must be logged in to post a comment.