Creating a great mixing room
Music production used to be the domain of the rich and influential. If you and your band wanted to produce a demo, you’d need to catch the eye of someone with connections to a studio and the desire to sell and distribute your music. Building studios and mixing rooms were prohibitively expensive in those days, but now that the technology has drastically improved and the price of materials has greatly decreased, home studios and mixing rooms are booming.
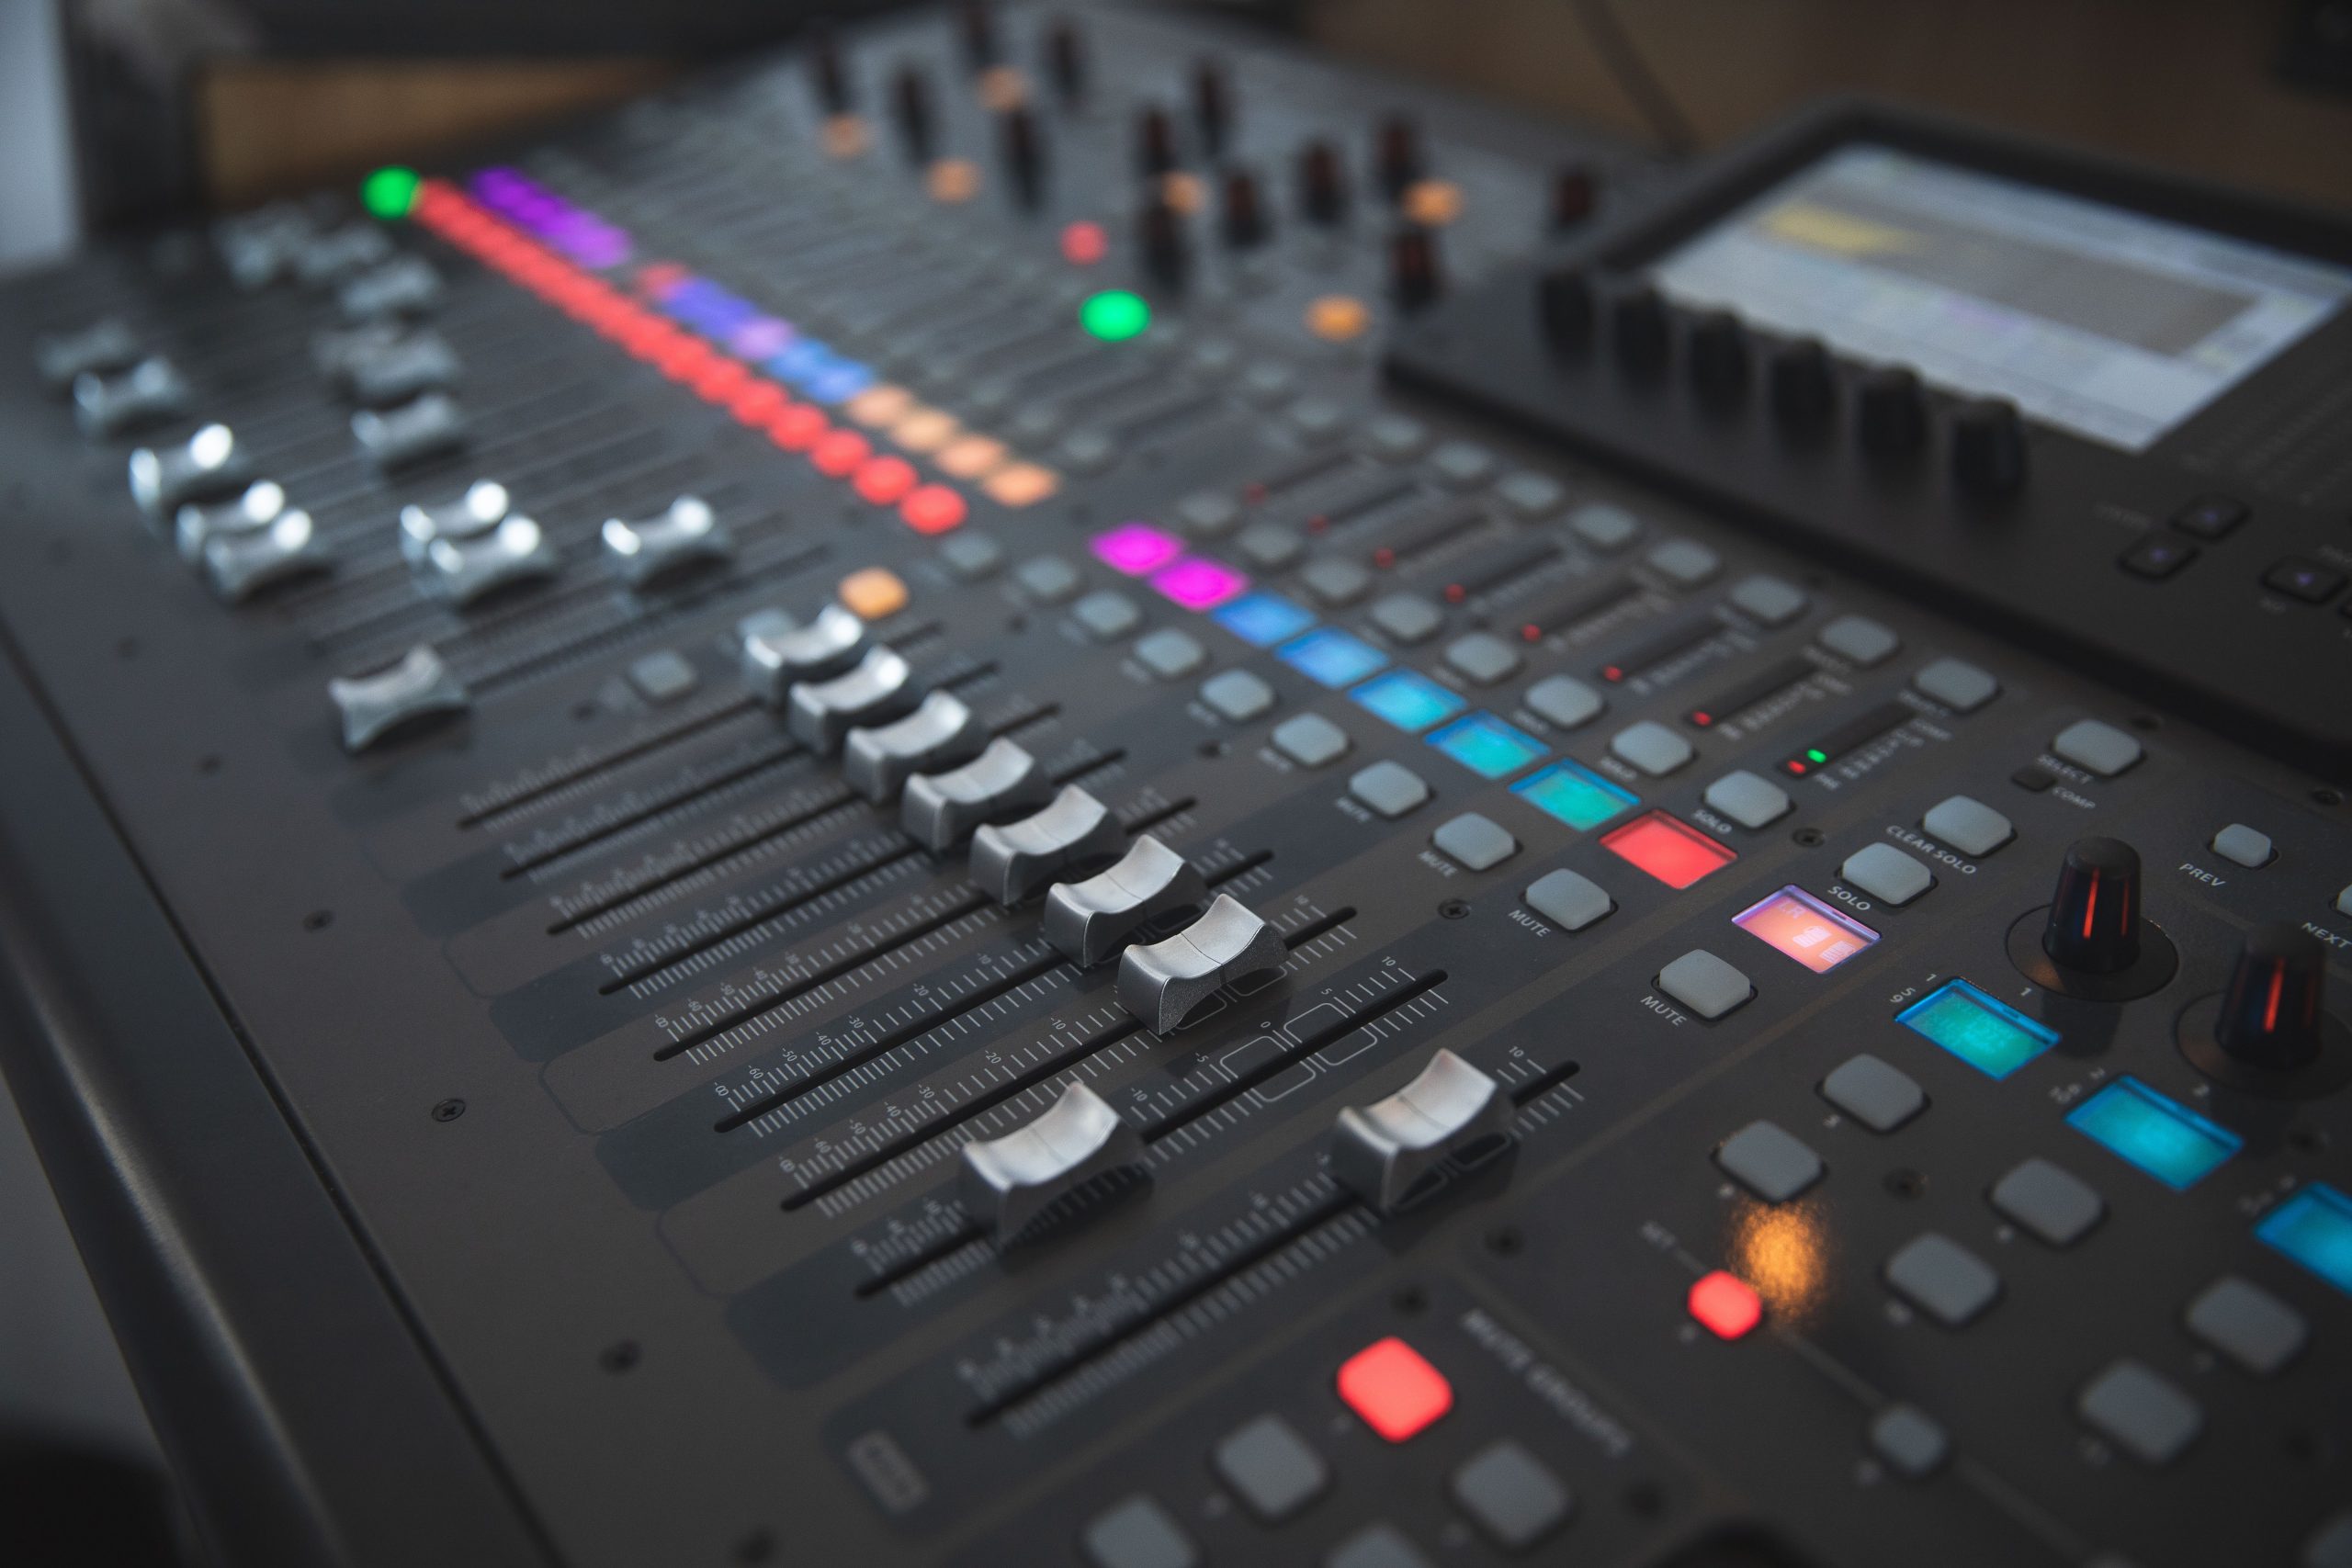
Picking up a bunch of equipment like computers, interfaces, and monitor speakers is a great starting point, but you need to create a great space if you want them to sound their best. Creating that space involves a mix of using the right materials and positioning those materials correctly.
While we can’t teach you how to mix sound, we can teach you how to sound treat a room for mixing. Let’s dive in.
Choosing a suitable mixing room
The first thing you’ve got to do is choose which room of your home you are going to transform into a mecca for your music, and possibly check with your spouse first, just to make sure it’s okay. We don’t always have many choices when it comes to rooms, but the following criteria pulls double duty by identifying problems that you’ll want to avoid.
Location: Which room is best?
Ideally, you’ll want to choose a room that’s not too close to sources of noise that might disrupt the sounds in your room.
If it’s adjacent to the living room, booming bass from movie night might cause all kinds of problems when you’re mixing, and not many of us know how to soundproof a wall between rooms.
If it’s got a large window that faces the neighborhood playground, you may be bothered by screaming, psychopathic children all day long. If possible, find a somewhat secluded spot for your mixing room.
Size: How big should a mixing room be?
When choosing a space, there are a few size considerations that will help you net the best results. If you were building the room from scratch, the ideal dimensions would be approximately 17 feet wide, by 23 feet long, and 10 feet high. If you’re not building from scratch, work with what you’ve got that’s within the following parameters.
First, you don’t want your mixing room to be too small. Not only will you have no room to work, but the confined space will create distortions in the sound. The waves will reflect very quickly, creating a chaotic soundscape.
Second, you don’t want the room to have even ratios. For example, if the width is 10 feet, you’ll want to avoid the room if the length is any multiple of that width. 10 feet, 20 feet, 30 feet, 40 feet, and so on will create an unpleasant audio experience.
Additionally, avoiding parallel walls can help eliminate flutter echoes. Still, you can also stop them with acoustic treatments, so it’s not usually worth the high cost of modifying your room shape. At the end of the day, pick the largest room you have available to you, with the highest ceilings.
Proper placement of equipment
Now that you’ve got your mixing room all picked out, it’s time to fill it with all that great equipment. It’s best to place your desk along the shortest wall, opposite any doors or windows, if possible. This gives sound waves the longest possible travel distance in your room before they reflect.
Your speakers should flank your computer and be pointed toward the spot you will be sitting most of the time. This gives those glorious sound waves an unobstructed path to your ears. Any other furnishings should be placed behind you. If you’ve got a couch where others will be listening, placing that directly behind you will give listeners seated there a nearly perfect sound path as well. You will experience some sound wave reflection points, so you’ll want to dampen or eliminate them with acoustic treatments.
Treating your mixing room with acoustical treatments
A standard room in a home without acoustic treatments won’t sound great since rooms in apartments and houses generally aren’t designed for acoustics. Hard surfaces like walls and floors tend to reflect sound waves readily, so it’s important for you to absorb some of the reflections and scatter others. You shouldn’t be asking yourself, how do I make my room acoustically perfect, but rather, how do I improve the acoustics in my room.
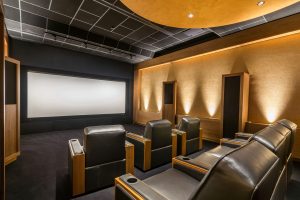
As far as the placement of your acoustical treatments, your mixing room acoustic treatment plan will be similar to a music or movie room. The most important parts of designing your mixing room are sound-absorbing acoustic panels, bass traps, and diffusers.
Absorb: Acoustical panels
The first thing you need to do is absorb some of those sound waves that could reflect in problematic ways. Depending upon the number of panels you want to go with, there are many excellent locations for them, but some areas are the most important to cover when you’re only dealing with a small number.
First, you should place a panel directly behind each of the monitor speakers. That close gap between the speaker and the wall can cause almost immediate reflections, and those waves should be absorbed.
Next, you want to tackle the first reflection points. An easy trick for locating these points is to sit in the spot you’ll typically be mixing from and have a friend hold a mirror at eye level against one of the walls to your sides. Have them move the mirror horizontally, and when you see the speaker’s reflection on that side of the room, you’ve found your first reflection point. Have them repeat the process on the other side, and you’ve got the other one. Placing panels at these points will prevent those reflections from reaching your ears.
Absorb: Bass traps
While acoustical panels are great at absorbing high-frequency sound waves, you need another option for dealing with low-frequency waves. These low-frequency bass waves tend to build up in the corners of your room, so bass traps are a great option for combating them.
Bass traps act similarly to acoustical panels but are constructed with materials that are specifically designed to handle the bass in the room. Placing bass traps in the corner is an excellent solution to low-frequency issues in your mixing room.
Scatter: Diffusers
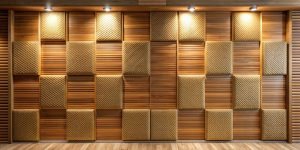
If we absorb too much sound, the room will feel dead. This is why we incorporate diffusers into the mix. Placing diffusers on the back wall of your mixing room causes the waves that travel across the room to reflect in many different directions, giving your room a more natural sound.
How to soundproof a studio room
We are often asked, “How do you soundproof a room for mixing?” Many times people are actually referring to acoustic treatments rather than actual soundproofing. But, if you deal with constant noise interference from outside the room, or if you find yourself disturbing others in the house late into the night, you may want to add some mixing room soundproofing measures.
A simple way to reduce sound transmission through walls is to add a second layer of drywall on top of your first, with a layer of green glue between the sheets. This will add density and decrease sound transmission through any wall, whether interior, exterior, or even ceilings. You can also use green glue on your floor, but instead of using drywall, you’ll want another layer of flooring material.
If the source of the noise you’re dealing with comes through your window, double glazed window replacement or window inserts are simple but effective ways to combat this type of annoyance.
Want to learn more?
Whether you fully grasp all the concepts we’ve discussed or not, you can always benefit from consulting qualified professionals. We know everything there is to know about how to make a room more soundproof, and we understand how to help you achieve a very natural sound in any space, even in tough cases.
If you want to take your mixing room to the next level, reach out to learn about the solutions available for whatever is interfering with your perfect mix.


Leave a reply
You must be logged in to post a comment.