How to Calculate the Right Number of Acoustic Panels for Your Space
Many people assume that treating a room acoustically is as simple as placing panels or foam on the walls. The idea is that any number of panels, placed anywhere, will automatically reduce echo, reverberation, and issues like muddied sound or listener fatigue. In reality, effective acoustic treatment requires strategy, careful calculation, and proper placement to achieve balanced results.
Acoustic treatment coverage is a crucial part of the equation. Finding the appropriate level of coverage for your space will ensure balanced results and helps avoid over- or under-treating the room. This article will walk you through the key information you need to determine how many acoustic panels you need for your space and how to treat a room for acoustics effectively, depending on the room’s geometry and your specific use case.
General Rule of Thumb: 15-40% Coverage
When it comes to acoustic treatment coverage, there’s no one-size-fits-all solution–but most spaces benefit from treating roughly 15-40% of the room’s reflective surfaces. This range provides noticeable improvements in echo and reverberation without overloading the room with sound absorption panels. The exact percentage depends on how the space is used and the type of listening experience you want to achieve.
Typical Coverage by Use Case
- 10-15% – for casual spaces such as living rooms or lounges, where perfect clarity isn’t critical.
- 15-25% – for offices, restaurants, or worship spaces, where room acoustics and speech intelligibility are priorities.
- 25-40% – for home theaters, recording studios, and conference rooms, which demand tighter control over reflections and may require a combination of acoustic wall panels, ceiling clouds, or bass traps.
Factors that Influence Coverage
Several room characteristics can push you toward the higher or lower end of this range:
- Hard surfaces – like concrete, tile, or large glass windows reflect more sound and may require more coverage.
- Ceiling height – impacts how sound travels, and taller rooms may benefit from acoustic ceiling panels or additional wall treatment.
- Open vs. closed floor plans – affect how sound spreads. Open spaces generally need more acoustic treatment coverage to control reflections.
Diminishing Returns Beyond 40%
Covering more than 40% of a room’s surfaces rarely yields additional benefits and can even make the space feel lifeless or “dead.” Striking the right balance ensures clarity without stripping the room’s natural liveliness.
Quick Estimate: Multiply the square footage of your walls and ceilings by 0.2 to get a simple baseline of 20% coverage, which is a practical starting point for most rooms.
Step-by-Step: How to Calculate the Number of Panels You Need
Determining the right number of acoustic panels for your space starts with understanding your room’s dimensions and the desired acoustic treatment coverage. By following these steps, you can eliminate the number of sound absorption panels needed without over- or under-treating the room.
1. Measure the Room
Start by measuring the length, width, and height of your space. This will allow you to calculate the total wall and ceiling area that can reflect sound. Accurate measurements are essential for effective room acoustics treatment.
2. Calculate Total Treatable Surface Area
Add together the square footage of all walls and ceilings where acoustic wall panels or acoustic ceiling panels could be installed. Exclude areas already covered with heavy furniture or other materials that naturally absorb some sound. Multiply by 0.2, and you have a good starting point for how much area to treat.
3. Decide on Coverage Percentage
Select a target acoustic treatment coverage amount based on your use case:
- 15-25% – for offices, gyms, or casual spaces
- 25-40% – for home theaters, studios, or conference rooms
4. Determine Panel Count
Divide the total amount of coverage you want treated by the square footage of the specific panels you are using. For example, if you are using 2’ x 4’ panels, you will divide the target coverage by 8 to determine the number of panels needed.
5. Adjust for Material and Thickness
The Noise Reduction Coefficient (NRC rating) of your panels affects how much sound they absorb. Thicker panels or higher NRC-rated materials may reduce the number of panels needed, while thinner or lower-rated panels might require additional coverage.
Pro Tip: Use an Acoustic Panel Calculator
Many online acoustic panel calculators can help simplify these steps and provide a quick estimate. Enter your room dimensions, panel size, and desired acoustic treatment coverage to see how many sound absorption panels you’ll need.
Types of Panels to Consider
Not all panels serve the same purpose. The right mix of acoustic wall panels, acoustic ceiling panels, and specialty treatments ensures that your room acoustics are balanced across all frequencies. Understanding these options will help you plan effective acoustic treatment coverage.
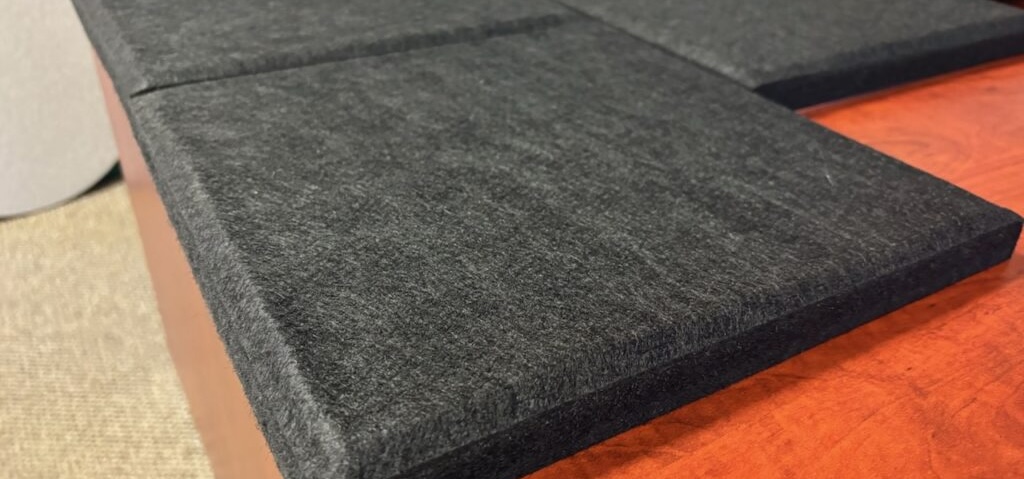
Absorbers
Absorbers, often referred to as acoustic panels or sound absorption panels, are the most common treatment option. They are a general broadband treatment–designed to reduce mid- to high-frequency reflections–which helps with echo reduction and improves overall clarity. Standard absorbers typically come in 1” or 2” thicknesses and are mounted on walls or ceilings.
It’s important to note that sound absorption panels are not the same as soundproofing panels. Absorbers improve clarity inside a room by reducing reflections, while soundproofing products are designed to block sound from entering or leaving a space.
Diffusers
Unlike absorbers, diffusers scatter sound energy rather than eliminating it. They maintain a sense of openness while preventing flutter echoes and hotspots. Adding diffusion can be especially useful in recording studios or home theaters where overuse of absorption might make the room feel too “dead.”
Bass Traps
Low-frequency energy tends to build up in corners, creating muddiness and imbalance. Bass traps are thicker panels or specially designed absorbers that target these problem frequencies. They are typically placed near corners or along wall/ceiling intersections to control boominess and tighten up the low end.
Ceiling Clouds or Baffles
In rooms with tall ceilings or limited wall space, suspended acoustic ceiling panels in the form of ceiling clouds or baffles are ideal. These hanging treatments absorb sound from above, reducing reverberation and improving speech clarity in gyms, restaurants, houses of worship, and more.

Room Use Case Examples
Different environments require different levels of acoustic treatment coverage. The following examples show how to apply the 15-40% guideline in real-world settings, along with which types of acoustic wall panels, ceiling panels, or bass traps to prioritize.
Home Theater (25-30% Coverage)
For home theaters, controlling reflections is essential to achieve cinematic clarity. Aim for 25-30% coverage with a combination of sound absorption panels, bass traps in the corners, and ceiling-mounted panels for reverb control. Prioritize treating side walls at first reflection points and consider adding diffusion on the back wall to keep the room lively.
Podcast or Recording Studio (30-40% Coverage)
When planning acoustic treatment for studios–which demand precise room acoustics to capture clean audio–shoot for 30-40% coverage. Use broadband absorbers–sometimes called echo reduction panels–at first reflection points, plus bass traps in every corner. Adding diffusers behind the mix position helps maintain natural energy. In smaller rooms, carefully balancing absorption and diffusion is key to avoiding a flat, lifeless sound.
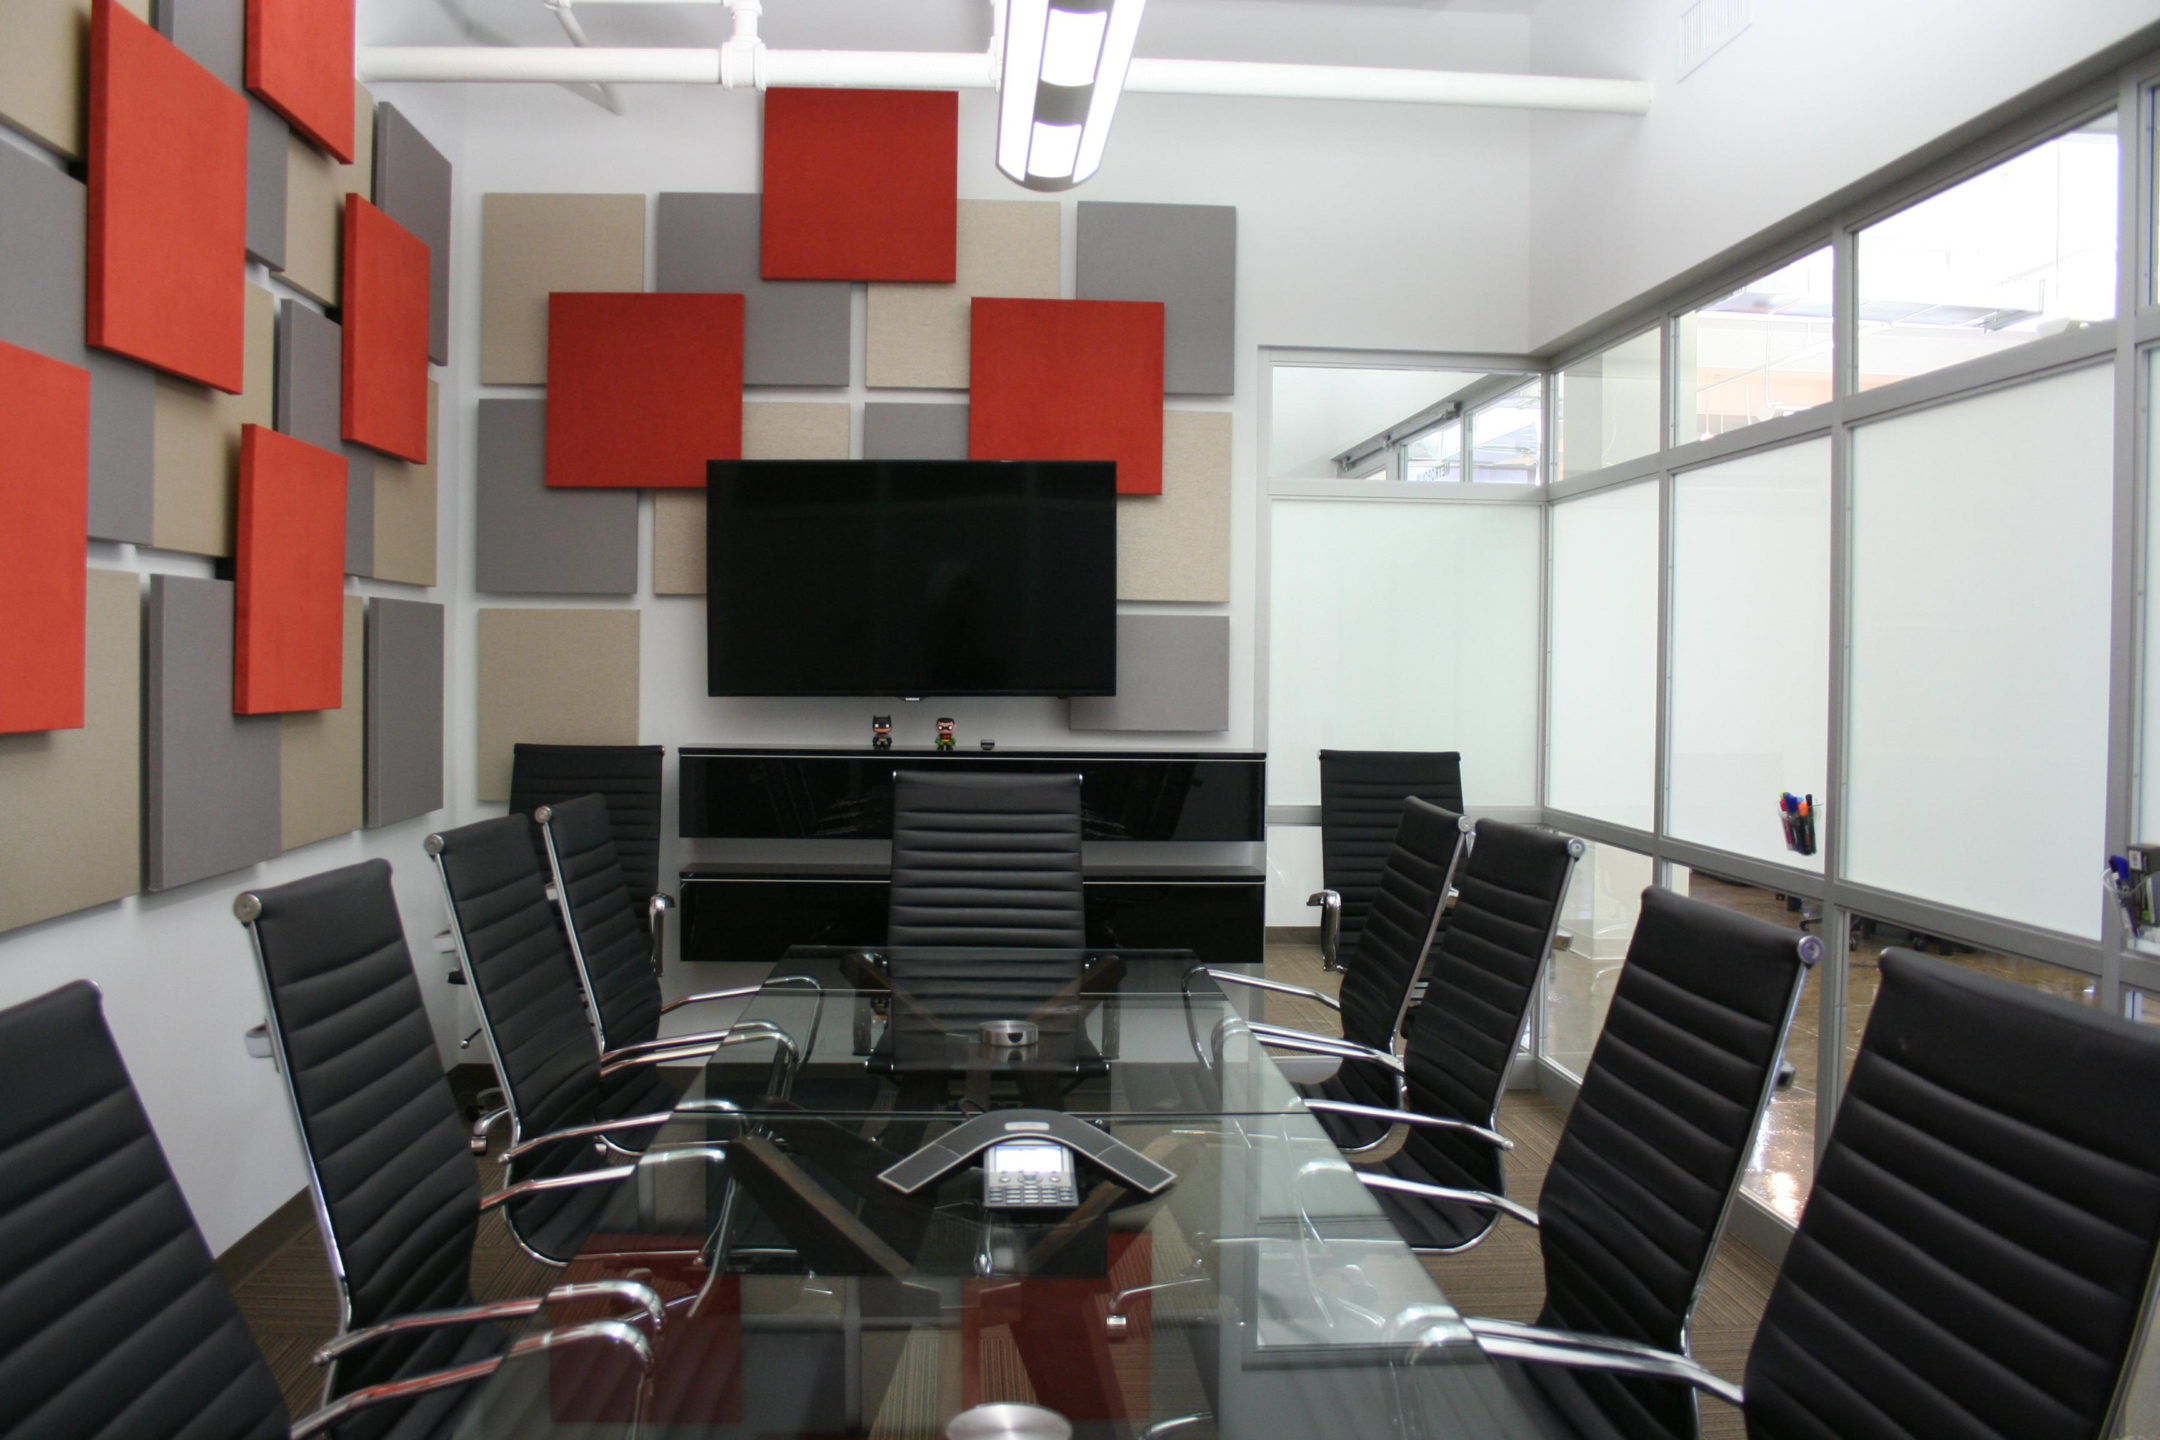
Office or Conference Room (15-20% Coverage)
In professional settings, speech intelligibility is the top priority. A coverage range of 15-20% using acoustic ceiling panels and acoustic wall panels is typically sufficient. Focus on treating walls behind presenters and adding ceiling clouds to minimize echo. This reduces listener fatigue and improves clarity during calls and meetings.
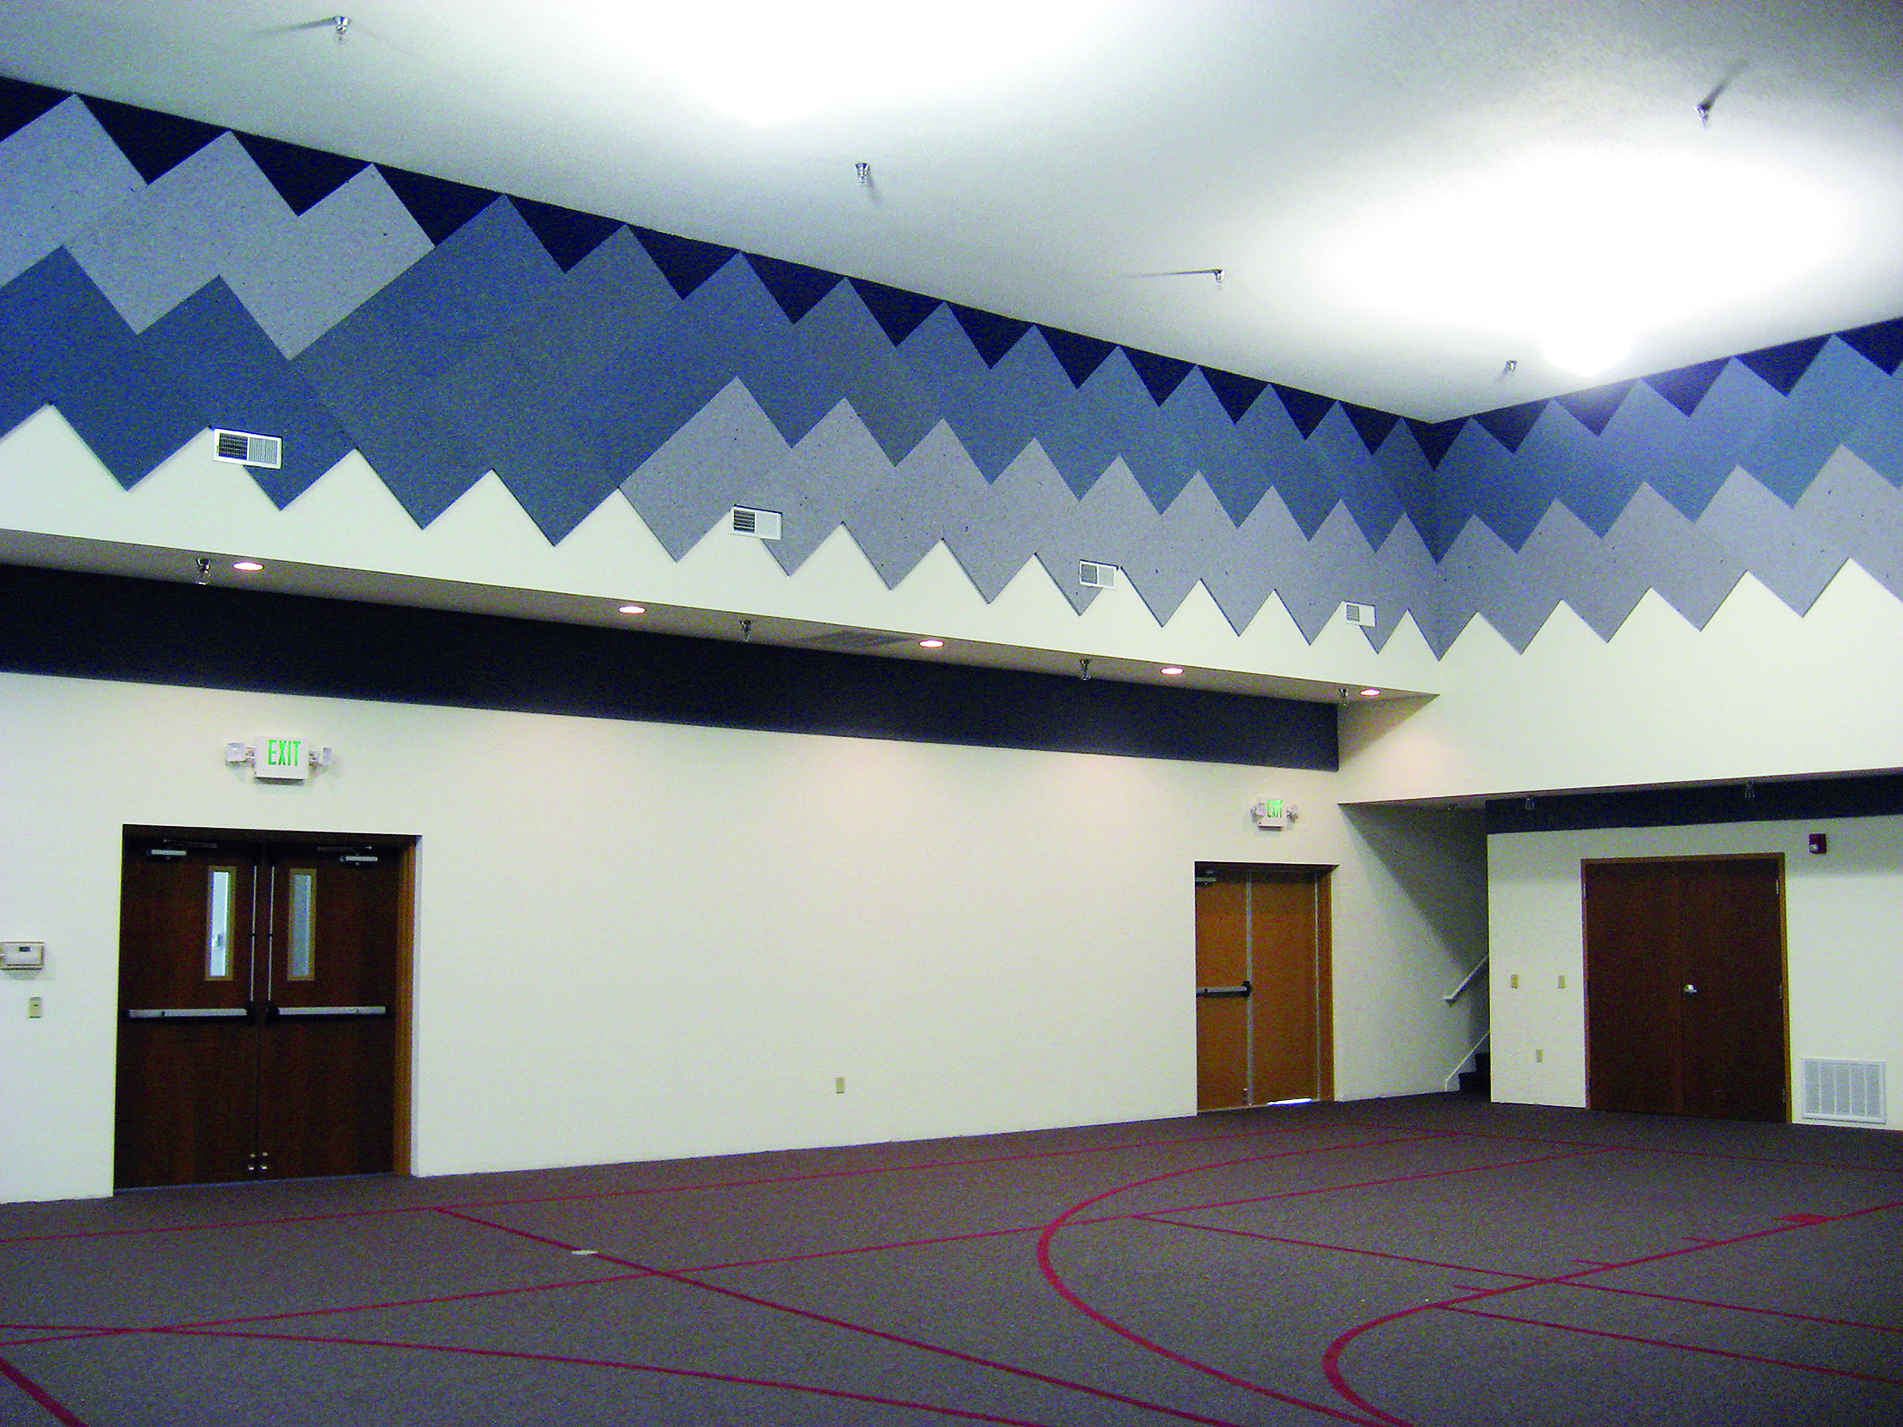
Gym or House of Worship (15-25% Coverage)
Large spaces with high ceilings and hard surfaces require extra attention. Target 15-25% coverage using suspended acoustic ceiling baffles, wall-mounted absorbers, and ceiling clouds to reduce reverberation. Because these rooms often have more volume to fill, ceiling treatments are especially effective for controlling reflections and ensuring clear speech or music.
Panel Placement Best Practices
Once you know how many acoustic panels your room needs, the next step is positioning them correctly. This section acts as a panel placement guide, ensuring your acoustic treatment coverage delivers the best possible results.
First Reflection Points
The most important spots to treat are first reflection points–the locations on side walls, ceilings, or on the rear wall where sound from speakers bounces directly to the listener. Placing sound absorption panels here reduces echo and sharpens clarity. The “mirror trick” is a simple way to identify these areas: sit in your listening position while a helper slides a mirror along the wall; wherever you see the speaker in the mirror is where a panel should go.
Corners for Bass Traps
Corners are hotspots for low-frequency buildup. Installing bass traps in vertical corners or along wall-ceiling intersections helps prevent muddiness and ensures a tighter, more balanced sound.
Ceiling Treatment
In rooms with high ceilings or lots of reflective surfaces, suspended acoustic ceiling panels (clouds or baffles) absorb excess reverberation. This is especially effective in gyms, restaurants, and houses of worship where reverb control is crucial for speech clarity.
Balanced Distribution
Avoid clustering all your panels on a single wall. A balanced spread of acoustic wall panels and ceiling treatments creates even coverage across the space. This prevents one area from sounding overly dead while others remain untreated.
Combine Absorption and Diffusion
To keep a room sounding natural, consider adding diffusion panels along with absorbers. This combination reduces reflections while preserving energy, making the room feel controlled but not overly dampened.

Don’t Overdo It: Why More Isn’t Always Better
It’s tempting to think that if some panels are good, more must be better. In reality, excessive acoustic treatment coverage can cause just as many problems as too little. Overloading a space with sound absorption panels eliminates reflections, but it can also strip the room of energy and make it feel unnaturally “dead.”
The Dead Room Effect
Rooms treated beyond 40% coverage often lose their sense of liveliness. Speech can sound flat and music may feel dull or uninspiring. This is especially true if the space relies on only absorption without balancing it with diffusion panels.
Stick to the Range
For most applications–whether it’s a home theater, podcast studio, or conference room–the 15-40% range provides the right balance between clarity and natural ambience. Going outside that range should only be done under the guidance of an acoustics professional.
Use Diffusion to Restore Energy
If your space starts to sound lifeless, integrating diffusion along with absorbers can restore openness while still controlling reflections. This approach is common in recording studios and other critical listening spaces where both accuracy and natural feel are important.
Start Moderate and Expand as Needed
Rather than covering every available surface right away, start with a moderate amount of acoustic wall panels or ceiling panels. This is especially important in small room acoustics, where too much absorption can quickly make the space sound dull. Evaluate the results, then add more treatment if necessary. A measured approach ensures you don’t overspend or overtreat your room.
Acoustic Geometry Can Help You Plan Your Project
Finding the right balance of acoustic treatment coverage comes down to three things: selecting the right percentage for your use case, calculating the appropriate type and number of acoustic panels, and placing them strategically. Following these steps will help improve room acoustics, reduce echo, and create a more comfortable listening environment.
At Acoustic Geometry, we offer a full range of solutions to make the process easier. From acoustic wall panels to bass traps and diffusers, our products and services are designed to give you professional results without guesswork. We even offer complete room kits to get you up and running quickly.
Ready to get started? Reach out to one of our experienced team members to learn more about how we can help make your next project a success. With our expert guidance and quality materials, achieving the right level of acoustic treatment coverage has never been easier.


Add comment
You must be logged in to post a comment.