Setting up the bedroom music studio
The music industry of today is vastly different from the one most of us over thirty grew up with. The fact that we can write, produce, and distribute our music from home means we no longer need record companies and distribution deals that take the lion’s share of the money made from our blood, sweat, and tears. Today, content is king. You can produce and distribute something great, right from your bedroom music studio, that makes you a decent living.
That said, you do need to put out a quality product. Producing quality music from home is certainly possible, but it’s going to require you to pick up some decent gear and treat the room in a way that lets you achieve the sound you want. Let’s cover some of the things you’ll need to get started.
What do you need for a bedroom music studio?
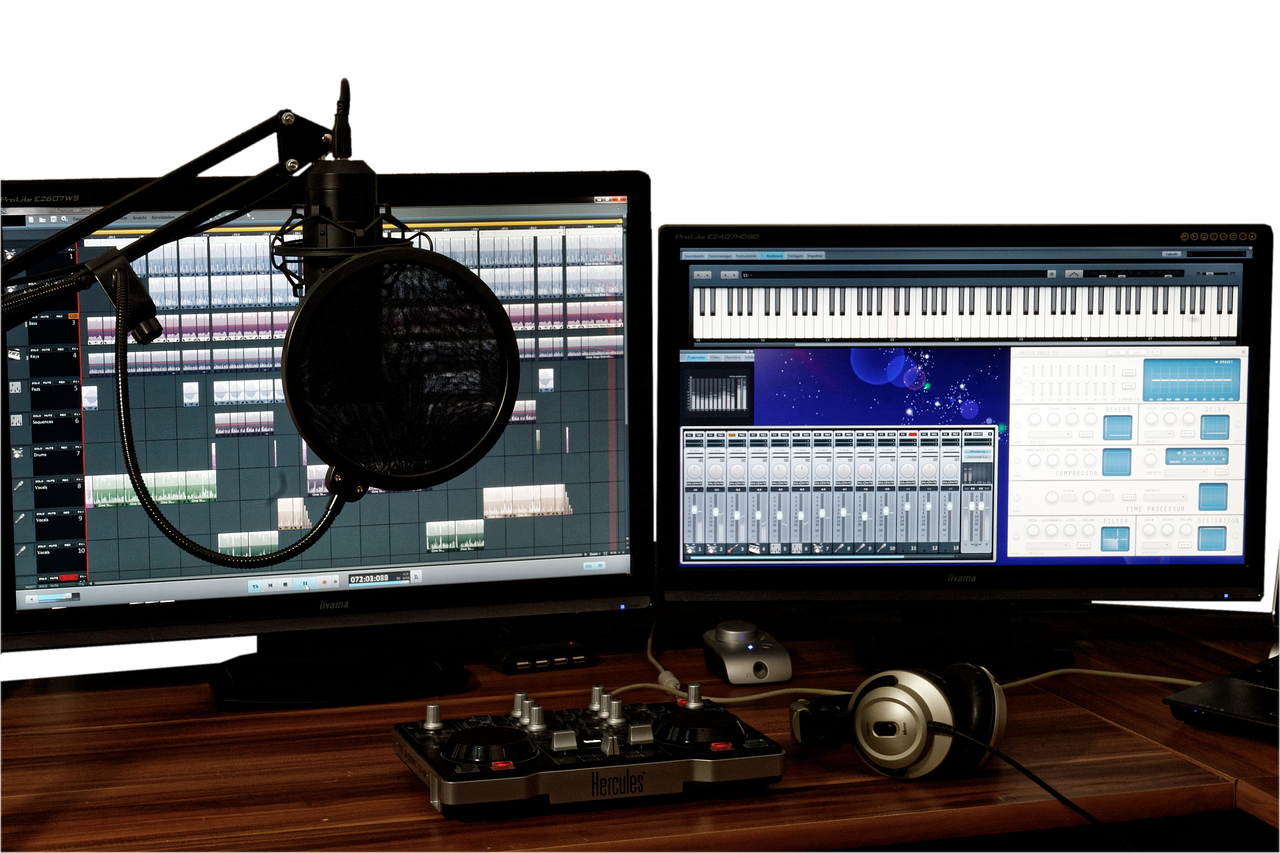
When we start dreaming up big bedroom music studio ideas, we tend to visualize racks of guitars, a nineteen-piece drum kit, and a control center out of a CSI show. All nice things to have in a perfect world. In reality, we are typically working with a budget and need to work largely with what we already have.
A decent computer
These days, all you really need to produce some type of music is a computer that can handle the workload. Depending on what kind of music you are producing, you can assemble samples to your heart’s content, and put together some decent tracks with a computer and little else. You’ll need to have some sort of recording software, but that depends on your needs and your budget.
Interface
If you plan on using real instruments and vocals, you’ll need an interface. This will allow you to plug instruments and microphones into your computer and create digital signals for mixing. You don’t need a ton of channels if you don’t have the budget or need for that, but investing in a decent interface with at least a couple of channels will give you cleaner signals to work with.
Condenser mics and pop filters
When you want your recordings to sound great, the first focus should be on your microphones. Dynamic microphones are great in live environments, and it’s nice to have one for louder instruments. But, for a bedroom music studio, a condenser mic is key. Condenser mics will deliver much better results for home recording, as they are much better at picking up quiet sounds and a greater range of frequencies.
Once you’ve decided on a solid condenser mic, you’ll want to add a pop filter. A pop filter is that ring with the mesh center you’ve seen on the posters and promos of singers in the studio. They mitigate the effect of bursts of air hitting the electronic elements on the mic. Think about sounds like “P” and “B”, which force those bursts of air. Pop filters are one of the best ways to make your vocals sound better, and will make mixing and mastering them a whole lot easier.
How do I build a music studio in my room?

Now that you’ve got an idea of what you’ll need as far as bedroom music studio equipment, it’s time to put it all together. The first thing you’ll want to do is make sure your bedroom is, in fact, the ideal room in your home for the studio.
If your room has large windows and wall-to-wall carpeting, it may not be the ideal room to use due to its acoustic profile. You don’t want to have overly reflective surfaces, and you don’t want them to absorb too much sound. For instance, instead of installing wall-to-wall carpeting, try adding an area rug under your desk chair or drum kit. Heavy furniture like cloth couches can break up space and absorb some sound waves as well.
Is your room near a road or railroad track, or anything else that generates a lot of noise? Outside noises that are out of your control can wreak havoc on the recording process. The best locations are ones that don’t receive too much exterior noise and aren’t too close to the neighbors either.
The same holds true for interior noises like the HVAC system or noisy appliances. The white noise that you barely notice throughout the day becomes glaring imperfections in your headphones and on the monitors.
How do you acoustically treat a bedroom studio?
In addition to gathering instruments and recording equipment, you’ll need to acoustically treat the room. The things you’ll need will vary a little bit, depending on what type of music and instruments you’ll be recording, but there are basic elements that apply to most studio treatments.
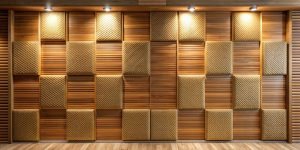
Sound absorbing panels
When designing your bedroom music studio layout, you have to work with space. The smooth, hard wall surfaces in bedrooms can create a lot of echoes if not treated properly. To minimize this, you’ll want to pick up some quality sound-absorbing panels. They do a good job of absorbing middle to high frequencies and are best used in early reflection points.
Placing them on the wall behind each monitor and the side walls allows you to hear your mix cleanly. When placing your panels on the sidewalls, a great trick is to sit in the place you will be listening to most often, and have a friend move a mirror horizontally along the wall until you can see the monitor on that side in the reflection. This is where you want to mount your panels.
Diffusers
An important element in preserving the natural reverberation of sound in your room is to incorporate diffusers. Unlike sound-absorbing panels, which absorb sound waves, diffusers scatter them throughout the room evenly. The result is a natural sound with minimally disruptive reflections.
There is a “live end/dead end” concept that is used in recording studios. Simply put, one end should be treated with diffusers and the other with sound-absorbing materials. Since you created the dead-end with your sound-absorbing panels near the desk, you’ll want to create your live end with the diffusers on the opposite end.
Bass Traps
Low frequencies that aren’t so easily taken care of with diffusers and sound-absorbing panels, and require something a little denser. Bass traps are high-density sound absorbers that are typically placed in the corners of the room, which is where bass frequencies build up. A high-quality bass trap might even take care of your middle and high frequencies enough that you can cut back on some of the other treatments you had planned.
Don’t place speakers directly on your desk
Speakers that live on your desktop can create lots of vibrations that make recording more difficult. Your bedroom music studio desk should be cleared of the clutter that isn’t useful in the process and may cause unwanted vibrations in your mix. That includes your monitors. There are several options for getting them off the desk, but still keeping them in the ideal position.
One option is to go with isolation pads. These foam lifts give you a sound-absorbing buffer between the monitors and the desk, which eliminates the problems caused by two hard surfaces vibrating together.
Better yet, you can go with stands or wall mounts. The nice thing about going this route is that you can adjust the height and angle of your monitors in any way you like while keeping your workspace clear of distracting clutter.

Is it better to record in a small room?
When drawing up their bedroom music studio setup, many people automatically gravitate toward small rooms and closets to create something similar to isolation booths. Iso booths are commonplace in professional studios, but in the case of most bedroom music studios, they aren’t necessary.
In most cases, it’s helpful to choose one of the slightly larger bedrooms in your home for your bedroom music studio and do a quality acoustical treatment job. If that’s out of the question, there are small bedroom music studio ideas that can help you make the most out of your space.










Leave a reply
You must be logged in to post a comment.