How & Where to Hang Acoustic Panels Like a Professional
It’s a fair assumption: when you buy new speakers, a home theater system, or even studio-quality microphones, it’s natural to expect professional-level sound right out of the box.
But here’s the truth – no matter how good your equipment is, your room can always ruin the results. Hard (reflective) walls and ceilings, glass, and empty spaces let sound bounce around with abandon, blurring music, muffling speech, and creating exhausting reverb.
Fortunately, you don’t need a major construction project to fix this common problem. Acoustic panels are the first line of defense against harsh, unruly reflections, and when placed correctly, professional-grade panels will make your space sound clearer and more balanced almost immediately.
In this article, we cover exactly where to hang acoustic panels for maximum effect, which Acoustic Geometry products are best for each type of room, and even some tips for fastening them to your walls.
First, Know What You’re Fixing (Absorption ≠ Soundproofing)
Before we jump into where and how to place acoustic panels, let’s dispel a big misconception: acoustic panels are for room treatment — to make a room sound better, not isolation (to block or reduce sound entering or leaving a space). Room treatment (absorption) reduces echo and reverb within the room. This is where acoustic panels, ceiling clouds, diffusers and bass traps come in.
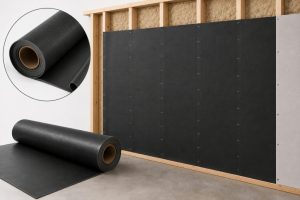
Products that are intended to provide isolation are made to block or reduce sound from entering or leaving a room. This requires mass, decoupling of wall assemblies, and sealing any and all air gaps and cracks. It also usually requires installing soundproof windows, heavy doors, or constructing double-stud walls. For example, a conference room with a severe echo problem needs sound absorption panels. Reducing the noise from a neighbor’s loud TV through a shared wall needs isolation treatments.
Acoustic Geometry has a number of isolation solutions for situations where blocking outside noise is the priority. These include Door Seal Kits that close off sound leaks around door frames for standard interior doors, Studio 2D and Studio 3D sound-rated doors, Studio Soundproof Windows designed to keep noise from adjacent rooms from bleeding into critical recording or listening spaces, and Climate Seal Window Inserts for reducing exterior noise from coming into the building. They also add an extra layer of thermal protection for the building.
Understanding the difference between absorption and isolation is the first step to smart acoustic panel placement and ensures you’re solving the right problem.
Read More: Room Soundproofing 101
Where Panels Go in Most Rooms (The 80/20 of Placement)
In most rooms, 80% of the improvement comes from treating 20% of the room’s surfaces, known as the first reflection points. Sit or stand in the main listening position, known as the “sweet spot,” and imagine where sound from the speakers or people’s voices would bounce first. Normally it’s the side walls, front wall, and back wall. This is where you hang the first acoustic panels (or diffusers). Keep absorption panels at ear level in speech-oriented rooms and distribute them across the walls instead of bunching them together in one area.
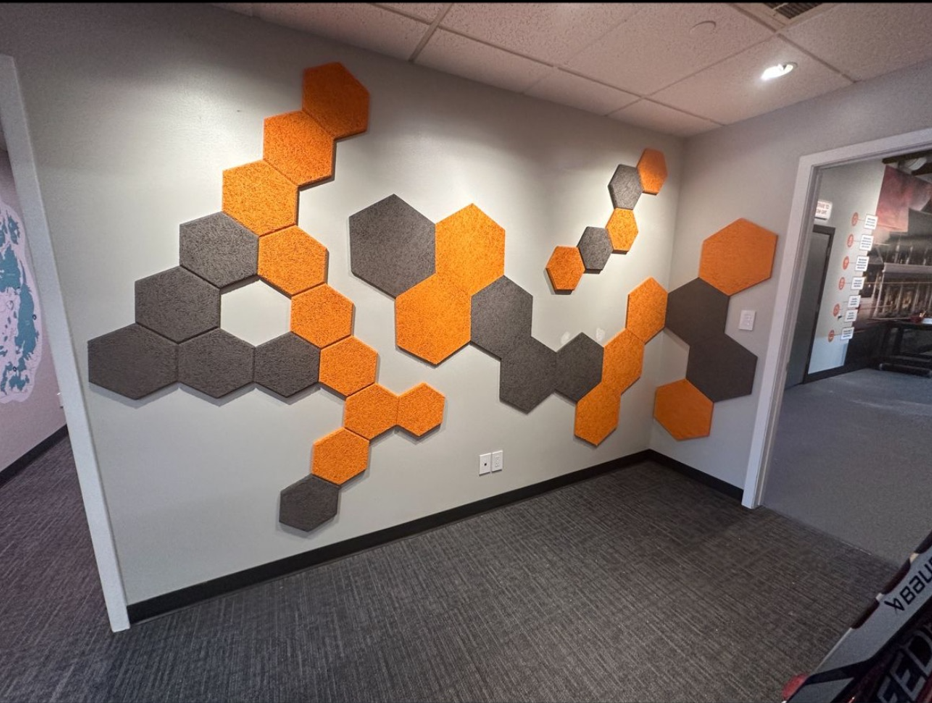
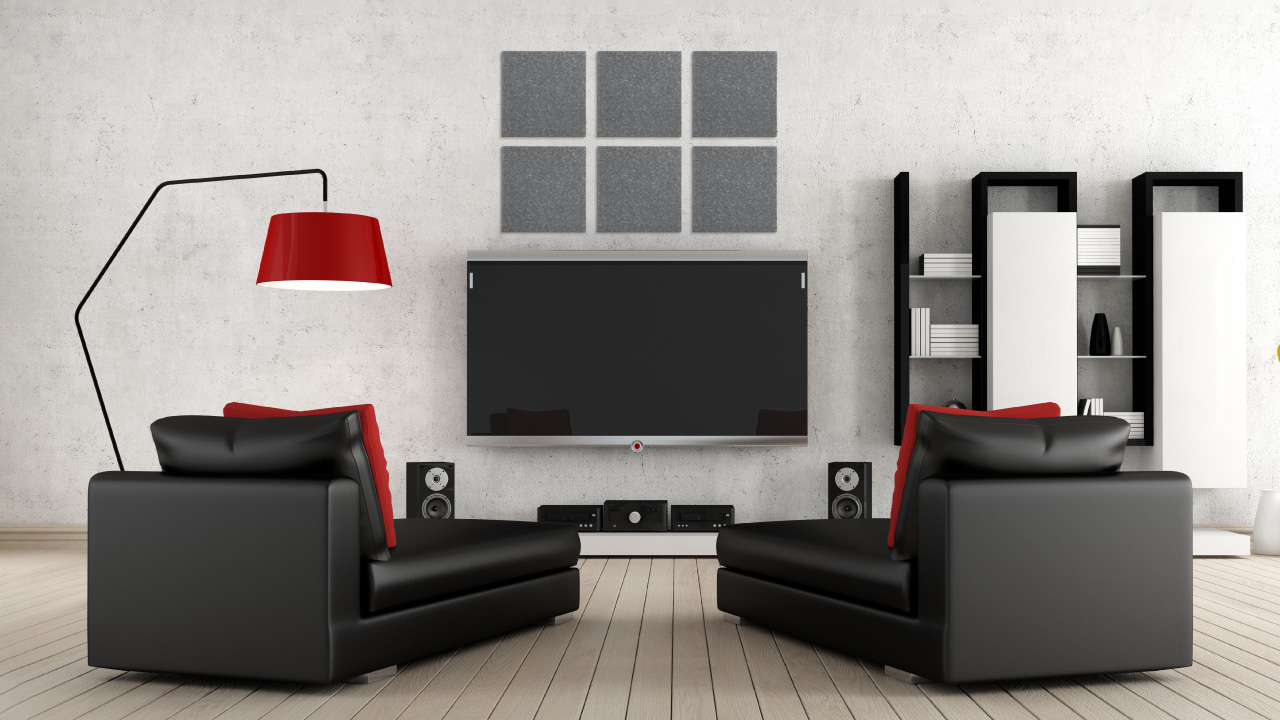
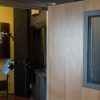
Home Theaters & Living Rooms
For home theaters and living rooms, always consider side-wall first reflections. Add absorption on the front wall near or directly behind the screen, and treat the rear wall with acoustical panels to reduce slapback echo. If your ceilings are high enough that visually dropping part of the ceiling by 6-8” will not change much, another option is to hang a ceiling cloud above the main seating area.
Proper home theater acoustics rely on taming reflections on all sides, which is why panel placement near the screen, to the left and right of the seating area, and why treating the back wall matters so much. Acoustic Geometry products to consider include FabriSorb Panels, PolyMax PET Felt Panels, StarField Ceiling Panels, or even Wood Wool Designs Panels.
Music Rooms & Studios
For studios and music rooms, focus on the listening triangle, which is the area between the speakers and your seat. Many studio designers and builders treat side-wall first reflection points with Curve Diffusers and then utilize Fabric Wrapped Panels on the front and rear walls – and often in or near the corners of the space. Additional bass traps, diffusers and absorbers are often installed to enhance the sound quality and balance of the space – but the room size, shape and details will be a major determining factor of additional treatment type and placement.
How Many Panels Do You Actually Need?
Thicker panels (2-4″) will cover a broader frequency range than thinner 1” panels, so If you are using the space for recording music, where the room will have a significant amount of mid and lower frequencies, thicker panels are always a good idea. The type of space you’re working with is also important to consider. For example, podcast studios require a tighter, more precise acoustic than living rooms. In some cases, you may just need enough treatment to prevent dialogue from being lost. If you’re on a budget, you can start with a few panels and add more over time; sometimes just a couple of panels in the right place can have a major impact.
A simple rule of thumb for “taking the edge off” of a reflective room is to multiply the cubic volume of your room (Height x Width x Depth) × 4-6%. This equation will yield a target square footage of absorption to install into your space.
For example, a 2,000-cubic-foot room would typically start with 80-120 square feet of panels. Adjust up if you have lots of hard, reflective surfaces like tile floors and glass (live rooms → more absorption), and down if the space already has carpet, curtains, or furniture (fewer panels needed).
You can also use the clap test. If the echo feels sharp and unpleasant, you likely need more panels.
See our article “How to calculate the right number of acoustic panels for your space” for a more in-depth look.
Height, Spacing & Symmetry (Little Tweaks = Big Wins)
Professional installers don’t just toss panels on a wall, they plan for symmetry and spacing:
- Ear height: Center the panels where voices and instruments are projected.
- Symmetry: Mirror the panels left and right for stereo imaging purposes.
- Even spread: Avoid over-clustering one wall and instead distribute evenly across multiple surfaces.
Most people use wall-mounted acoustic panels in these positions since they’re easier to install at ear height and create balanced reflections.
Pro Tip: Air Gaps Improve Low-End Absorption
Hanging panels with a 2″ standoff from the wall can increase bass / low frequency absorption by nearly an octave. Use offset mounts or standoffs for wall panels, and suspension hardware for ceiling clouds. By leaving a deliberate air gap for panels, this can provide better low-end control without requiring additional material thickness.
Suspended Cloud Hardware Kits which will suspend a fabric wrapped fiberglass acoustical cloud ~6” from the ceiling are also recommended to improve low-end absorption.

Bass Lives in the Corners: Treat Them on Purpose
Low frequencies build up in corners where three surfaces meet, known as triherdal corners. Traditional wall and ceiling panels don’t fix this. Instead, use purpose-built bass traps for corners like the CornerSorber. These pressure-zone absorbers stabilize the low end and tame “boomy” resonance.
When to Mix Absorption with Diffusion
Too much absorption can make a room sound “dead.” Diffusion, on the other hand, scatters sound waves to create a more natural, balanced space. Use diffusors on first reflection points and/or rear walls in studios or on ceilings in large rooms. Curve Diffusors are an excellent choice for scattering reflections without killing the room’s energy.
Mounting Methods
Here’s a simple decision tree to choose from for mounting panels:
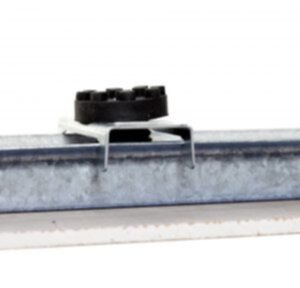
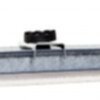
- *Most common* Rotofast Snap-On Anchors: This is a discreet installation method for semi-permanent installations of fabric wrapped fiberglass and Poly Max acoustical panels. It’s important to note that this hardware doesn’t necessarily make a panel truly removable. Although this mounting method is more removable than using something like a construction adhesive, it’s likely that panels and walls may be damaged if removed. The Rotofast Snap-On Anchor Pack gives installers a fast, reliable way to mount fabric panels with a clean finish.
For in-depth install instructions, see the Rotofast Snap-On Installation guide. - Z-Clip: Two-part plastic rails for flush, aligned installations. They’re removable but will leave screw holes behind if the plastic rails need to be removed or relocated. The small screw holes are easy to patch and paint over. For ceilings, we recommend that the installer lock the bars together with a bit of silicone or drive small pin/trim nails through the edges of the panels to prevent the clips from sliding apart – causing the panels to fall. Z-Clip mounting provides precise placement and reliable hold for a professional look.
- Impaling Clips + Adhesive: A budget-friendly but permanent installation method. The installer will start by screwing or gluing the impaling clip to the wall with the spikes pointing toward the center of the room. A construction adhesive is then applied onto the back of the panel. The panels are then pressed onto the impaling clip and held in place with the glue. The impaling clips hold the weight of the panel while the adhesive is drying and the adhesive creates the permanent bond to the wall.
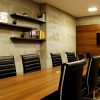
Great Spots
Some of the most effective acoustic fixes come from treating areas people rarely think about. Surface applied absorptive panels or even hanging clouds over desks or tables can dramatically cut down on distracting reflections. Rear walls behind seating in theaters and media rooms help tame slapback echo. Even placing panels above reflective furniture like glass credenzas or whiteboards can make a noticeable difference.
Overhead and rear-wall acoustic treatments can be relatively easily forgotten, but are equally if not more important, since sound also bounces upwards, backwards, and laterally. Ceiling treatments, rear wall treatments, and other hard surfaces, therefore, help to avoid an imbalance of the space and a cumulative effect of the stray reflections. This is very important in multi-use spaces such as classrooms, lecture theatres, and open plan offices, where excessive reverberation times will cause a loss of speech intelligibility.
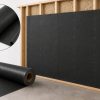
For these locations, ceiling mounted Fabric-Wrapped panels offer a sleek overhead solution, while Acoustic Wall Art combines performance with décor. And for eco-conscious projects, PET felt acoustic panels are an excellent choice, as they are lightweight, durable, and sustainable. Acoustic Geometry’s POLY MAX™ PET Felt in particular delivers strong absorption while keeping your design environmentally friendly.
Make It Match Your Room (Looks Matter)
Acoustic panels can double as design features that improve or accent the aesthetics of your space while also greatly improving acoustics. For example, custom-printed Acoustic Wall Art panels add personality and function while absorbing reflections.
For textured, natural finishes, Wood Wool Acoustic Panels are a popular choice, combining warmth, sustainability, and excellent midrange absorption. Modern and eco-friendly projects often turn to POLY MAX™ PET Felt, which delivers strong absorption in a lightweight, sustainable material. For interiors with a more architectural look, PolyGrille Slat Panels combine wood-slat aesthetics with high-performing acoustic absorption.
For a seamless, full-wall solution, the Wallmate Stretch Wall System turns surfaces into absorptive finishes without visible seams. Design-led spaces often mix wood wool for texture, PET felt for sustainability, and slat panels for structure, while keeping to a consistent color family for a cohesive look.
Read More: The Green Side of Acoustics: Sustainable Materials for Sound Absorption
Recommended Acoustic Geometry Kit List (Mix & Match)
If you’re not sure where to start, here’s a quick guide to building an effective setup using Acoustic Geometry products:
- First reflections and echo: FabriSorb or Fabric-Wrapped Panels/Clouds for broadband absorption at key listening points.
- Ceiling reflections: Install Fabric-Wrapped Panels as ceiling clouds above seating/listening areas.
- Corners and bass build-up: CornerSorber for low-frequency pressure zones.
- Design features blending performance and style: Acoustic Wall Art, Wood Wool Designs, or POLY MAX™.
Troubleshooting & FAQs
My room still sounds “boomy.”
Add bass absorption with CornerSorber. Try thicker (4-6” thick) acoustical panels, or even 2” panels with an air gap between the panel and structure. Locating 2-4” thick panels in the corners can also help.
Can I just use foam tiles?
Foam is primarily good at higher frequencies. For better broadband control and a more professional look, go with Fabric-Wrapped Panels
Foam tiles will do an adequate job in a last-minute high-frequency absorption situation, but rarely control as broadly as fabric wrapped or PET felt panels. Foam is also less abuse and abrasion resistant (it will break and tear fairly easily) and may or may not meet the aesthetic intent for the space.
Do panels have to be flush to the wall?
No. Leaving a 2″ air gap can extend the absorption lower in the frequency range.
As a general tip, checking the NRC improvement rating of your panels can help you gauge exactly how much echo control you’ll achieve.
Are panels above eye level okay in public spaces?
Yes, and they improve speech intelligibility well at eye/ear height, but they can also be damaged easier when they are in closer proximity to people. So if longevity is a concern, mounting the panels further away from people will not only greatly extend their life, but they will offer the exact same overall reverberation reduction regardless of exactly where they are installed in the room.
We’re Here to Help
The right combination of panels gives you true sound control, whether you’re tuning a theater, studio, or office. When you’re planning room acoustic treatment, remember to follow this simple order of operations: identify your reflection points first; then hit your coverage target with panels; third, add ceiling clouds and corner traps; and finally, finish with diffusion and Acoustic Wall Art.
For more guidance, check out Acoustic Geometry’s acoustic panels for the full lineup. If your challenge is blocking outside noise rather than taming reflections, explore room soundproofing solutions.
Remember to always start small and build out from there – two to four panels is a good start. With the right panel placement, you’ll know where to hang acoustic panels to make your room sound like a pro’s.


Add comment
You must be logged in to post a comment.