
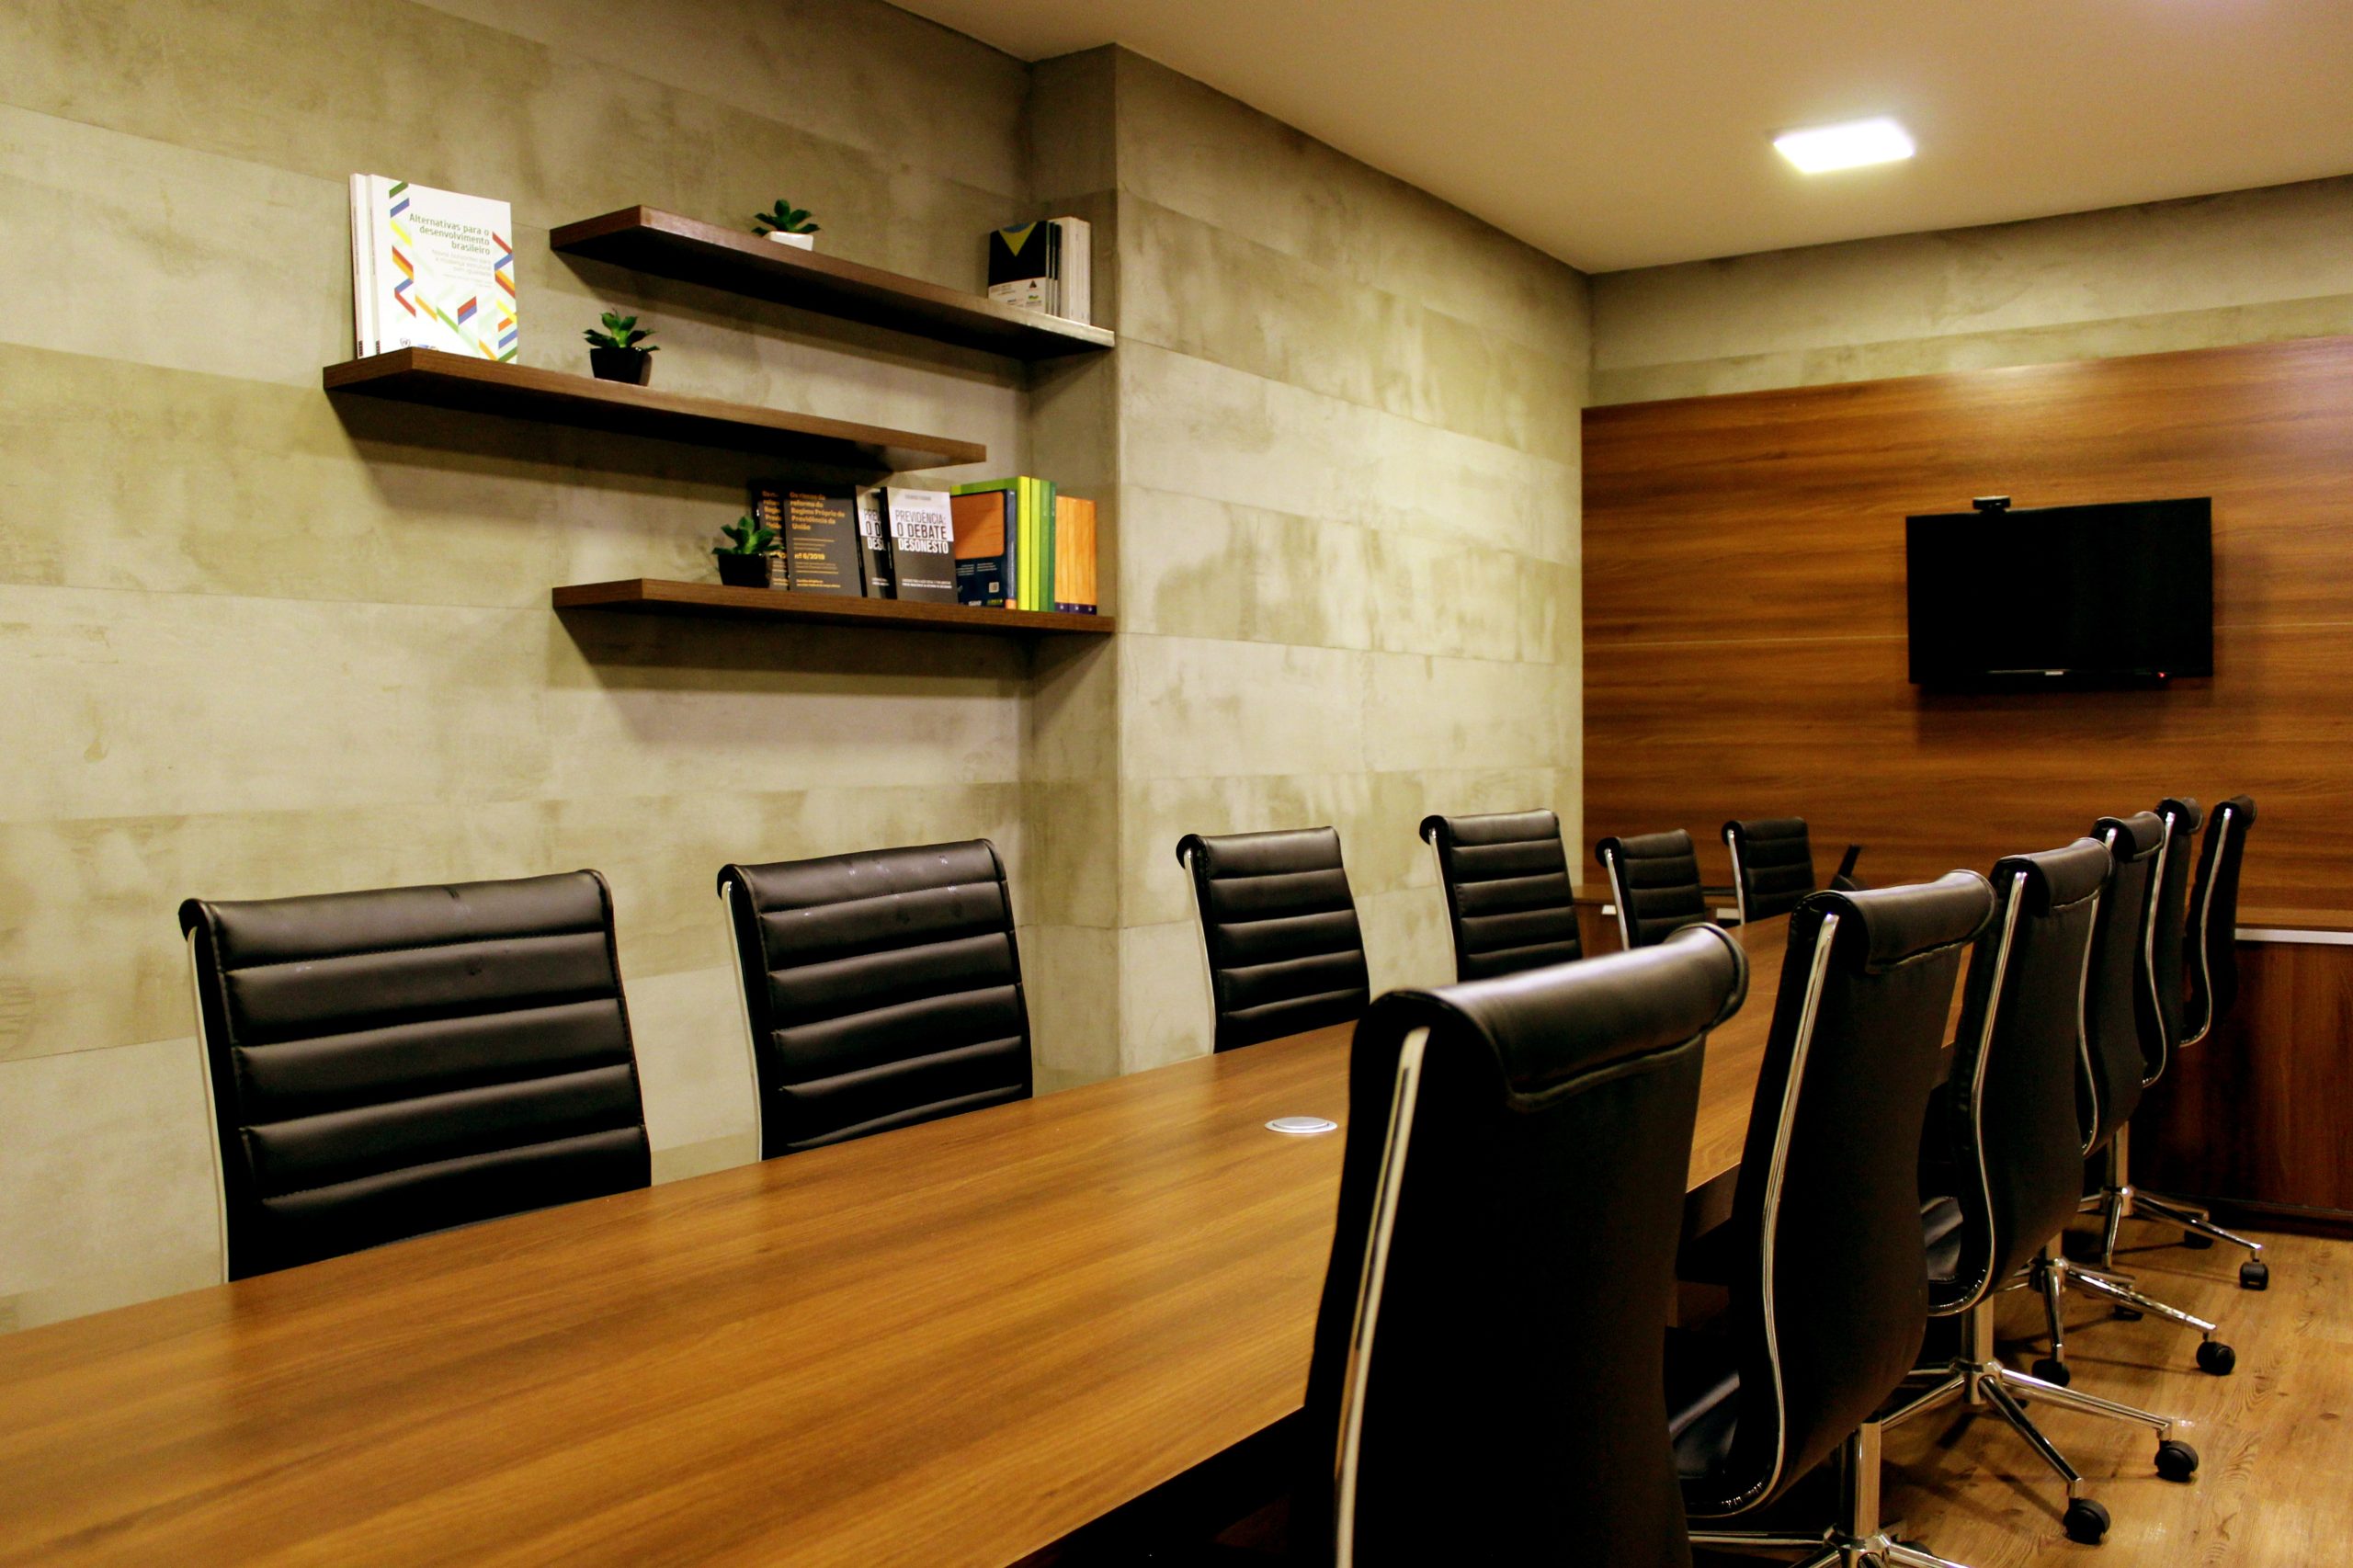
Acoustic Echo Cancellation: Essential for Clear Communication
Echo is one of the biggest killers of meeting room mojo. Even the shortest call or conference can feel distracting, tiring, and unprofessional when echo takes over. The good news is that echo cancellation is both preventable and treatable. By combining acoustic echo cancellation technology with smart room treatments, you can stop echo at the source and enjoy clearer, more productive conversations.
In this article, we’ll define what echo is, explain why it shows up in everyday spaces, and share practical solutions you can use in both home offices and larger team rooms. From sound-absorbing panels to ceiling clouds and door and window upgrades, Acoustic Geometry has the essential products you need to eliminate echo and create a professional-sounding environment.
Why You’re Hearing Your Own Voice On Zoom and Teams
Users often first notice echo the moment they join a meeting. You speak, and then a split second later, your own voice comes right back at you.
There are two main reasons why echo creeps into calls:
- Acoustic Echo Cancellation (AEC): Built into conferencing software and devices, AEC is designed to prevent your microphone from looping audio back into the system.
- The room itself: Hard surfaces like mirrors, bare walls, concrete, tabletops, and windows reflect sound straight back into the microphone. Since AEC can’t remove those reflections, your voice ends up sounding muddy or distorted.
The result? Meeting room echo where it feels like no one can hear themselves think and every word is bouncing around like it’s trapped. The good news: echo is preventable with a mix of quick fixes and longer-term room solutions.

AEC vs. Room Acoustics
It’s important to separate echo that is software/hardware related from reverb/echo caused by room shape and materials.
AEC is designed to stop your microphone and speakers from looping your voice. But if your space has untreated hard surfaces, then room reverb vs echo is another beast altogether.
Picture this:
- AEC: Stops your laptop or conference phone from repeating audio.
- Room acoustics: The surfaces in your space, like walls, ceilings, and windows, where sound bounces around and lingers.
The answer? You need both working together to fully stop echo. AEC handles the device and hardware side, while acoustic treatments like absorbers and diffusers control the reflections that software can’t fix.
Quick Acoustic Triage
The type of triage you perform is also based on your environment. In the home office, most reflections are from adjacent walls, a desk or window, so even a few treatments like curtains or two panels can make a difference. Conference rooms present the challenge of many voices colliding and ricocheting around a larger area. Here, removing table clutter and treating both side walls will provide an immediate improvement.
Before you buy acoustic treatments, do some testing to ensure you get to the root of your echo problem.
- Identify the source: If multiple participants experience echo, have everyone mute/unmute one-by-one to see who is the loudest culprit. If echo occurs when someone unmutes themselves, it usually means they are either next to a bare wall or are using the internal laptop microphone.
- Headset or reduce speaker volume: External headsets stop voice from leaking back into the microphone. Lowering speaker volume further reduces echo being re-picked up by mics.
- Rearrange the furniture: Simply moving a chair away from a bare wall can also help reflect less sound.
While all of these tips are helpful in the short term, a better long-term solution is to upgrade the room with acoustic treatment from Acoustic Geometry.
Kill Echo at the Source with Absorbers
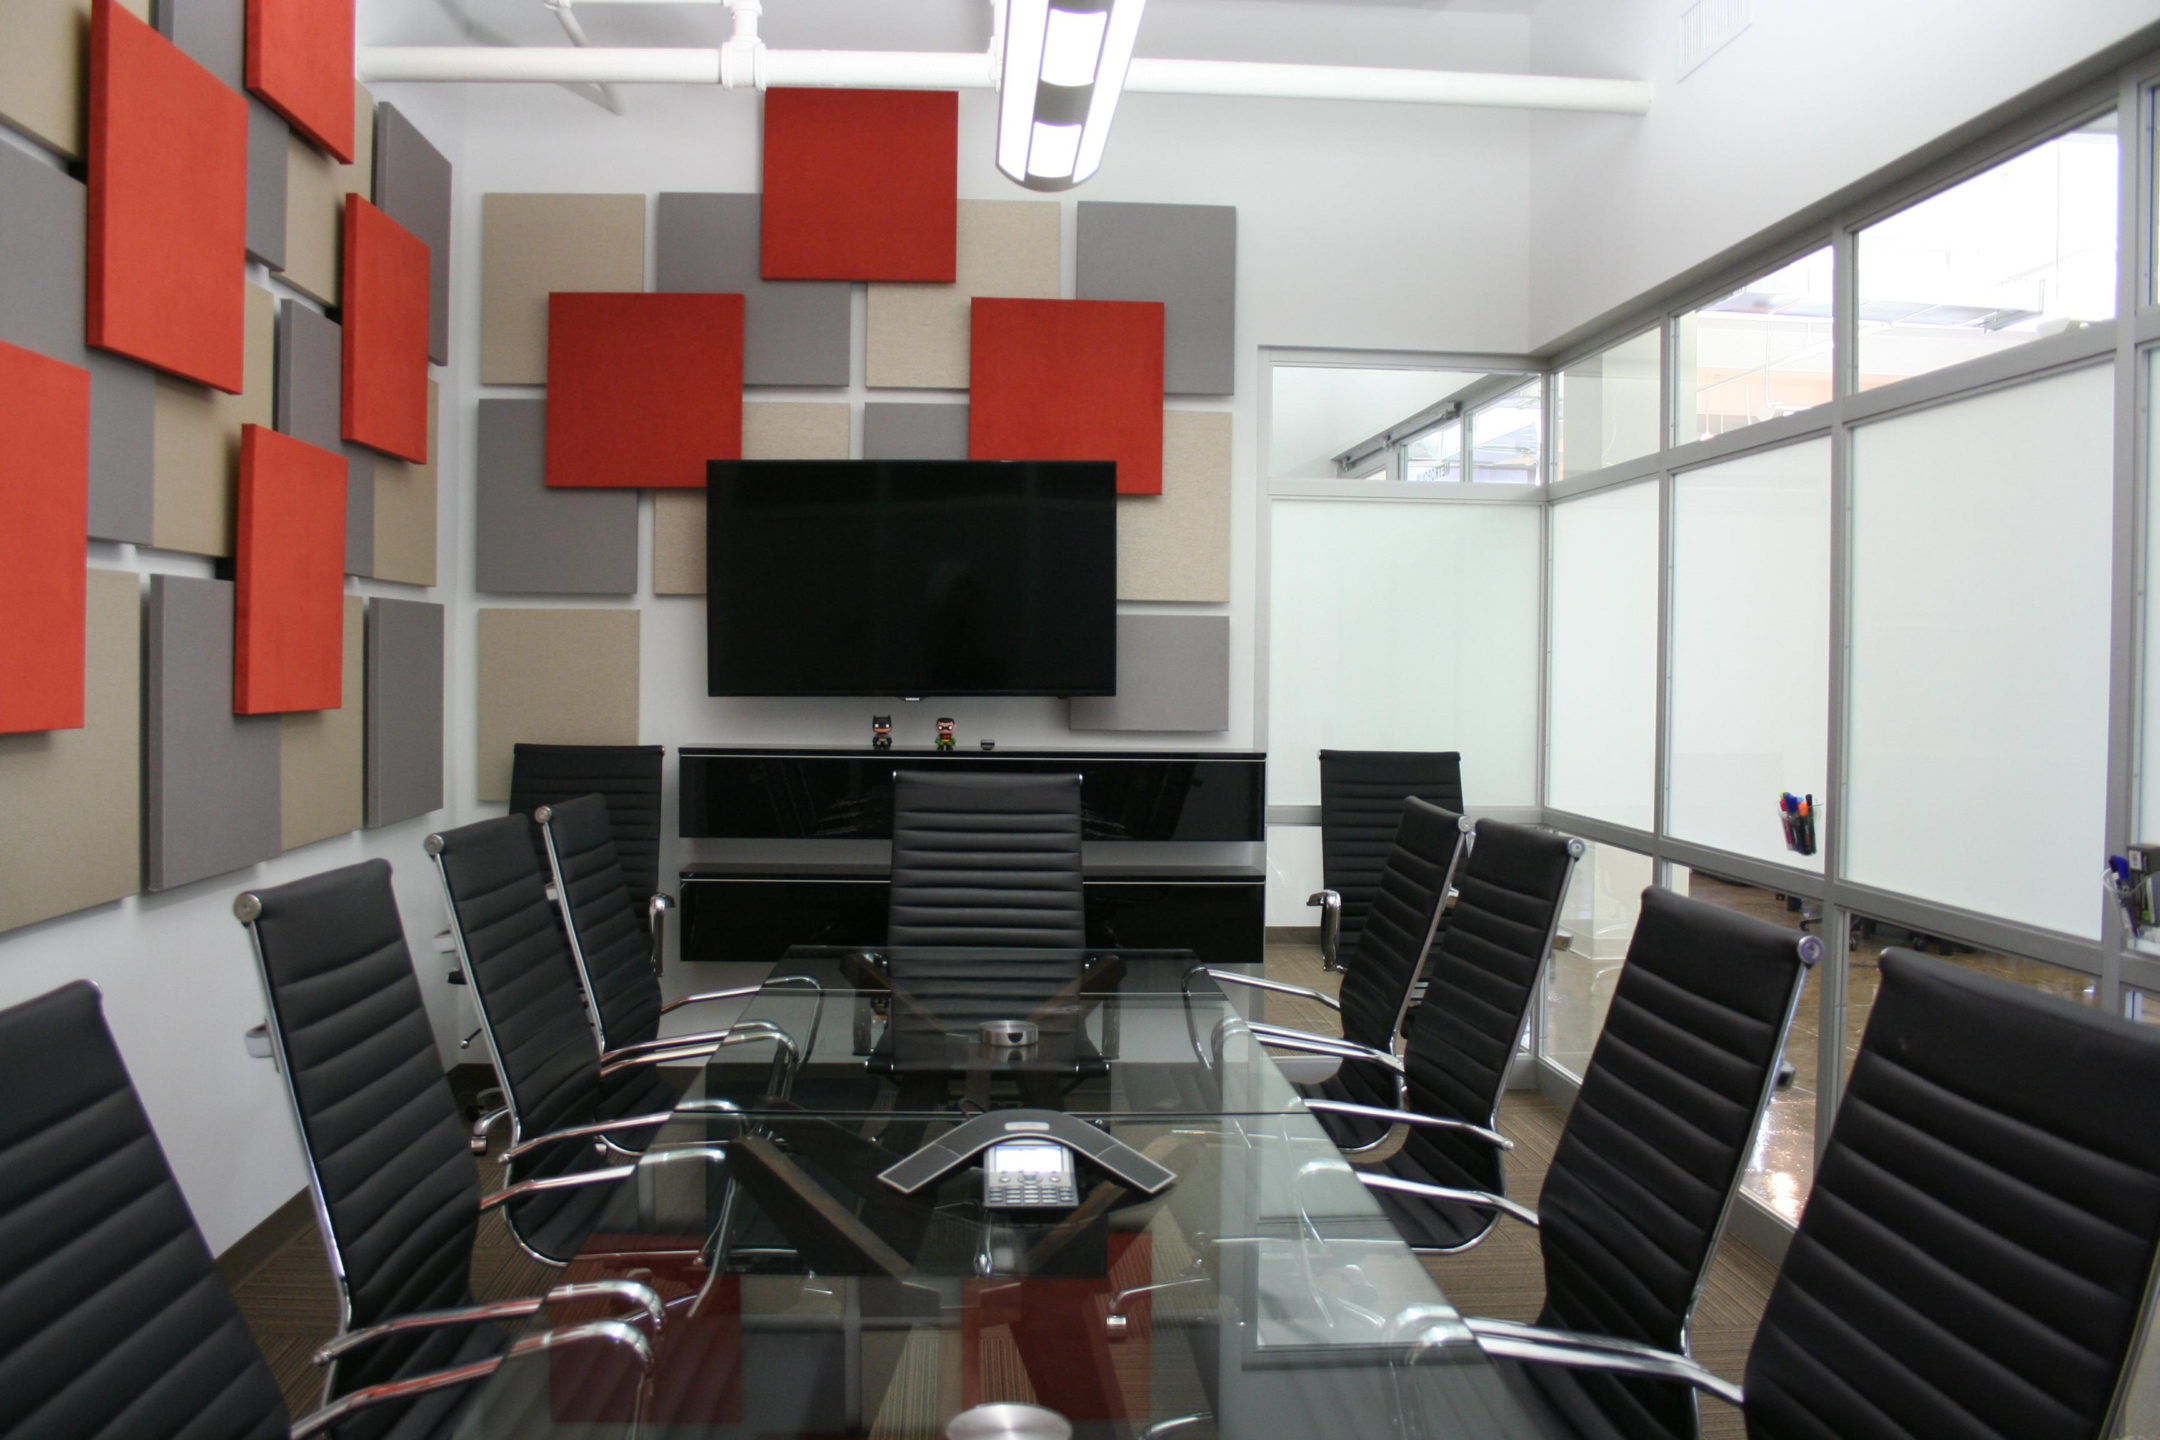
Sound absorbers reduce reflections so that your microphone only picks up your voice, not the room. Better yet, today’s modern sound absorbers are designed to double as room décor. That visual flexibility is important. In an office setting, panels can support a brand with custom-printed art or company colourways, and in a home office, you can choose a colour to match furniture or disappear into a wall design. Textured options like wood wool or PET felt add a tactile dimension and warmth to the room, as well as helping it look “finished,” while performing well acoustically. In fact, adding acoustic wall panels is one of the fastest ways to tame first reflections and instantly improve speech intelligibility.
Here are some options to consider:
- Fabric-Wrapped Panels (FabriSorb): These are neutral, architecturally clean panels that can be flush mounted with rotofast anchors. You can hang these panels on the wall at first reflection points, like ear level to target reflections directly back at the speaker.
- Acoustic Wall Art: These panels are the same as FabriSorb, but customizable with your own images, graphics, logos, or branding.
- POLY MAX™ PET Felt Panels: These affordable and colorful, sound absorbers are great for classrooms and offices that need budget-friendly, high coverage.
- Wood Wool Acoustic Panels: These eco-friendly panels are made from recycled wood fibers. They are textured and ideal for any room where you talk to clients.
- Aco-U-Stick Panels: These peel-and-stick panels come in multiple material options, like wood wool, cotton, polyester, and fabric-wrapped fiberglass, making them an easy entry point into home office acoustics. Place them at ear level to directly improve speech intelligibility without complicated installation.
Treat the Ceiling Where “Boom” Hides
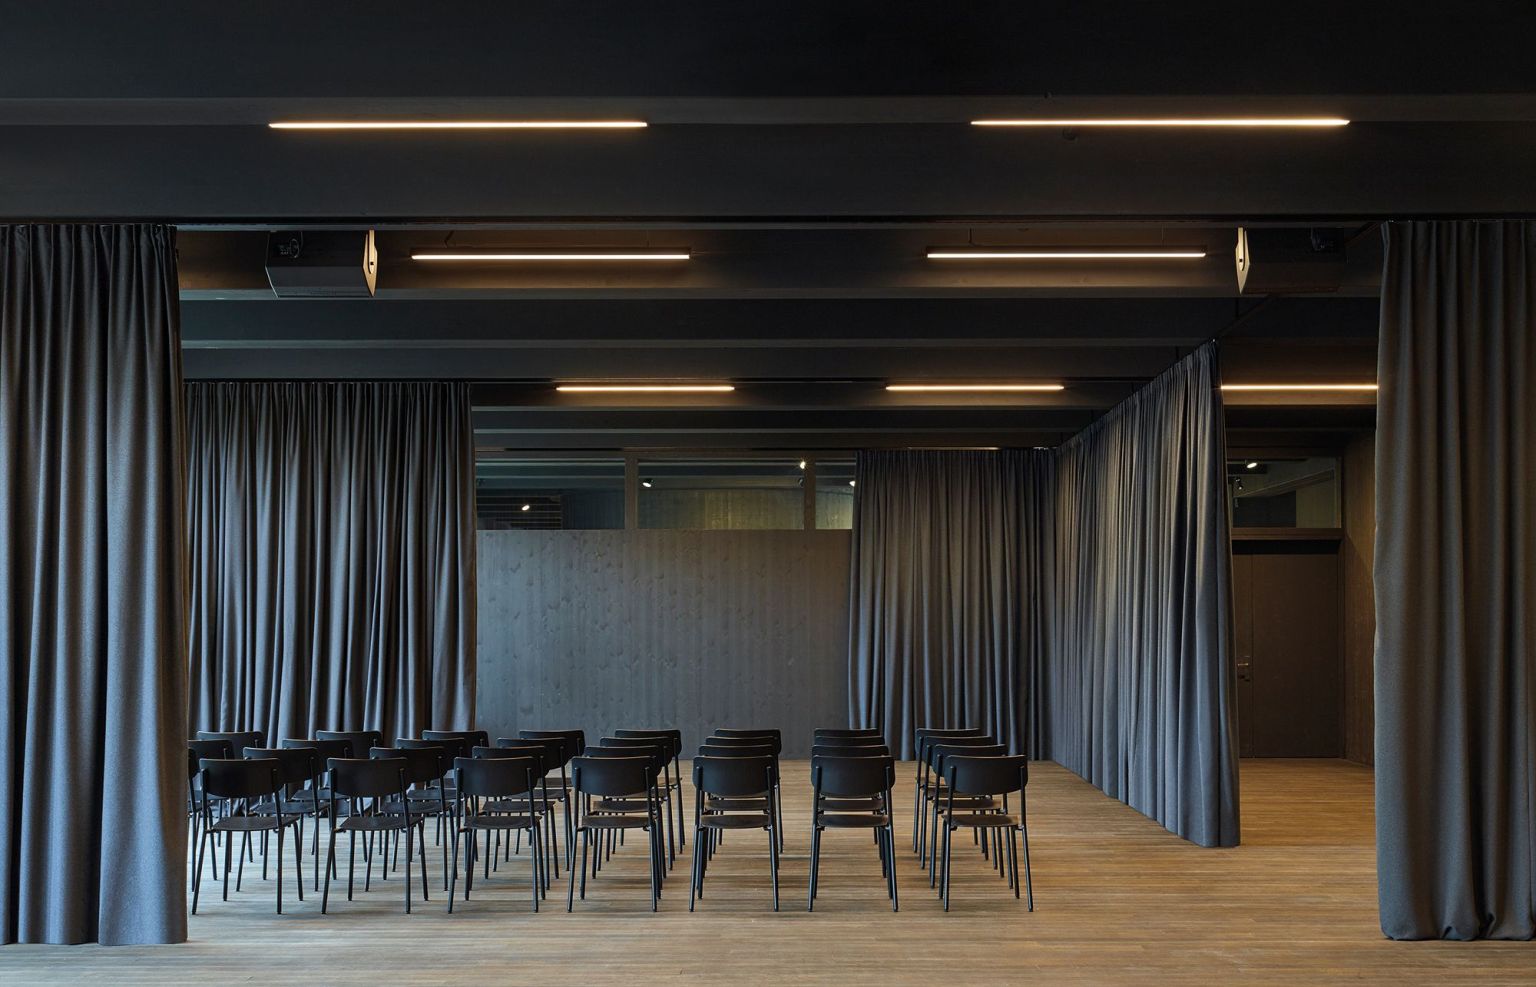
Rooms that sound hollow or “washy” are often suffering from ceiling echo. In larger spaces, voices tend to collect overhead and bounce back down, muddying the conversation. Ceiling clouds (panels suspended on wires) are designed to absorb those reflections and create a cleaner, tighter sound.
Consider ceiling panels from FabriSorb or PET Felt, and hang them using the suspended cloud hardware kit. Even just a couple of clouds above the table or presentation zone can dramatically improve clarity.
Doors and Windows: Shut Down Outside Noise
Video conferencing software, and even AEC, can’t stop your microphone from picking up outside noise like lawn mowers, hallway chatter, or honking traffic. To create a truly quieter room, you’ll need to address the biggest weak points: windows and doors.
- Windows: Add Climate Seal window inserts to block outside noise without replacing the glass.
- Doors: Use door seal kits to close the gaps that let sound leak through.
- Glass-heavy rooms: Sound absorbing curtains provide both privacy and a simple acoustic upgrade without construction.
For more information, read about blocking outside noise for urban homes.
How Much Treatment Do I Need?
Coverage depends on room size, surfaces, and the purpose of the space. Here’s a quick guide to help you get started:
- Small office (100–150 sq ft): Two to four wall panels at reflection points, plus one rear-wall curved diffusor. An optional is a small ceiling cloud.
- Conference room (10–12 ft table): Six to ten wall panels on opposing walls, two to three ceiling clouds, and two to three curve diffusors at the far wall.
- Open space: Spread treatment across multiple planes like walls and the ceiling. Consider adding design-forward Acoustic Wall Art for walls facing the camera.
Note: Ceiling height and surface materials matter as much as overall square footage. A glassy office may need more coverage than a carpeted home office. Roughly 20–30% of the surface area (wall plus ceiling) should be treated in order to have a significant effect in most rooms. For rooms with a lot of glass or hard flooring, aim for a higher ratio and compensate with absorption and diffusion. A “room deadener” does not necessarily mean that everyone wants a quiet room. Natural sound is sometimes desired to achieve a lively environment. On the other hand, some environments may desire near silence.
Start with a Home Room Pack for easy baseline coverage. Then, add diffusion, windows, or door treatments as needed. Strategic acoustic diffusion, using curved or geometric panels, scatters reflections so rooms sound natural rather than overly “dead.”
Install It Right
Hanging panels shouldn’t be intimidating. Most Acoustic Geometry products are DIY or facilities team friendly.
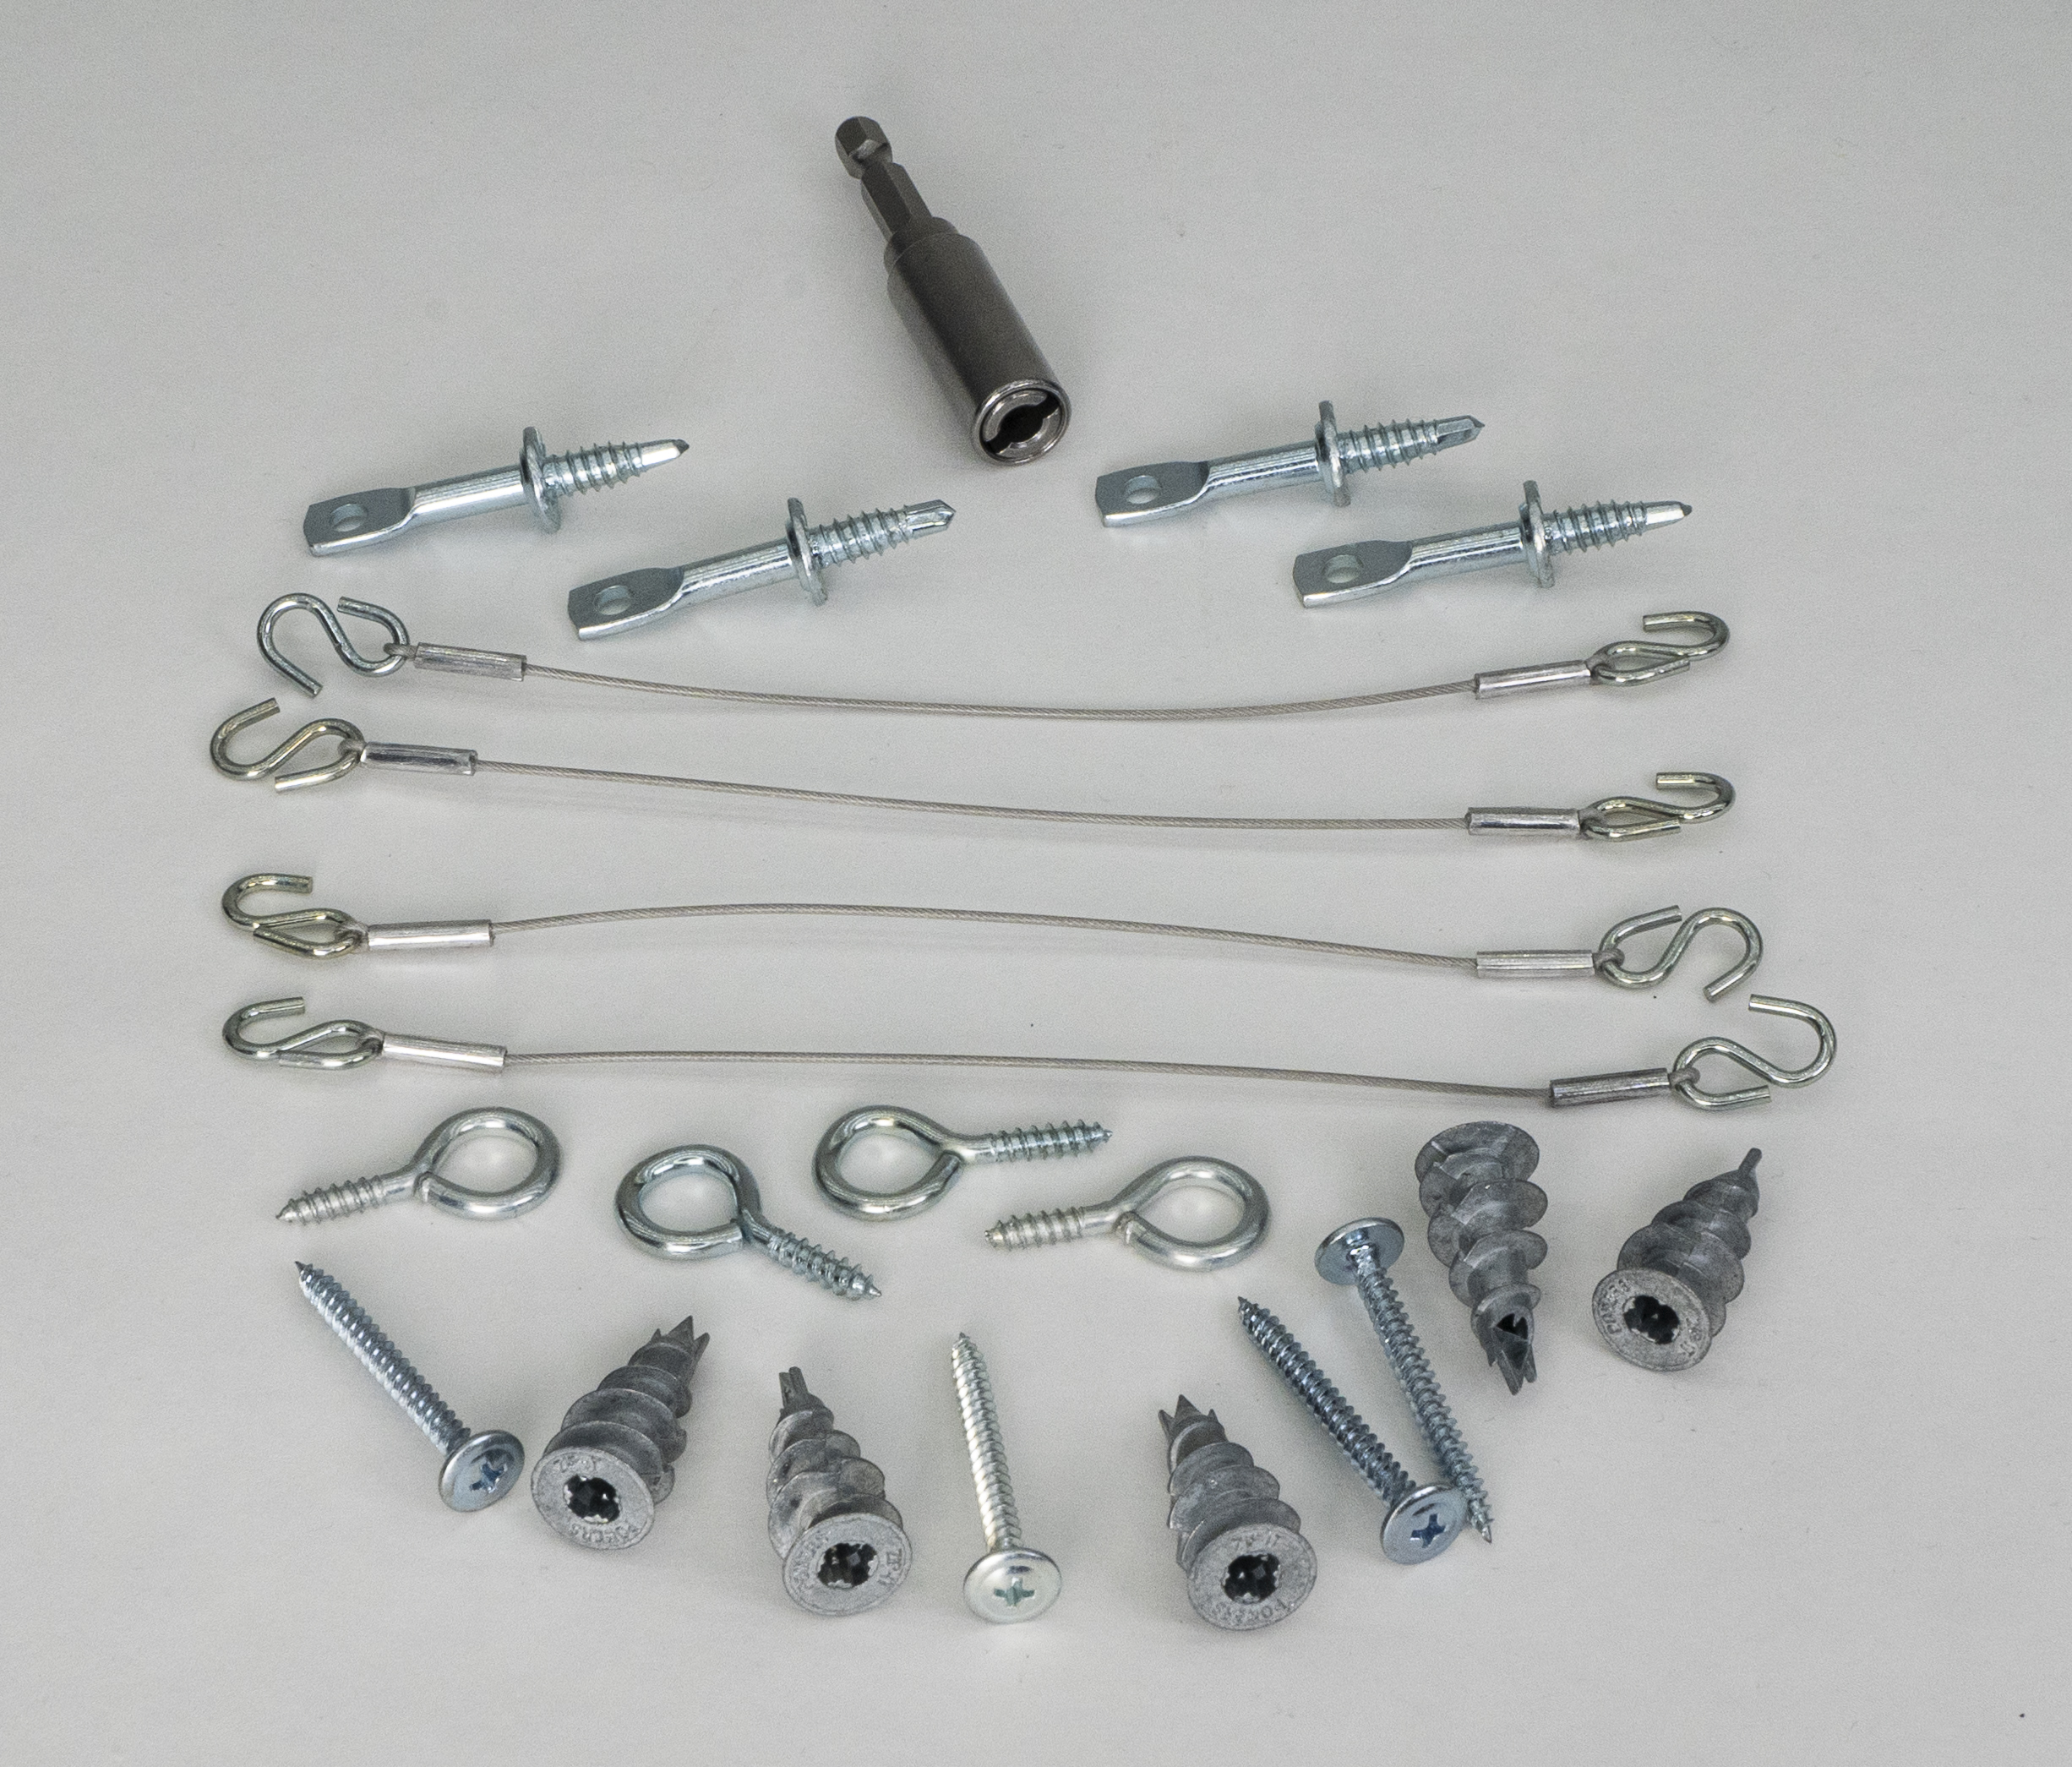
- Rotofast Snap-On Anchors: Most wall panels ship with these anchors. To use, just mark your placement, screw in the anchor, then “snap” the panel into place. Rotofast Snap-On Anchors are both temporary and rental friendly. You’ll just want the Hex Tool and Marking Plugs to help with the installation.
- Rotofast Snap-On Anchor Hex Tool: Just one tool is all you need! The reusable driver designed for Rotofast Snap-On Anchors. Just insert the tool, drive the anchor into the back of your fabric-wrapped panel, and you’re ready to “snap” the panel onto its mounts.
- Rotofast Snap-On Anchor Marking Plugs: Four-pack of reusable plugs that pinpoint exactly where your wall anchors should go. To use: insert a plug into each Snap-On Anchor on the back of your panel, position the panel where you want it, press to transfer the locations onto the wall/ceiling, then mount your anchors on the marks and “snap” the panel into place.
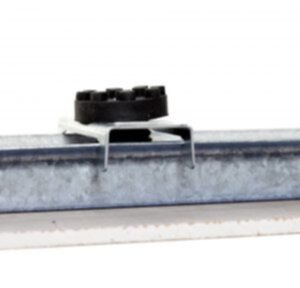
- Wall Panel Impaling Clip Hardware Pack: A simple, secure way to mount one fabric-wrapped wall panel (up to 4′ × 4′). The kit includes four 3″ × 3″ galvanized impaling clips, eight drywall anchors, and eight #8 × 2″ screws. To install, simply fasten the clips to the wall with the teeth facing the panel, apply construction adhesive to the back of the panel, then press the panel onto the clips. This is a more permanent solution for panels that won’t be moved or removed in a home or commercial space. Larger panels may require extra clips.
- Titebond Heavy Duty Construction Adhesive: Pair with Wall Panel Impaling Clips for a rock-solid install. After you mount the clips, apply construction adhesive to the back of the panel and press it onto the clips to ensure a tight fit.
FAQs about Echo
Can I fix echo with software alone?
Software echo cancellation can sometimes reduce the problem, but if your room has reflective surfaces, you’ll still have some muddy voice. A few wall absorbers or even a diffusor on the rear wall is the best way to get permanent clarity.
What if I rent and can’t drill?
You have a few options for no-drill panels: Aco-U-Stick mini-panels or Echo Eliminator with removable adhesive. Curtains also make a renter-friendly acoustic upgrade.
Get More Help from Acoustic Geometry
Echo can make meetings an unbearable experience, but the fix doesn’t have to be complicated. Well-designed conference room acoustics ensure every voice is clear, reducing fatigue and improving collaboration across the table.
From quick acoustic treatments you can install over a weekend to full office upgrades that take a few days, you can stop echo and enjoy clearer calls right away. Send us your photos and room dimensions, and we’ll create a fast visual sketch showing the recommended coverage. Or start with a Room Pack and add diffusion, window sound control, and door sound sealing as needed. The right combination of echo cancellation, panels, and proper installation will help your recordings and calls finally sound as good as they should be.
If you’re unsure where to begin, reach out directly to the Acoustic Geometry team. Our experts can guide you through product selection, provide tailored recommendations for your space, and ensure you get the best mix of performance and aesthetics. Whether it’s a home office, a team huddle room, or a large boardroom, we’re here to help you design a solution that works for your needs and budget.

About author








Add comment
You must be logged in to post a comment.